Sometimes, it’s the simple things that create the most meaningful memories. One of my favorite family craft ideas is making a DIY Memory Board. This project brings the family together and results in a beautiful keepsake that can be displayed and cherished for years. Spending time with loved ones and creating something meaningful is a fun and easy activity.
This site includes affiliate links; you can check the disclosure for more details.
What You’ll Need For This Fun Family Craft Idea
Before we get started, let’s gather the materials. Here’s an easy list of what you’ll need to create your DIY Memory Board:
- A large corkboard (size depends on your preference)
- A selection of photos (printed in different sizes)
- Push pins (colorful ones can add a pop)
- Washi tape or decorative ribbon
- Small mementos (ticket stubs, postcards, etc.)
- Scrapbook paper (variety of patterns)
- Scissors
- Glue stick
- Stickers or embellishments (optional)
Having all these items ready will ensure the project goes smoothly, and you won’t have to pause midway to search for something.
Family Memory Board Craft Step-by-Step Instructions
Creating your Memory Board is as easy as following these steps. This isn’t a craft that requires expert skills; it’s all about creativity and spending time together.
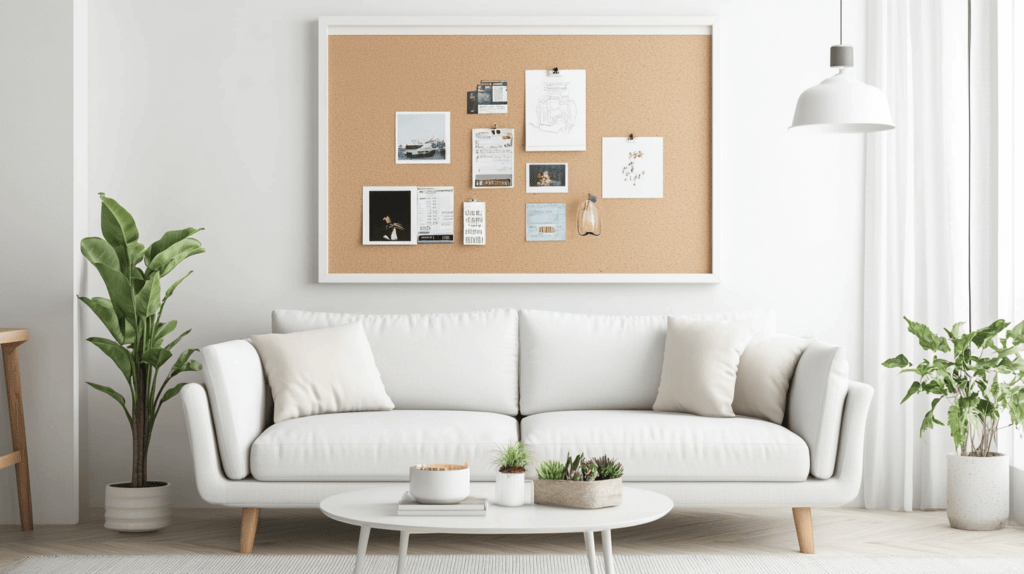
Step 1: Prepare the Corkboard
Start by laying your corkboard flat on a table. Decide if you want to cover the entire board with scrapbook paper or leave it bare. If you choose to cover it, cut the paper to fit the board and glue it down. This step gives the board a nice background and adds to the overall look.
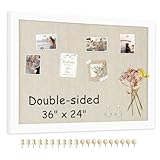
Large Family Craft Corkboard
This double-sided cork bulletin board offers versatility, with linen on one side and cork on the other. Its vintage wooden frame and included hardware make it easy to install and stylish for any space. Ideal for home, school, or office, it’s perfect for displaying photos, notes, and more.
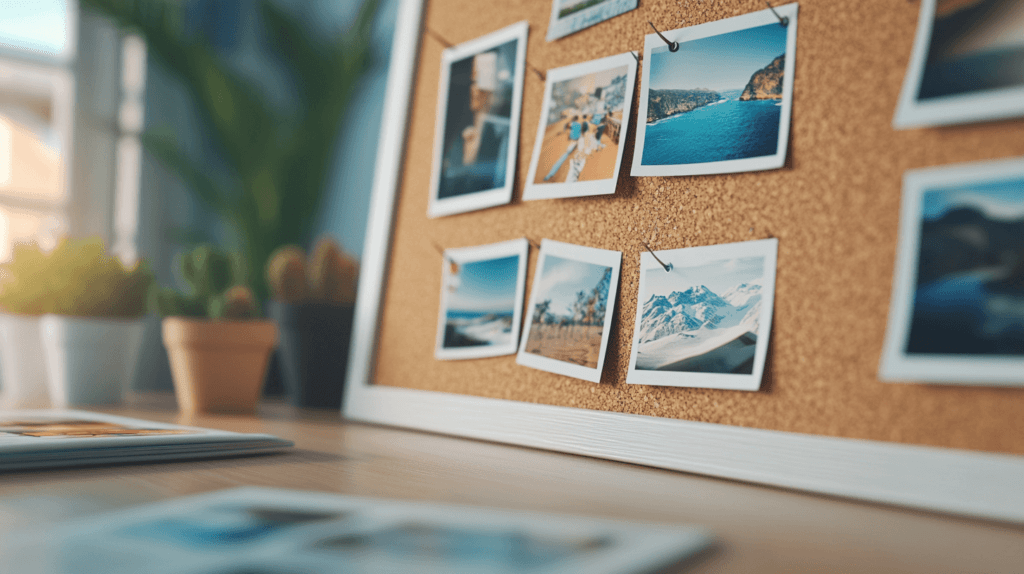
Step 2: Arrange Your Photos
Next, take your photos and arrange them on the board. Play around with the layout until you find a design you love. You can cluster photos together or spread them out. It’s like creating a collage that represents your family’s special moments.
Step 3: Add Family Mementos to Your Craft
Now, it’s time to personalize your board with mementos. These could be anything from ticket stubs from a family vacation, a postcard from a memorable trip, or even a small souvenir. Pin these items around your photos. This adds a layer of depth to your Memory Board, making it a more personal keepsake.
Step 4: Decorate with Washi Tape and Ribbons
To add some flair, use washi tape or decorative ribbon around the edges of your board or in between photos. This is where you can get creative with colors and patterns that reflect your family’s personality. The washi tape is easy to use and reposition, so feel free to experiment.
Step 5: Secure Everything
Once you’re happy with the layout, start securing everything in place. Use push pins for photos and mementos, and glue for the scrapbook paper and ribbons. Make sure everything is well-secured, especially if you plan to hang the board on a wall.
Step 6: Add Final Touches
For the final touches of your family craft, you can add stickers or other embellishments if you like. This step is optional, but it’s a great way to add a bit more personality to the board. If you have kids, let them pick out their favorite stickers to contribute.
Why This Craft Stands Out
The DIY Memory Board isn’t just another craft project; it’s a way to capture and display your family’s most treasured moments. Unlike other crafts that might end up forgotten in a drawer, this one becomes a part of your home decor. Every time you walk by it, you’re reminded of those fun times you had together.
This craft is also flexible. You can make it as big or small as you want, and you can always add to it over time. It grows with your family, which is part of what makes it so special.
A Craft for All Ages
One of the best things about this family craft idea is that it’s suitable for all ages. Younger children can help by picking out photos or placing stickers, while older kids and adults can take on more of the design work. It’s a team effort, and everyone gets to contribute in their own way.
Not every family craft idea has to be complicated or messy. Sometimes, the most meaningful projects are the ones that focus on bringing everyone together for a common goal. This Memory Board is just that—a project that encourages bonding, creativity, and the sharing of memories.
Displaying Your Memory Board
Once your board is complete, find the perfect spot to display it. Whether it’s in the living room, a hallway, or even a bedroom, make sure it’s a place where everyone can enjoy it. The beauty of this project is that it’s not just about the end result; it’s about the process of creating it together as a family.
You can even make this craft a family tradition. Create a new Memory Board each year to document the moments that mattered most. Over time, you’ll have a board collection that tells the story of your family’s journey.
A Few Family Craft Tips for Success
Here are a few tips to ensure your Memory Board turns out just right:
- Use a variety of photo sizes: Mixing up the sizes of your photos adds interest and dimension to your board.
- Don’t overcrowd: While it’s tempting to include every single memory, try to focus on the highlights. You can always make another board if you run out of space.
- Get creative with layouts: Don’t feel like you have to stick to a grid. Angled photos or overlapping pictures can make the board more dynamic.
Final Thoughts on This Idea for a DIY Family Memory Board Craft
Crafting doesn’t have to be complicated to be meaningful. The DIY Memory Board is proof of that. It’s a simple, yet impactful project that any family can enjoy. Plus, it’s a great way to spend quality time together, creating something that’s uniquely yours.
If you’re looking for a family craft idea that’s both fun and sentimental, give this one a try. You won’t be disappointed, and you’ll end up with a keepsake that you’ll treasure for years to come.
By following these steps, you’ll create a Memory Board that’s not only beautiful but also filled with the memories that matter most. And who knows? This might just become your family’s new favorite tradition.