
I love a loaf that looks humble on the counter, then somehow gets everybody hovering nearby. A good banana nut bread recipe does exactly that without demanding pastry-school skills or twelve mystery ingredients. You need ripe bananas, pantry basics, a handful of nuts, and a little restraint. That last part matters more than people admit.
Banana bread can go wrong in sneaky ways. It can turn gummy in the middle, dry around the edges, or oddly bland. Meanwhile, those deeply speckled bananas are sitting there looking suspiciously past their prime. They’re not a problem. Instead, they’re basically your cue to make something very good.
As a mom, I appreciate recipes that rescue food before it lands in the trash. Bananas might be the reigning champions of that category. One minute they’re perfect, and the next they’re covered in brown polka dots like tiny kitchen warnings.
Still, I don’t want banana bread that’s merely a way to avoid food waste. I want a thick slice with a tender crumb, real banana flavor, and plenty of toasted nutty crunch. It should taste rich without turning heavy. Also, it shouldn’t need a frosting situation to save it.
This version keeps things simple, but not boring. A few small choices make a bigger difference than extra ingredients ever could. The bananas matter, the mixing matters, and yes, the pan matters too. Yet the part most people rush comes a little later, and it’s probably why their loaf keeps disappointing them.
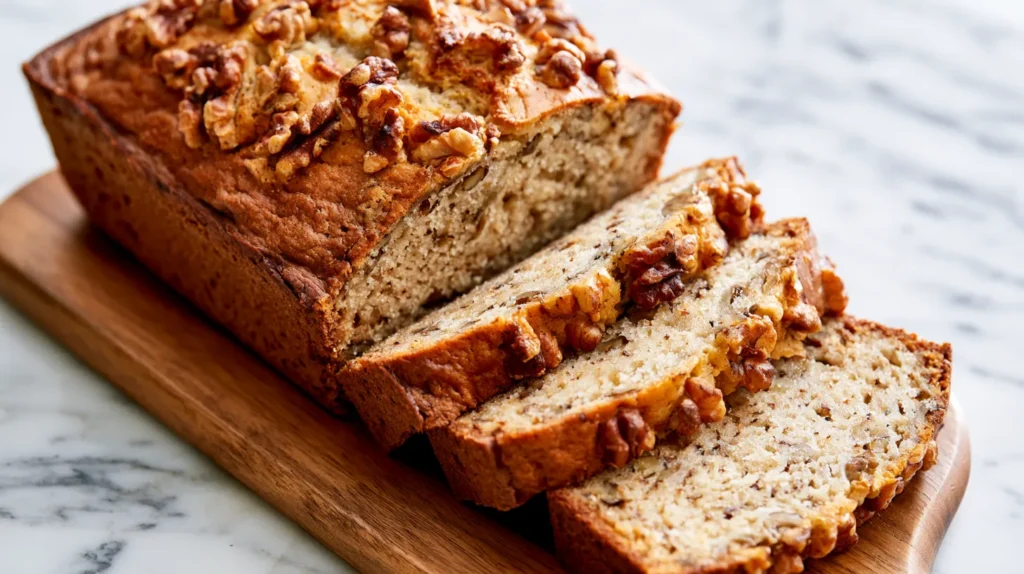
Some of the links on this page are affiliate links. That means if you click and make a purchase, I may earn a small commission at no extra cost to you. If you’re curious about the fine print, you can check out my full disclosure.
Why This Banana Nut Bread Recipe Works
The best banana nut bread recipe doesn’t need to be complicated. In fact, extra fuss can work against you here. Banana bread is at its best when the crumb stays soft and the flavor stays clear. Too many add-ins can turn a cozy loaf into a confused snack cake.
I like using melted butter because it keeps the process easy. There’s no waiting for butter to soften, and no mixer needs counter space. Brown sugar adds a little caramel depth, while granulated sugar keeps the loaf from getting too heavy. That balance matters more than using a huge amount of either.
Then we have the bananas. Very ripe bananas bring sweetness, moisture, and stronger flavor. Yellow bananas with a few brown dots can work, but darker fruit gives better results. This is one of those rare kitchen moments when ugly is useful.
The nuts do more than add crunch. Walnuts give a slightly earthy flavor that keeps the sweetness in check. Pecans taste softer and a little richer, so they work beautifully too. I tend to choose whatever I already have, because this recipe handles either choice well.
A little cinnamon adds warmth without turning the loaf into spice bread. Vanilla rounds out the banana flavor, while salt keeps everything from tasting flat. None of those ingredients should dominate. They should make the loaf taste more like itself.
Here’s the sneaky part: the texture depends on what you don’t do. Don’t beat the batter smooth. Then stop mixing because one flour streak offended you. A few gentle folds protect the tender crumb you’re trying to get.
That restraint is the whole game. Banana bread rewards a light hand, which seems almost suspiciously easy. It is easy, but the details still get the final word.
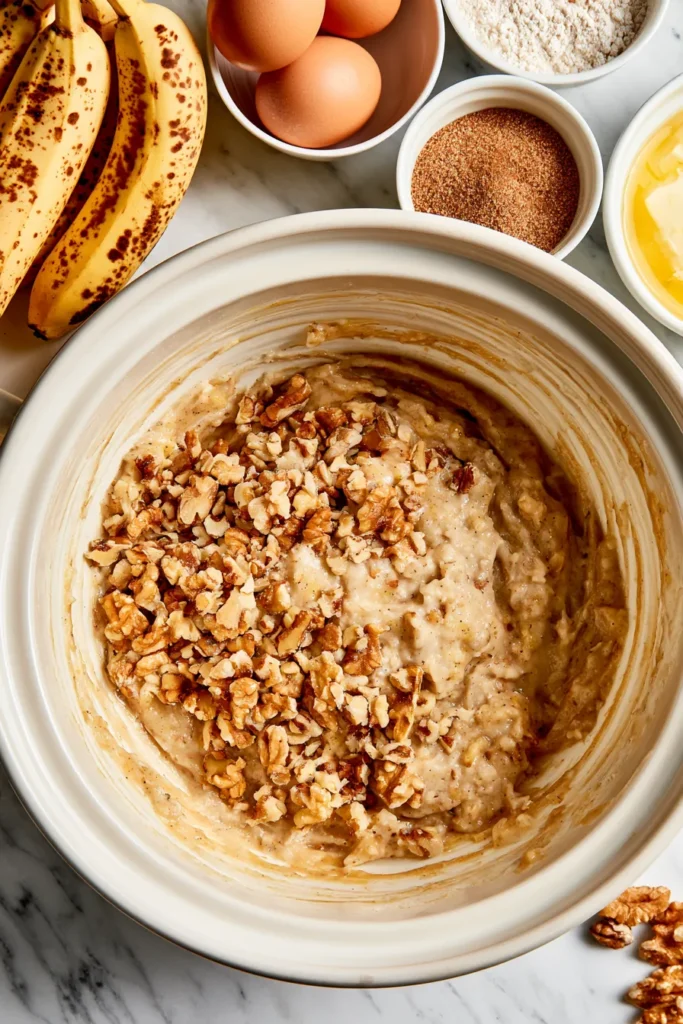
Ingredients for This Banana Nut Bread Recipe
A banana nut bread recipe shouldn’t require a scavenger hunt through three grocery stores. Most of these ingredients are basic, and each one has a clear job. I like that kind of recipe. It respects both my time and my grocery bill. Better yet, nothing here needs special ordering.
Yield: one 9-by-5-inch loaf, about 10 slices. Prep takes 15 minutes; baking takes 55 to 65 minutes.
For one standard 9-by-5-inch loaf, you’ll need:
- 3 very ripe medium bananas, mashed, about 1 1/4 cups
- 1/2 cup unsalted butter, melted and slightly cooled
- 1/2 cup packed light brown sugar
- 1/4 cup granulated sugar
- 2 large eggs, at room temperature if possible
- 1 teaspoon vanilla extract
- 1 3/4 cups all-purpose flour
- 1 teaspoon baking soda
- 1/2 teaspoon ground cinnamon
- 1/2 teaspoon salt
- 3/4 cup chopped walnuts or pecans
- 2 tablespoons chopped nuts, optional for the top
The bananas carry a lot of the moisture, so measuring them helps. Three medium bananas usually work, but banana sizes are wildly unserious. If your fruit is enormous, mash it first and measure. Too much banana can make the center dense or gummy.
Brown sugar gives the loaf moisture and a deeper flavor. However, all brown sugar can make banana bread heavier than I want. The small amount of white sugar keeps the sweetness bright without pushing things into dessert territory.
You can use salted butter if that’s what you have. Just reduce the added salt to about 1/4 teaspoon. I wouldn’t swap in oil unless you prefer a softer, less buttery loaf. It works, but the flavor changes.
For the nuts, raw or toasted both work. Toasted nuts bring more flavor, though. That’s one small extra step I think earns its keep.
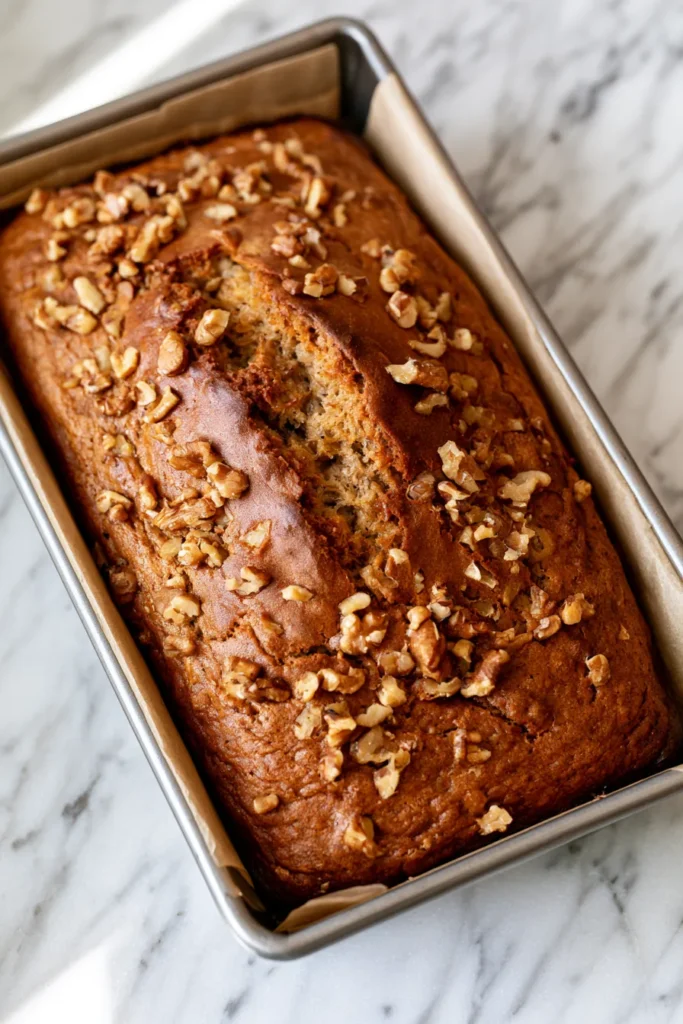
How to Make This Banana Nut Bread Recipe
This banana nut bread recipe moves quickly once the ingredients are ready. So, I like to heat the oven first and prep the pan before mixing. That keeps the batter from sitting around while I suddenly remember parchment paper exists.
Start by heating the oven to 350°F. Grease a 9-by-5-inch loaf pan, then line it with parchment if you like. Leave a little overhang on the long sides. That makes the finished loaf much easier to lift out.
Then follow these steps:
- Mash the bananas in a large bowl until mostly smooth. A few small lumps are completely fine.
- Whisk in the melted butter, brown sugar, and granulated sugar. Mix until the sugars look evenly moistened.
- Add the eggs and vanilla. Whisk just until the mixture looks combined.
- In a separate bowl, whisk the flour, baking soda, cinnamon, and salt.
- Fold the dry ingredients into the wet mixture using a spatula. Stop when only a few flour streaks remain.
- Fold in 3/4 cup chopped nuts. Don’t keep stirring once they’re evenly spread through the batter.
- Spread the batter into the pan and smooth the top. Add the extra nuts if you’re using them.
- Bake for 55 to 65 minutes. Start checking around 55 minutes.
- Cool in the pan for 15 minutes, then lift the loaf onto a rack.
- Let it cool at least 45 minutes before slicing for the cleanest texture.
A toothpick should come out with a few moist crumbs. Wet batter means the loaf needs more time. A spotless toothpick can mean you’ve gone a little too far.
That cooling step is the annoying one. It’s also the one I wouldn’t skip.
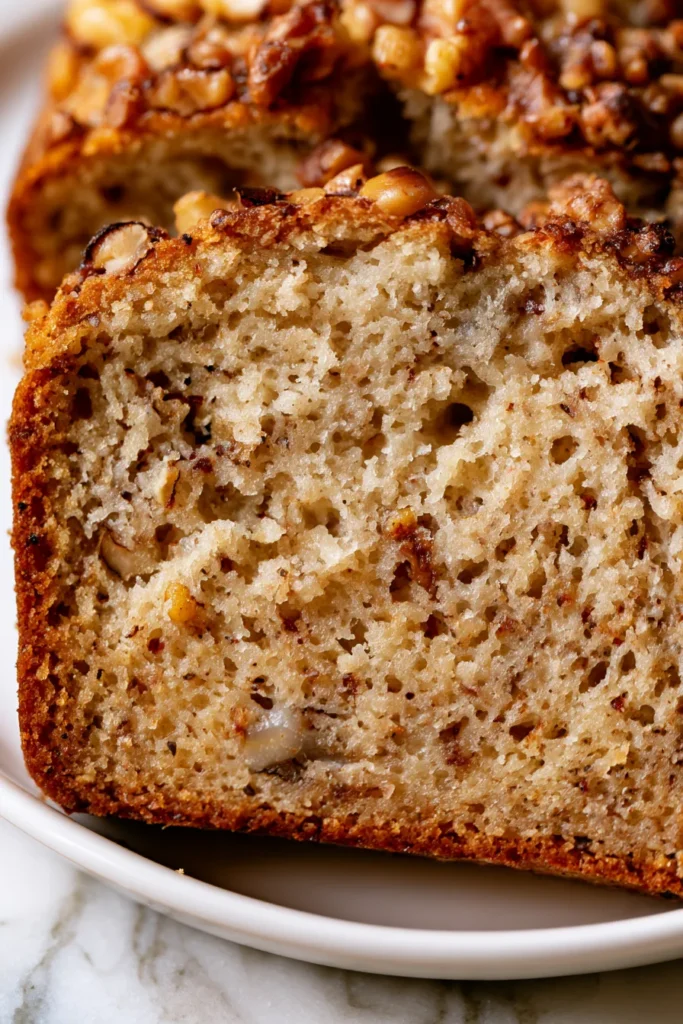
The Banana Question Nobody Should Overthink
People love to ask how ripe bananas should be for a banana nut bread recipe. I get it, because fruit goes from green to freckled to alarming very quickly. Still, this answer is refreshingly low drama. You want soft bananas with lots of brown spots and a strong sweet smell.
Mostly yellow bananas will still make bread. However, they won’t bring the same deep banana flavor. Their starches haven’t converted as fully into sugar yet. As a result, the loaf can taste flatter even if the texture looks fine.
Very dark bananas are usually great for baking. The peel can look almost black while the fruit inside stays perfectly usable. Of course, toss bananas with mold, leaking liquid, or a fermented smell. Brown isn’t the issue; spoilage is. That distinction saves a lot of perfectly good baking bananas.
If your bananas aren’t ripe enough, you have options. You can wait, which is painfully sensible. Or place them in a paper bag with an apple for a day or two. That traps ethylene gas and speeds ripening.
The oven trick also exists, but I treat it as a backup plan. Baking whole bananas can soften and sweeten them somewhat. Yet it doesn’t create exactly the same flavor as natural ripening. Time still wins this particular contest.
Frozen ripe bananas work well too. Thaw them completely, then use both the fruit and its released liquid. That liquid contains banana flavor and moisture, so don’t pour it away.
Here’s what changes the whole banana situation: brown bananas aren’t merely “good enough” for baking. They’re often better than prettier fruit. The bananas nobody wants in a lunchbox can make the loaf everyone wants sliced first.
Banana Nut Bread Recipe Tips That Matter
A banana nut bread recipe can look forgiving right up until the center sinks. Then suddenly everyone has questions. Usually, the problem isn’t some mysterious baking curse. It’s one small choice that seemed harmless at the time.
These are the details I pay attention to:
- Measure the flour carefully. Spoon it into the measuring cup, then level the top. Scooping packs in extra flour.
- Don’t overmix the batter. Stirring builds gluten, which can make the loaf tougher and more chewy.
- Use the right pan size. A smaller pan makes a deeper loaf that needs more baking time.
- Check your baking soda. Old baking soda can leave you with a short, heavy loaf.
- Watch the top near the end. If it browns too fast, loosely cover it with foil.
- Test more than one spot. A melted banana pocket can fool a toothpick test.
- Cool before slicing. Warm banana bread can look underbaked even when it’s fully cooked.
I know the last tip is deeply inconvenient. Warm banana bread smells so good that waiting suddenly seems wildly unreasonable. Still, cooling gives the crumb time to set and moisture time to settle.
Overbaking causes just as many problems as underbaking. The loaf keeps cooking slightly after it leaves the oven. So, I pull it once the center tests done with moist crumbs.
One more thing: ovens can run hot or cool. If your baked goods always finish early, trust the pattern. A cheap oven thermometer can explain years of unnecessary baking drama. It’s boring, cheap, and surprisingly useful for this kind of baking.
Good banana bread doesn’t need perfection. It needs a few reliable guardrails and a willingness to stop mixing sooner.
Walnuts, Pecans, and the Great Nut Debate
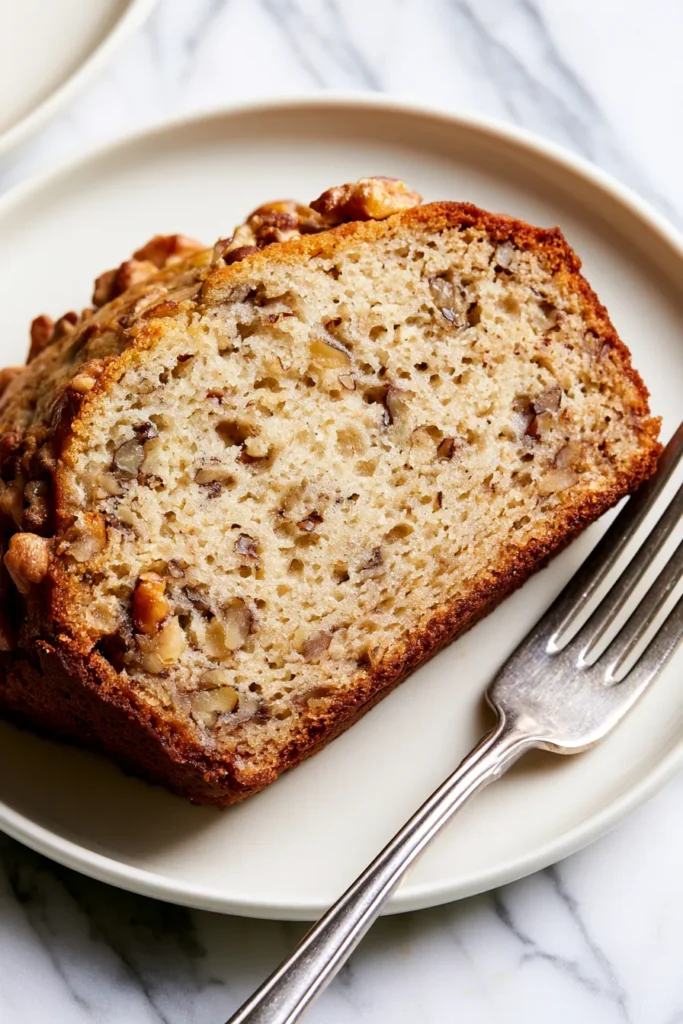
In a banana nut bread recipe, walnuts are the classic choice, and I understand why. Their slight bitterness balances sweet banana flavor without competing with it. They also stay pleasantly firm inside the soft crumb. That contrast makes each slice more interesting. Plus, walnuts bring enough texture without making the loaf seem busy.
Pecans give you a different result. They’re buttery, mild, and a little sweeter than walnuts. I tend to notice that pecans make the loaf taste richer. Neither nut is “correct,” which is excellent news for anyone tired of food rules.
Toasting the nuts changes more than people expect. A few minutes of heat deepens their flavor and improves their crunch. You can toast them at 350°F for about six to eight minutes. Watch them closely because nuts can go from golden to regrettable fast. Their smell usually changes right before their color does.
Let toasted nuts cool before adding them to the batter. Warm nuts can soften the surrounding mixture and make folding messier. Also, chopping them fairly evenly gives you better slices. Huge pieces can tear through the loaf when you cut it.
If you don’t want nuts, leave them out. You’ll still have a soft banana loaf with plenty of flavor. This is where I part ways with recipe purists. A recipe should allow a reasonable preference without falling apart.
You can also replace some nuts with chocolate chips. Just keep the total add-ins around 3/4 cup. Too many extras weigh down the batter and blur the banana flavor.
The real goal isn’t maximum stuff in every bite. It’s balance. Banana should still lead, while the nuts add contrast and make the next bite tempting.
Serving and Storing Banana Nut Bread
A banana nut bread recipe rarely needs much help once it’s sliced. That’s part of its charm on a busy morning. Still, a few serving choices can turn a simple piece into breakfast, snack, or dessert. I like options that don’t bury the banana flavor under a mountain of toppings.
Try serving it:
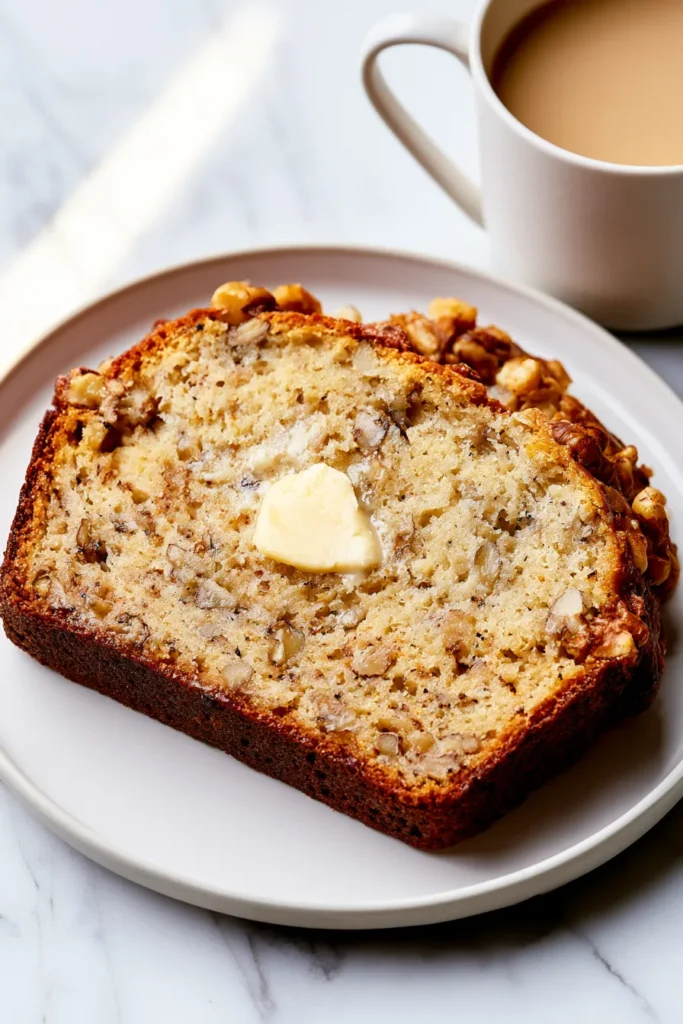
- Warm with salted butter for the classic, slightly indulgent route.
- With cream cheese for a tangy contrast that works especially well at breakfast.
- Alongside coffee or tea when you want something easy but not overly sweet.
- With fresh berries for a lighter plate that still feels complete.
- Pair it with Greek yogurt for a more filling breakfast or afternoon snack.
- Lightly toasted when the loaf is a day or two old.
- With vanilla ice cream if we’re clearly calling this dessert now.
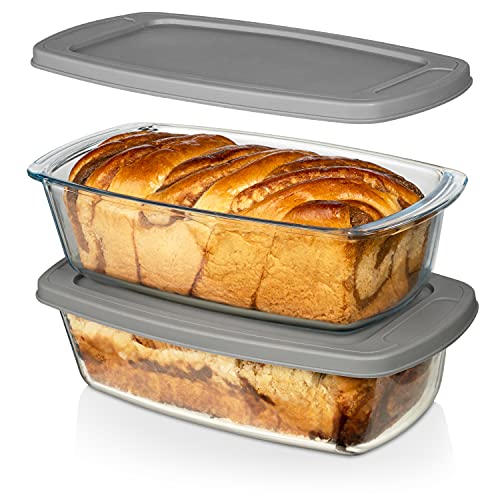
For storage, let the loaf cool completely first. Then wrap it tightly or place it in an airtight container. It keeps well at room temperature for about two days. After that, I prefer the refrigerator or freezer.
Refrigeration can dry bread faster, so wrap it well. For longer storage, freeze individual slices. Wrap each slice tightly, then place them in a freezer bag. That makes it easy to grab only what you need. It also prevents repeated thawing and refreezing.
Frozen banana bread keeps its best quality for about three months. Thaw slices at room temperature or warm them gently. A toaster oven works especially well because it revives the edges.
Here’s my small but firm opinion: don’t store the loaf uncovered “just for a little while.” Air starts drying it almost immediately. Leaving this banana nut bread recipe uncovered can turn tomorrow’s slice into a countertop brick.
Variations Worth Trying
Once a banana nut bread recipe works, it’s tempting to start throwing things into it. I support that instinct within reason. The trick is changing one or two things while keeping the batter balanced. Otherwise, your banana bread becomes a pantry clean-out project.
Chocolate chips are the obvious variation. Semi-sweet chips add sweetness without completely taking over. I like replacing half the nuts with chips instead of adding both full amounts. That keeps the loaf from getting overloaded.
Cinnamon can also go a little further. Add a pinch of nutmeg for a warmer flavor, especially in fall. However, skip the whole spice cabinet. Banana has a gentle flavor, and too much spice can flatten it.
You can add shredded coconut, but keep the amount modest. About 1/3 cup works well without changing the texture too much. Toasted coconut on top gives more flavor than stirring a huge amount inside.
For a brighter loaf, add a little orange zest. One teaspoon can wake up the banana flavor without making the bread taste citrusy. It’s subtle, which is exactly why it works. The loaf still reads banana first, which is exactly where I want it.
Mini loaves are another fun option. Divide the batter between greased mini loaf pans and start checking early. Smaller loaves bake much faster, so don’t use the full baking time.
Muffins work too. Fill lined muffin cups about three-quarters full and bake at 350°F. Start checking around 18 minutes, though size changes the timing.
My favorite rule for variations is simple: change the flavor, not the structure. Once the flour, moisture, fat, and eggs stay balanced, you have plenty of room to play.
FAQs About Banana Nut Bread
Can I make banana nut bread with frozen bananas? Yes. Thaw them fully and keep the liquid they release. Mash everything together, then measure about 1 1/4 cups. Frozen bananas often become very soft, which makes them easy to mix.
Can I use walnuts and pecans together? Definitely. Use any mix you like, but keep the total near 3/4 cup. That gives you plenty of crunch without weighing down the batter.
Why is my banana bread gummy in the middle? Too much banana, underbaking, or overmixing can cause that texture. Cutting the loaf too soon can also make the center seem gummy. Let it cool before judging the crumb.
Can I reduce the sugar? You can reduce it slightly, but sugar affects more than sweetness. It also helps with moisture and browning. I wouldn’t cut more than about 1/4 cup total on your first try.
Can I make this banana nut bread recipe without a mixer? Yes, and I prefer it that way. A whisk and spatula give you plenty of control. They’re also less likely to encourage overmixing.
How do I know when banana bread is done? Insert a toothpick near the center in more than one spot. It should come out with moist crumbs, not wet batter. The top should also spring back lightly when pressed.
Can I freeze the whole loaf? Yes. Cool it completely, wrap it tightly, then add a freezer-safe outer layer. Thaw it wrapped at room temperature to protect the moisture.
What nuts taste best in banana bread? Walnuts taste classic and slightly earthy. Pecans taste sweeter and richer. I choose based on what I want that day, which is gloriously low stakes.
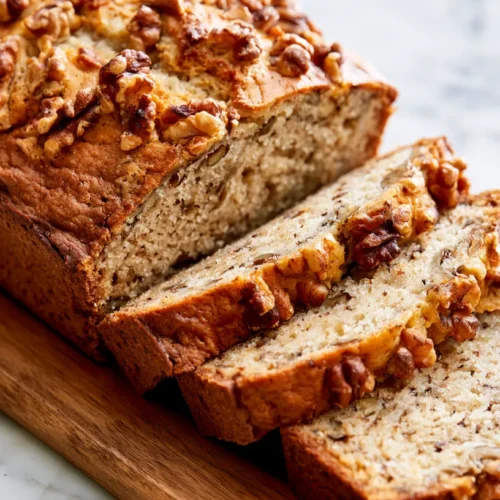
Banana Nut Bread
Ingredients
- 3 very ripe medium bananas mashed, about 1 1/4 cups
- 1/2 cup unsalted butter melted and slightly cooled
- 1/2 cup packed light brown sugar
- 1/4 cup granulated sugar
- 2 large eggs at room temperature if possible
- 1 teaspoon vanilla extract
- 1 3/4 cups all-purpose flour
- 1 teaspoon baking soda
- 1/2 teaspoon ground cinnamon
- 1/2 teaspoon salt
- 3/4 cup chopped walnuts or pecans
- 2 tablespoons chopped nuts optional for the top
Instructions
- Heat the oven to 350°F.
- Grease a 9-by-5-inch loaf pan, then line it with parchment if you like. Leave a little overhang on the long sides.
- Mash the bananas in a large bowl until mostly smooth. A few small lumps are completely fine.
- Whisk in the melted butter, brown sugar, and granulated sugar. Mix until the sugars look evenly moistened.
- Add the eggs and vanilla. Whisk just until the mixture looks combined.
- In a separate bowl, whisk the flour, baking soda, cinnamon, and salt.
- Fold the dry ingredients into the wet mixture using a spatula. Stop when only a few flour streaks remain.
- Fold in 3/4 cup chopped nuts. Don’t keep stirring once they’re evenly spread through the batter.
- Spread the batter into the pan and smooth the top. Add the extra nuts if you’re using them.
- Bake for 55 to 65 minutes. Start checking around 55 minutes.
- A toothpick should come out with a few moist crumbs. Wet batter means the loaf needs more time.
- Cool in the pan for 15 minutes, then lift the loaf onto a rack.
- Let it cool at least 45 minutes before slicing for the cleanest texture.

The Loaf That’s Worth Saving a Few Bananas For
There’s something satisfying about turning overripe bananas into something people genuinely want to eat. Not tolerate. Certainly not politely accept. I mean slice again because the first piece disappeared faster than expected.
That’s why I’d happily keep a simple banana nut bread recipe close. It doesn’t need a complicated topping or a dramatic swirl. The good part happens in the crumb, the toasted nuts, and those dark bananas nobody wanted yesterday.
As a mom, I also enjoy a recipe that doesn’t create a sink full of equipment. One bowl for wet ingredients, another for dry, and we’re basically done. That’s my preferred level of kitchen ambition on an ordinary day.
I also think people dismiss banana bread as beginner baking too quickly. Sure, it’s approachable. Yet tiny choices still separate a fine loaf from a really good one. Measuring the banana, folding gently, and waiting before slicing matter more than flashy extras.
If you save recipes on Pinterest, this is the kind I’d tuck away before the next banana emergency. Because there will be another one. Bananas can go from perfect to spotted with almost comical speed.
The best part is that you don’t need perfect fruit or perfect timing. You just need ripe bananas, a few pantry basics, and enough patience to let the loaf cool. (Yes, I’m still insisting on that part.)
That little transformation is why I never rush to toss them. Brown bananas on the counter aren’t bad news. They’re tomorrow’s breakfast, already halfway handled.