There’s something special about hearing wind chimes on a breezy day. It’s like nature’s own music, soft and soothing. Store-bought wind chimes are nice, but making your own DIY wind chimes? That’s next-level fun. You can pick the sounds, the colors, and the materials. You get a little creative time while also ending up with something pretty and practical.
DIY wind chimes are surprisingly easy to make, and the options are endless. Whether you want something elegant, rustic, colorful, or unique, you can create a design that fits your style. Plus, they make great gifts! Handmade gifts always feel more personal, and wind chimes are something people actually use.
The best part? You probably already have things around the house that would work. Old keys, seashells, beads, silverware—so many things can be turned into a wind chime. If you love a good upcycling project, this is a great one.
In this post, I’ll walk you through different types of DIY wind chimes you can make, the best materials to use, and some creative ideas for personalizing your chime. Whether you’re a crafter or just looking for a fun afternoon project, there’s something here for you. And if you have kids, this can be a great way to keep little hands busy while making something beautiful.
Let’s get into the details and start turning everyday objects into lovely, one-of-a-kind wind chimes.
This site includes affiliate links; you can check the disclosure for more details.
Best Materials to Use
Choosing the right materials for your DIY wind chime makes a big difference. Check that your wind chime sounds great, is durable, and looks fantastic. Here are some of the best options:
For the chime pieces:
- Metal pipes – These give the classic wind chime sound. You can find them at a hardware store or repurpose old curtain rods.
- Wooden dowels – A softer, more subtle sound. Good for a rustic look.
- Keys – A great upcycling idea! Old keys make a nice jingling sound.
- Silverware – Forks, spoons, and knives create an interesting, tinkling sound.
- Beads and bells – These don’t make as much sound on their own but add decoration and movement.
- Seashells – Light and breezy, perfect for a beachy theme.
What to Use for the base (the part everything hangs from):
- Driftwood or sticks – Great for a natural, earthy feel.
- Wooden embroidery hoops – Perfect for a circular wind chime.
- Mason jar lids – A fun, repurposed option.
For hanging:
- Fishing line – Nearly invisible and holds up well outside.
- Twine or string – Adds a rustic look but may wear out faster.
- Wire – Strong and sturdy, great for heavier pieces.
The key is mixing materials that create sound when they touch. Think about what sounds nice to you—soft, delicate, or bold and musical.

How to Make a Simple DIY Wind Chime
Ready to make your own? Here’s an easy step-by-step guide:
- Choose your materials – Pick what you want to use for the chimes, base, and hanging pieces.
- Drill or punch holes – If your pieces don’t already have holes, you’ll need to add some so they can hang. Use a drill for metal and wood or a hammer and nail for softer materials.
- Prepare your base – If using driftwood, sand it down. If using a lid or hoop, make sure it’s clean and sturdy.
- Cut and attach strings – Decide how long you want your chimes to hang. Cut pieces of fishing line or twine and tie them securely to each piece.
- Attach to the base – Tie or loop your hanging pieces to the base. Space them out so they don’t tangle.
- Add finishing touches – Beads, paint, or even some glitter can make your wind chime unique.
- Hang it up – Find a good spot where the wind can catch it and enjoy!
It’s that simple. This is a fun way to use things you already have, and each wind chime turns out one of a kind.
Fun Wind Chime Themes to Try
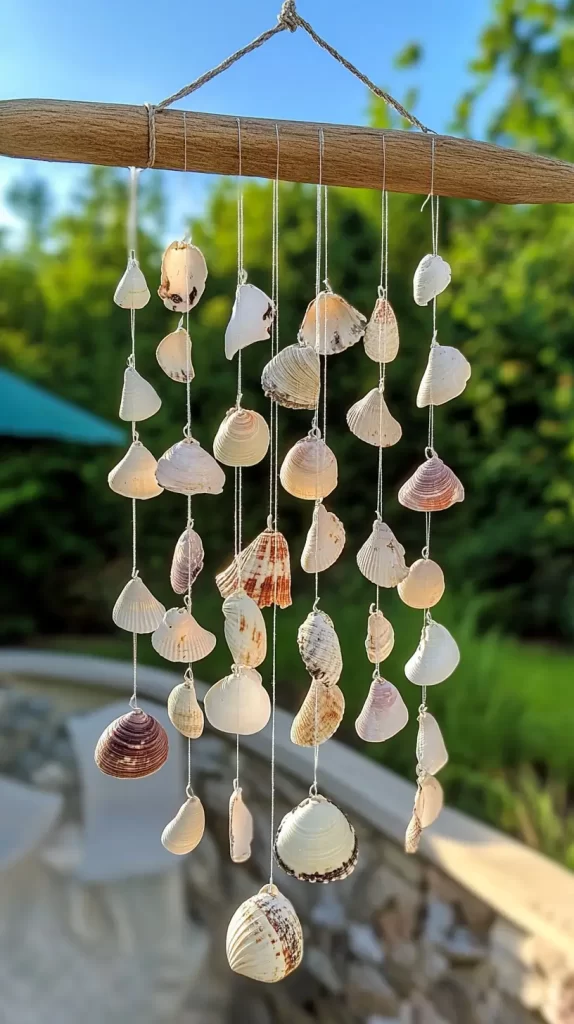
Beachy DIY Wind Chime
Love the ocean? Bring a little of that breezy, beachy vibe home.
- Use driftwood as the base for a natural look. If you don’t have any, a weathered stick works, too.
- Hang seashells by drilling small holes and threading them with fishing line.
- Add light blue and white beads to mimic sea glass. If you have real sea glass, even better!
- Small pieces of metal or tiny bells can give it a soft, calming sound.
Boho Chime
This one is all about texture, color, and variety.
- Start with a wooden embroidery hoop or a branch as your base.
- Mix wooden beads, metal charms, and feathers for a playful, layered look.
- Use twine or colorful yarn instead of regular string for extra flair.
- Old jewelry, tiny bells, or keychains add fun, unexpected sounds.
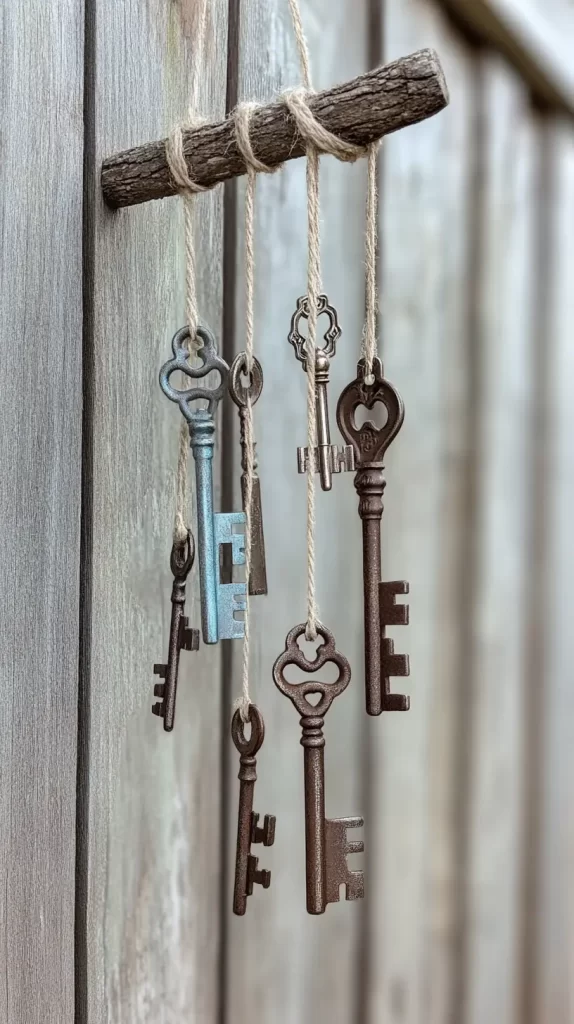
Rustic Chime
Perfect for farmhouse lovers! This chime is simple but charming.
- Use a sturdy stick, metal ring, or even an old horseshoe as the base.
- Hang old keys, spoons, or metal washers for a vintage, jingling sound.
- Twine gives it a rustic look, but wire will last longer outdoors.
- Want a pop of color? Paint the keys or dip them in vinegar for an aged patina.
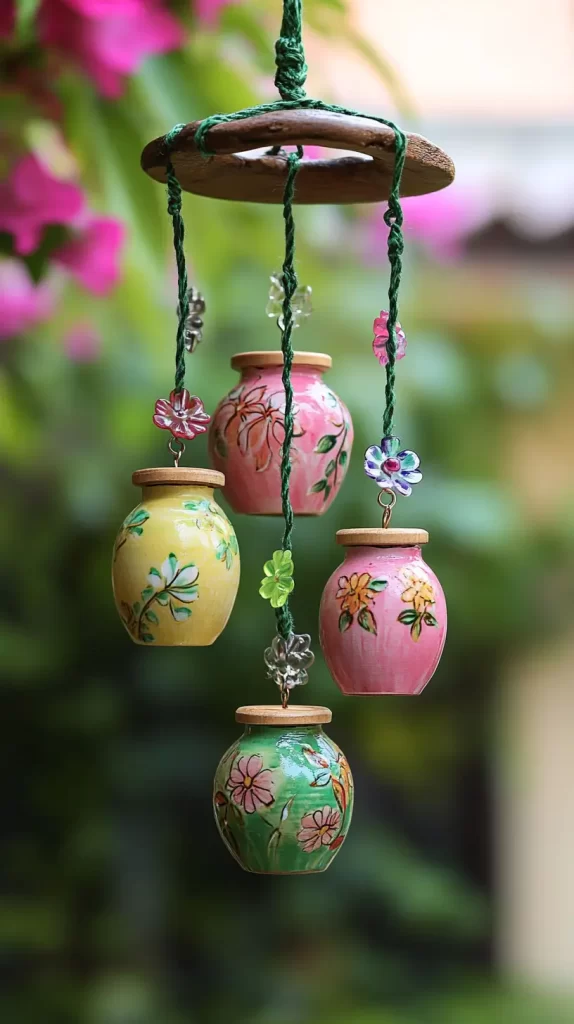
Garden Chime
A wind chime that blends right into your backyard.
- Use small clay pots as the main pieces. They make a soft clinking sound.
- Paint flowers, butterflies, or leaves on the pots for decoration.
- String wooden beads, flower charms, or glass gems for extra sparkle.
- Add a little bell or chime at the bottom for a finishing touch.
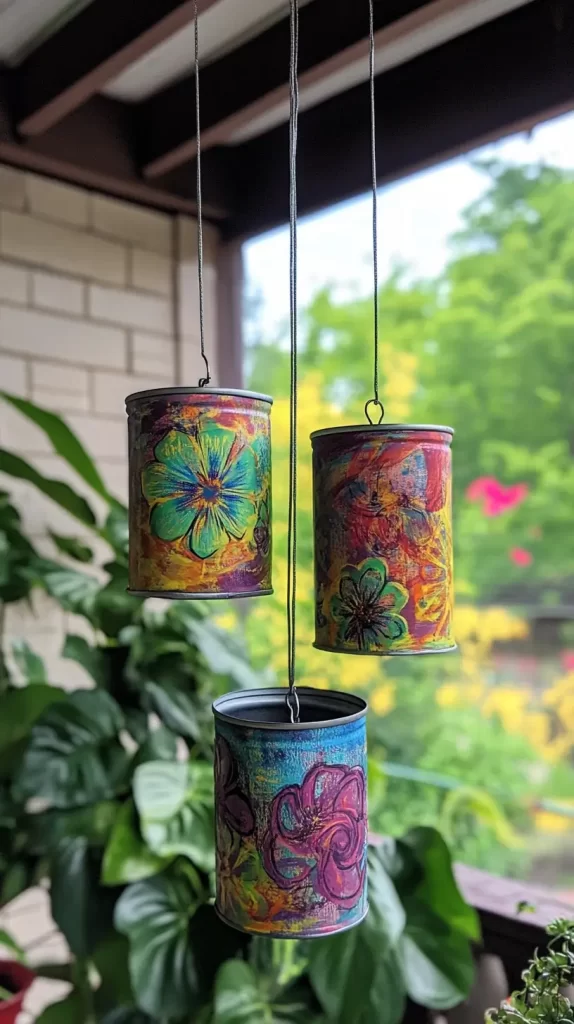
Kid-Friendly Chime
A great craft project for little hands.
- Paint tin cans in bright colors and let kids get creative with designs.
- Use plastic beads, colorful buttons, or bottle caps for fun decorations.
- Hang them with yarn or string and space them apart so they don’t tangle.
- Let kids pick their favorite sounds by adding small bells or metal charms.

Unique Wind Chime Themes to Try
Musical Chime
- Turn old xylophone bars, small cymbals, or guitar strings into a musical wind chime.
- Hang them at different lengths to create different tones when the wind blows.
- If you have an old tambourine, cut it in half and use it as the base!
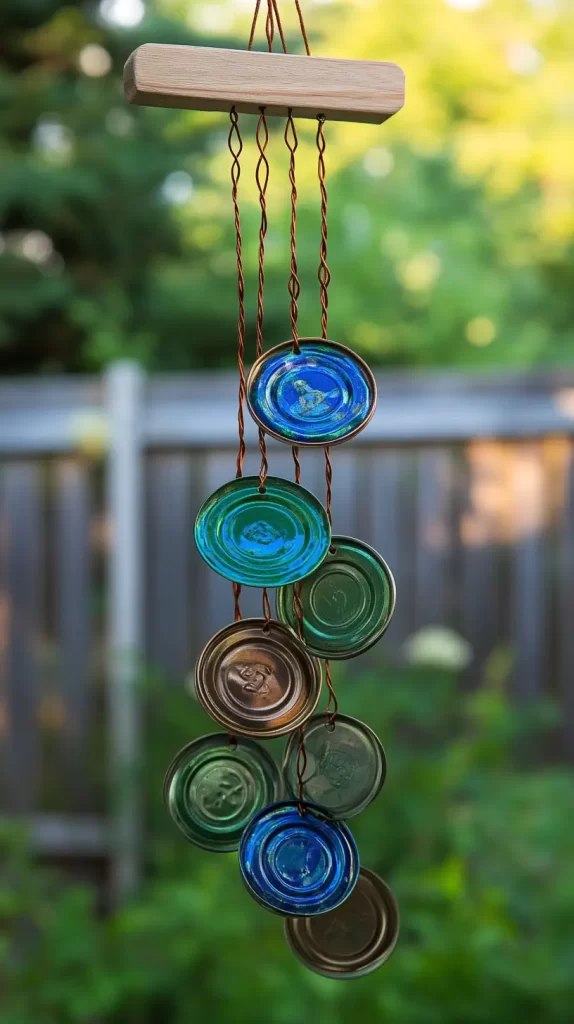
Upcycled Chime
- Perfect for repurposing items you’d normally throw away.
- Use old mason jar lids, bottle caps, or tin can tops to create a fun, eco-friendly chime.
- Try painting or stamping designs on metal pieces to make them unique.
Celestial Chime
- Inspired by the stars, this theme works great with moon and star charms, glow-in-the-dark beads, or silver bells.
- Use a wooden embroidery hoop wrapped in silver or gold ribbon for the base.
- Add small mirrors to reflect light and create a magical effect when it moves.
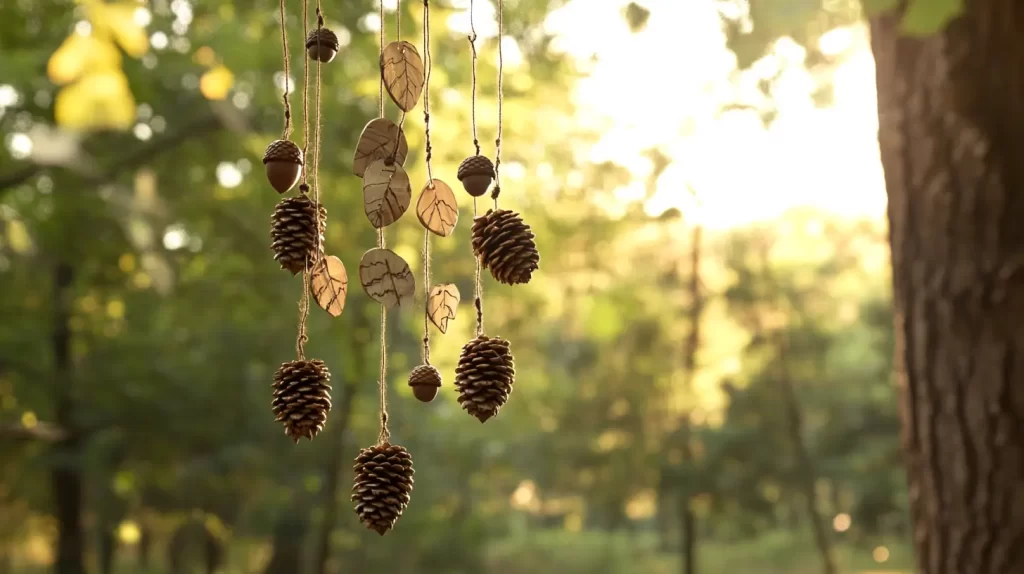
Nature-Inspired Chime
- Bring the outdoors into your design by using pinecones, acorns, and wood slices.
- Drill small holes in the wood slices to string them up. You can even paint little leaf or flower patterns on them.
- Add tiny bells or hollowed-out twigs for a light, natural sound.
Crystal and Gemstone Chime
- Use raw or tumbled crystals, glass beads, or gemstone pendants for a beautiful, colorful chime.
- Secure each piece with thin wire and hang them from a sturdy metal ring or wooden branch.
- Try using different stones like amethyst, quartz, or jade for a mix of colors and textures.

Best Paint to Use for DIY Wind Chimes
If you want your DIY wind chimes to stand out, the right paint makes all the difference. The wrong kind can chip, fade, or wash away after the first rainy day. The goal is to pick something that lasts, looks great, and works well on your chosen materials.
Best Types of Paint:
- Acrylic Paint – Great for wood, metal, and clay. It dries fast and comes in every color imaginable. For outdoor durability, seal it with a clear spray.
- Spray Paint – Perfect for a smooth, even finish. Works best on metal, plastic, and wood. Choose an outdoor or rust-resistant formula for longer-lasting color.
- Enamel Paint – The toughest choice for metal and glass. This paint dries hard and holds up to weather, making it ideal for wind chimes exposed to rain and sun.
- Outdoor Patio Paint – Designed to withstand the elements. Great for wooden wind chimes or clay pots, and it doesn’t need a sealer.
Tips for Long-Lasting Color:
- Always clean your surface first. Dirt, dust, or oils can make paint peel. Wipe everything down with a damp cloth and let it dry completely.
- Use a primer for slick surfaces. If painting glass, metal, or plastic, a primer helps the paint stick better.
- Seal it for extra protection. A clear outdoor spray sealer keeps colors from fading or chipping. Choose a matte or glossy finish, depending on your look.
- Layer thin coats instead of one thick one. This prevents drips and gives a smoother result.
Painting your wind chime makes it unique and adds personality. Whether you want a bold pop of color or a soft, weathered look, the right paint will keep it looking great for years.
Where to Hang Your DIY Wind Chime
So, you’ve made your DIY wind chime, and it looks amazing. Now, where should it go? The right spot makes all the difference. You want a place where the wind can reach it but not where it’ll be knocking into everything. Here are some of the best places to hang your new chime:
Front Porch
- Perfect for greeting guests with a soft, welcoming sound.
- Hang it near the entryway, but not right against the door where it might hit people walking in.
- If you have a covered porch, make sure it still catches the breeze by hanging it near the edge.
Backyard or Patio
- A great way to add a little charm to your outdoor space.
- Place it near a seating area for a relaxing background sound.
- If you have a pergola or an awning, hang it from the beams for a decorative touch.
Garden
- Wind chimes blend beautifully with flowers and greenery.
- Try hanging one from a shepherd’s hook or a garden trellis.
- Wooden or clay chimes work well here since they have a softer sound that won’t overpower nature’s own noises.
Near a Window
- This lets you enjoy the sound from inside, even on days you don’t go outside.
- Hang it just outside a kitchen or bedroom window for a calming effect.
- If you have a window box, try attaching it to the side so it flows with your flowers.
Tree Branches
- A natural choice, especially for a rustic or boho-style wind chime.
- Pick a sturdy branch so the chime doesn’t snap off in strong winds.
- If you want to make it extra secure, tie it with wire instead of string.
Avoid places where the wind chime might constantly hit a wall or railing. A steady, gentle breeze is best—too much wind, and it’ll clatter instead of chime.


Final Thoughts
Making DIY wind chimes is a simple and fun way to add a little music to your space. You don’t need expensive supplies or special tools—just a little creativity and some everyday materials. Whether you go for a beachy, rustic, boho, or garden-inspired design, there’s a wind chime idea for every style.
We covered:
- Best materials to use, from metal pipes to seashells.
- How to make a wind chime, step by step.
- Where to hang it, so it catches the breeze without getting tangled.
- Creative theme ideas, including musical, celestial, and upcycled designs.
Each wind chime is unique, and the best part is personalizing it. You can paint it, mix different textures, or add keepsakes that mean something special.
These also make wonderful gifts. A handmade wind chime feels personal and thoughtful. Plus, they work for birthdays, housewarmings, or just because.
If you love crafting, this is an easy project to try. It’s great for upcycling, getting creative, or even making something fun with kids. And if you’re looking for more inspiration, Pinterest has tons of ideas to help spark new designs.
Now that you have all the details, it’s time to start! Grab some materials, pick a theme, and create a wind chime that fits your style. You’ll love hearing the soft, peaceful sounds whenever the wind blows.