No-bake red velvet cheesecake balls are a simple and delicious treat that kids and adults love. Perfect for those busy days when using the oven feels like too much work or when a last-minute school event comes up. No-bake recipes are great because they are easy to follow. You can make something tasty without having to worry about preheating, baking, or burning something in the middle of your busy day. Plus, it is easy to clean up, which is a plus that all busy moms will love.
These cheesecake balls are a great choice for school functions and potlucks, and they make for a fun kitchen activity with the kids. Rolling the balls or sprinkling the crumbs is messy, but it’s an enjoyable task that creates wonderful memories (and maybe a bit of a mess). So, for a quick, sweet treat or a fun family project, these no-bake red velvet cheesecake balls are perfect.

This site contains affiliate links; please view the disclosure for more information.
No-Bake Red Velvet Cheesecake Balls
Ingredients
Cheesecake:
- 1 cup red velvet cake crumbs (from a prepared red velvet cake)
- 8 ounces cream cheese, softened
- 2 tablespoons powdered sugar
- 1 teaspoon vanilla extract
Coating:
- 1 cup white chocolate chips or candy melts
- 1 tablespoon coconut oil or shortening
- Additional red velvet cake crumbs for garnish
Instructions
- Prepare the Cheesecake Mixture: In a bowl, combine the red velvet cake crumbs, softened cream cheese, powdered sugar, and vanilla extract. Mix until smooth.
- Form the Balls: Scoop small portions of the cheesecake mixture and roll them into 1-inch balls. Place on a parchment-lined baking sheet and chill in the refrigerator for at least 1 hour to firm up.
- Prepare the Coating: In a microwave-safe bowl, melt the white chocolate chips with the coconut oil or shortening. Stir until smooth. Let the chocolate cool slightly while keeping it liquid.
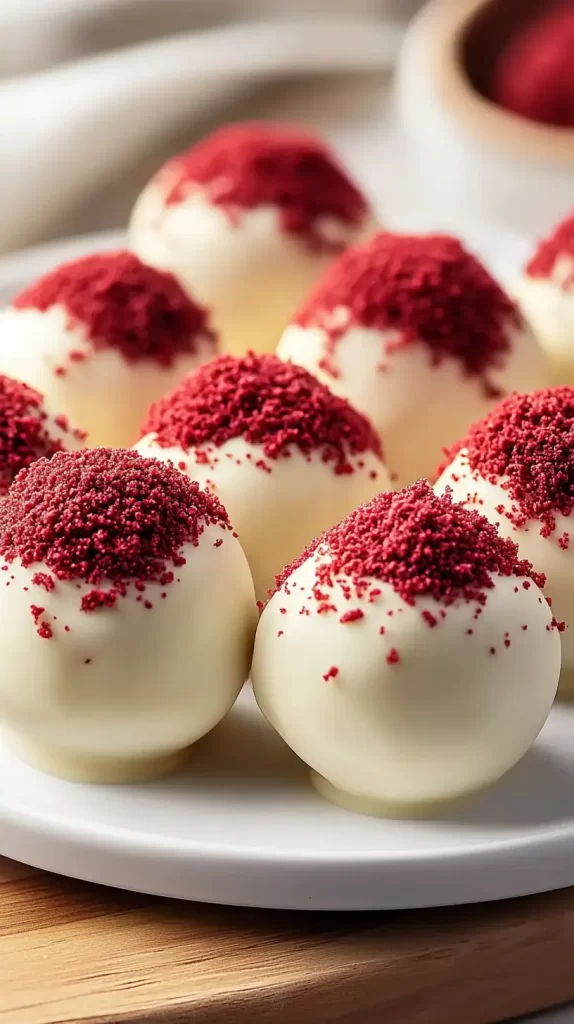
- Coat the Cheesecake Balls: Dip each chilled cheesecake ball into the melted chocolate, ensuring it’s completely coated. Let the excess chocolate drip off and place the ball back on the parchment paper. Sprinkle with red velvet crumbs for garnish. Repeat with all the cheesecake balls.
- Chill and Serve: Chill the cheesecake balls in the refrigerator until the chocolate coating is set. Serve chilled and enjoy your homemade red velvet cheesecake balls!

No-Bake Red Velvet Cheesecake Balls
InsiderMama.comIngredients
- 1 cup red velvet cake crumbs from a prepared cake
- 8 oz cream cheese softened
- 2 tbsp powdered sugar
- 1 tsp vanilla extract
- 1 cup white chocolate chips or candy melts
- 1 tbsp coconut oil or shortening
- Additional red velvet crumbs for garnish
Instructions
- Mix Filling: Combine cake crumbs, cream cheese, powdered sugar, and vanilla in a bowl until smooth.
- Form Balls: Scoop and roll the mixture into 1-inch balls. Place on parchment paper and chill for 1 hour.
- Prepare Chocolate Coating: Melt white chocolate and coconut oil together until smooth.
- Dip Balls: Dip each ball in chocolate, let excess drip off, and place back on parchment.
- Garnish: Sprinkle with red velvet crumbs.
- Chill: Refrigerate until the chocolate sets.
- Serve: Enjoy chilled.
Notes
- 8 oz cream cheese, softened
- 1/4 cup unsalted butter, softened
- 2 cups powdered sugar
- 1 tsp vanilla extract
- Blend Cream Cheese and Butter: Beat together until smooth.
- Add Sugar: Gradually mix in powdered sugar.
- Add Vanilla: Stir in vanilla extract until creamy.
- Adjust Consistency: If too thick, add a teaspoon of milk or cream.
- Chill if Needed: Refrigerate for 30 minutes for easier application.
White Chocolate Coating
Admittedly, the coating part confused me the first time I used this recipe. That is why I am adding this section in case anyone else needs more information.
In the recipe for red velvet cheesecake balls, the “coating” refers to the outer layer that encases each cheesecake ball. This coating is typically made of melted white chocolate, which can be combined with a bit of coconut oil or shortening. The oil or shortening is added to the white chocolate to make it smoother and easier to work with.
How the Coating Process Works
- Melt the Chocolate: You’ll need to melt the white chocolate chips or candy melts. This can be done in a microwave or using a double boiler. If you’re using a microwave, it’s best to do it in short intervals, stirring in between, to avoid burning the chocolate.
- Add Coconut Oil or Shortening: Once the chocolate is melted, stir in a tablespoon of coconut oil or shortening. This helps thin out the chocolate, making it easier to dip the cheesecake balls into.
- Dip the Cheesecake Balls: After your cheesecake balls have chilled and firmed up, you’ll dip them one by one into this melted chocolate mixture. You can use a fork or a dipping tool to do this. Gently roll the ball in the chocolate until it’s fully coated, then lift it out, letting any excess chocolate drip back into the bowl.
- Set the Coating: Place the chocolate-coated balls back onto a parchment-lined tray. Before the chocolate sets, you can sprinkle them with additional red velvet crumbs for decoration. Then, let them chill in the refrigerator until the chocolate coating hardens.
And that’s it! The coating adds a delightful chocolate shell to the creamy, flavorful center of the cheesecake balls, creating a lovely contrast in textures and flavors.
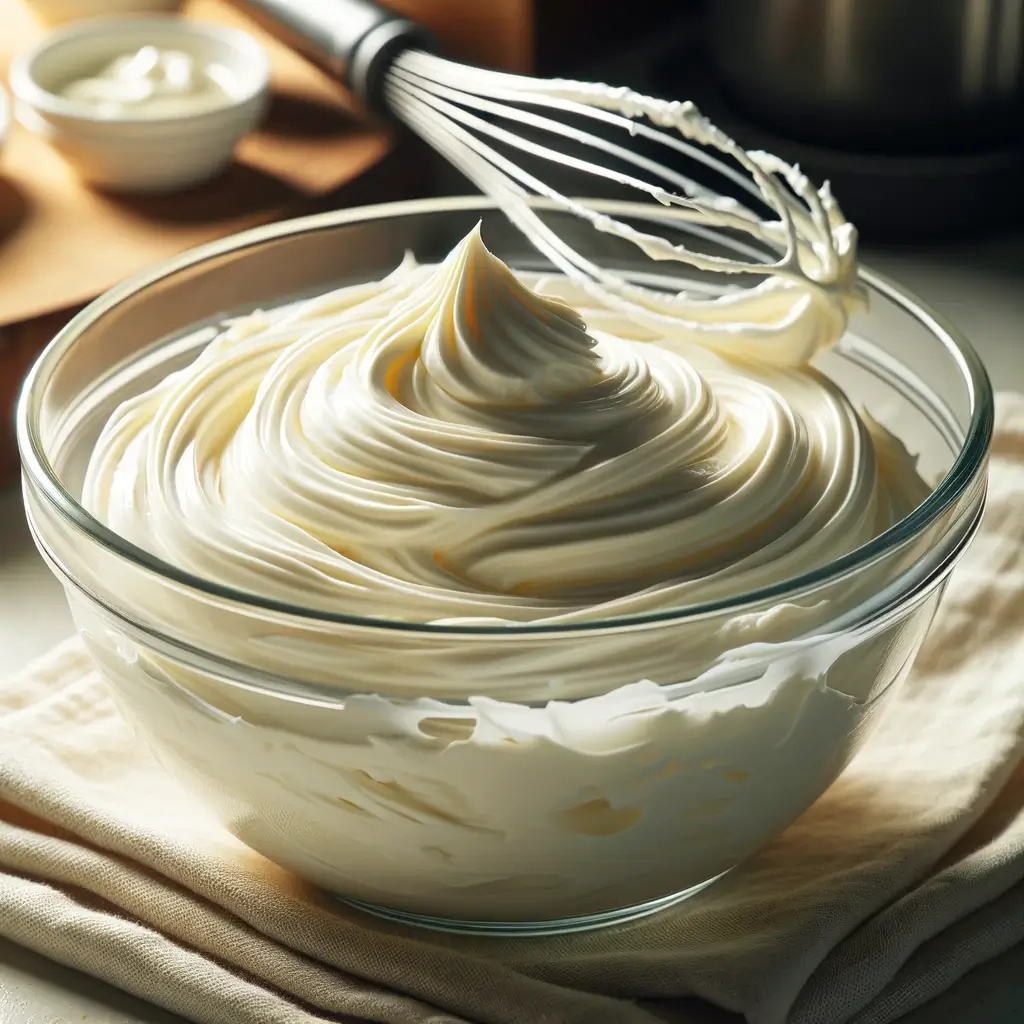
White Cream Cheese Frosting
Ingredients:
- 8 ounces cream cheese, softened
- 1/4 cup unsalted butter, softened
- 2 cups powdered sugar (confectioners’ sugar)
- 1 teaspoon vanilla extract
Instructions:
- In a large bowl, beat the softened cream cheese and butter together until smooth and well combined. Ensure both are at room temperature for a smooth frosting.
- Gradually add the powdered sugar to the cream cheese mixture. Start with a low speed to prevent the sugar from puffing out, then increase the speed as the sugar incorporates.
- Add the vanilla extract and beat the mixture until completely smooth and creamy. If the frosting is too thick, add a teaspoon of milk or cream to thin it out.
- If the frosting is too soft to work with, chill it in the refrigerator for about 30 minutes. This will make it easier to handle and apply.
To use this frosting for the cheesecake balls, you can either dip the balls into the frosting or use a piping bag to swirl it on top. If you’re looking for a firmer coating, like the one in the image, chilling the frosted balls will help the frosting set more solidly. This cream cheese frosting will add a rich and tangy flavor that complements the red velvet perfectly.

How to Store Red Velvet Cheesecake Balls
I get asked all the time how to keep red velvet cheesecake balls fresh. If you’re anything like me, you want them to taste just as good a few days later as they did on day one. Good news — they’re super easy to store!
First, make sure the red velvet cheesecake balls are fully set. The white chocolate coating needs to be firm, and the inside should feel chilled. Once they’re ready, here’s what I do:
- Place them in a single layer inside an airtight container.
- If you need to stack them, use parchment paper between layers so they don’t stick.
- Keep the container in the fridge.
They’ll stay fresh for about 5 days. If I’m making them ahead for a party, I always make a note of when I made them. That way, I know they’re still fresh for my guests.
Now, if you want to store them longer, red velvet cheesecake balls freeze really well. Here’s how to do that:
- Lay the balls on a baking sheet and freeze until solid.
- Transfer them to a freezer-safe bag or container.
- Label with the date so you know how long they’ve been in there.
- They’ll stay good for up to 2 months.
When you’re ready to serve frozen red velvet cheesecake balls, just pull them out and let them thaw in the fridge overnight. Don’t thaw them at room temperature, or they might get too soft.
I love having some tucked away in the freezer for surprise guests or when I need a little sweet bite. They taste just as good after freezing. The red velvet cheesecake balls really hold their shape and flavor, and they’re such an easy treat to grab when you need something special!
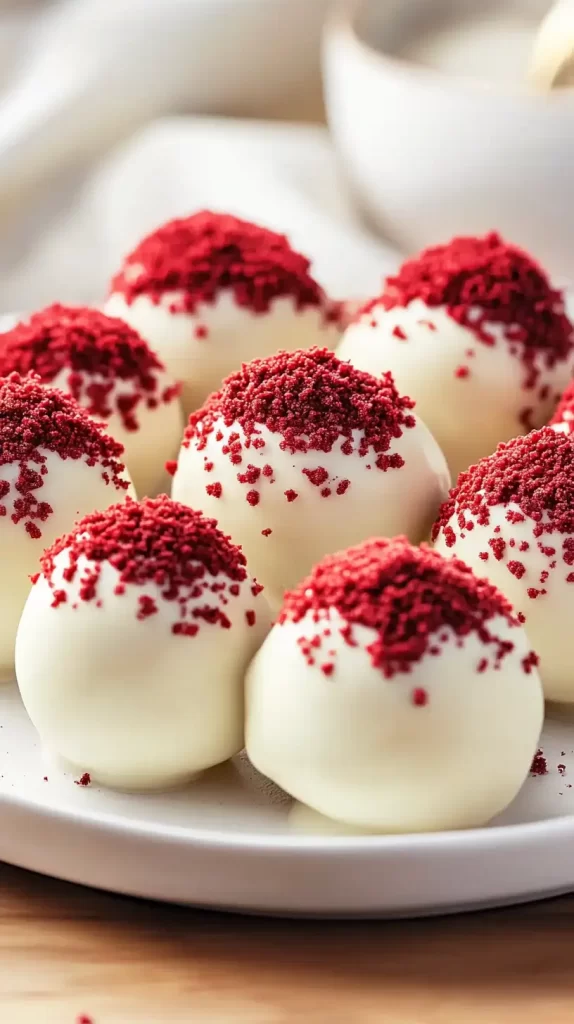
Fun Ways to Decorate Red Velvet Cheesecake Balls
Making red velvet cheesecake balls is fun on its own, but decorating them makes it even better! The best part? There are so many ways to get creative. I like to make mine pretty for holidays or parties. You can, too! Here are some easy ideas:
- Use colored sprinkles on top. Red and green for Christmas, pink and red for Valentine’s Day, or pastels for Easter.
- Melt dark chocolate and drizzle it over the white coating for a fancy look.
- Add tiny candy pearls or stars for a birthday party treat.
- Crush up candy canes and sprinkle them on top during the holidays.
- Make them sparkle with edible glitter (yes, it exists and is safe to eat!).
If you’re hosting a party, set out a little decorating station and let everyone decorate their own red velvet cheesecake balls. Kids love doing this! They get to make their own designs, and honestly, it keeps them busy.
I’ve even made different shapes for holidays. I press the mixture into small silicone molds before chilling and coating. Hearts for Valentine’s Day, pumpkins for Halloween — it’s so fun!
The white chocolate coating makes a perfect canvas for colors and sprinkles. If you ever feel like getting creative in the kitchen, red velvet cheesecake balls are perfect for that. They’re cute, delicious, and easy to make your own.
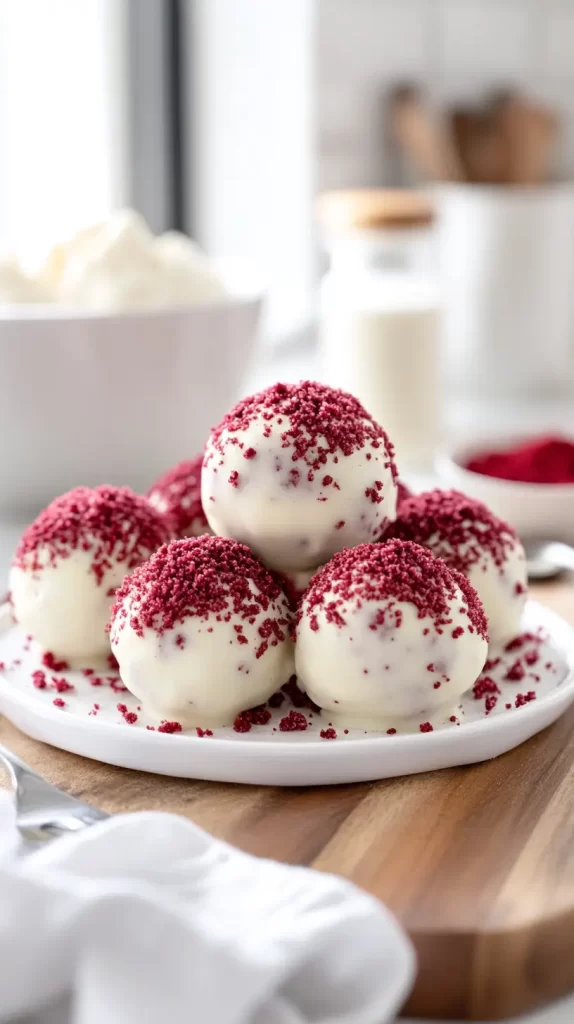
Red Velvet Cheesecake Balls for Parties and Gifts
I love giving homemade treats, and red velvet cheesecake balls make the perfect gift. They look fancy, but they’re simple to make. Everyone always asks me for the recipe!
Here’s how I use red velvet cheesecake balls for parties and gifts:
- Put them in a cupcake liner and arrange them on a platter. So pretty and easy for guests to grab.
- Wrap them in clear treat bags with a twist tie and a ribbon. Great for school events or neighbor gifts.
- Add them to holiday cookie boxes. They hold up well and add color and variety.
- Place them in a small box with tissue paper for teacher gifts or thank-you treats.
If you’re making red velvet cheesecake balls for a party, I like to make a big batch a day ahead. They store well in the fridge and are ready to go. Plus, they look beautiful on a dessert table next to other sweets.
For gifts, I sometimes add a little handwritten tag with the recipe. People love it! It feels personal and thoughtful.
These red velvet cheesecake balls really are the perfect treat to share. They look special, taste amazing, and show that you took time to make something homemade. That’s what makes them so great for gifting.
Final Thoughts on Red Velvet Cheesecake Balls
- If the mixture feels too soft when rolling, pop it back in the fridge for a bit. It’s easier to work with when it’s firm.
- Don’t worry if the balls aren’t perfect. They’ll be covered in chocolate, and let’s be honest, they’re basically going to be devoured in seconds!
- Experiment with toppings. Sometimes I use sprinkles or even mini chocolate chips instead of red velvet crumbs.
These no-bake red velvet cheesecake balls are a real treat – easy, delicious, and just right for any busy mom. They’re a hit at any gathering, a stress-free option for those school events, perfect for Valentine’s Day, and also a sweet way to make kitchen time fun with your kids. So, when you’re in need of a quick dessert fix or looking to make some fun memories, give this recipe a go.


