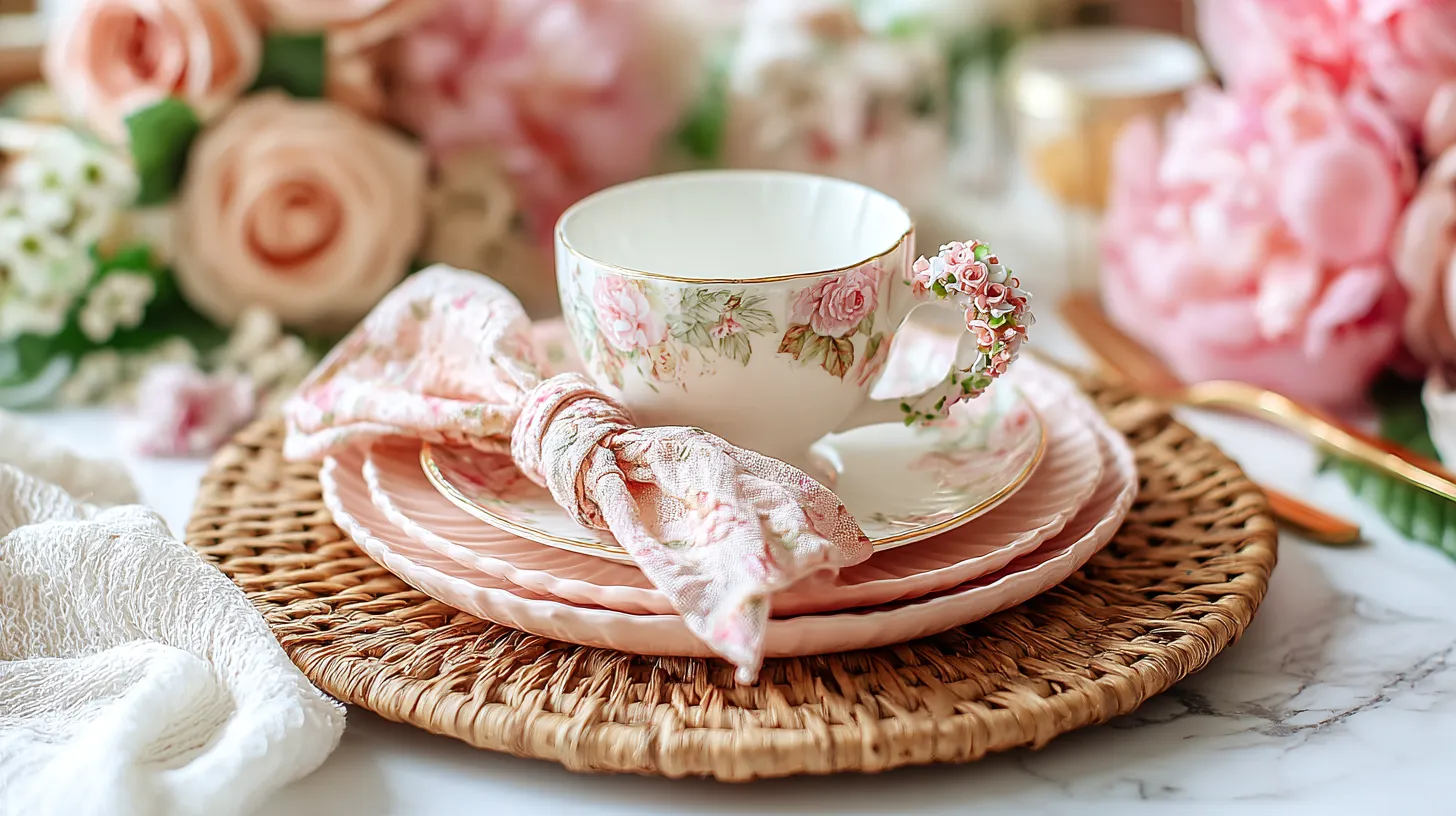
As Mother’s Day gets closer, it’s the perfect time to think about how to make it extra special. One of the best ways to show love is by making something with your own hands. That’s where Mother’s Day crafts come in! They’re fun to create, don’t cost much, and feel more personal than anything from a store.
Why are crafts such a great idea?
- They’re easy for all ages to make.
- You can use items you already have at home.
- Handmade gifts always make moms feel loved.
From decorating flower pots to making cards, there are so many ways to get creative. Plus, crafting together can be a fun family activity. This year, skip the store and try making something she’ll truly treasure. Keep reading for ideas that are simple and special.

This site contains affiliate links, please view the disclosure for more information.
Crafting Together: A Special Mother’s Day Bonding Experience
Mother’s Day crafts are more than just a fun activity—they’re a chance to spend quality time with the ones you love. Whether you’re creating with your kids, your mom, or a group of close friends, crafting can be a relaxing way to connect and make memories. It’s not just about the finished project but the time you share during the process.
For families with kids, crafting together teaches teamwork and creativity. Younger children can help with simple tasks like gluing or coloring, while older ones can take on more detailed roles, such as painting or designing patterns. It’s a great way for kids to feel involved in creating a gift they can proudly present to Mom or Grandma.
Crafting with friends adds another layer of fun. Set up a craft night and bring supplies to share. Everyone can work on their own project while chatting, laughing, and catching up. Add snacks or drinks to make it feel like a celebration.
If you’re crafting with your mom, it’s a beautiful way to relive old memories while creating new ones. Try projects that reflect shared interests, like decorating photo frames to hold cherished family pictures or painting flower pots for her favorite plants.
Here are a few tips to make your crafting session even better:
- Gather all materials ahead of time to avoid interruptions.
- Choose crafts that match everyone’s skill level so no one feels frustrated.
- Keep cleanup supplies nearby to make tidying up easy.
No matter who you craft with, the joy comes from working together and seeing the unique creations each person makes. The time spent crafting is a gift in itself, and the finished pieces will be keepsakes of the love and care you shared.

Personalized Cards: A Heartfelt Gesture
Making a personalized card is one of the easiest and most special Mother’s Day crafts. A handmade card shows your love and effort in a way that store-bought cards just can’t. With simple supplies, anyone can create something unique that will make Mom smile.
Here’s what you need to get started:
- Cardstock or thick paper for the base.
- Markers, crayons, or colored pencils for drawing and writing.
- Stickers, glitter, or ribbons for decorating.
- Glue or tape to hold everything together.
Start by folding the cardstock in half to make a card shape. Younger kids can draw pictures of their family, a happy memory, or even their favorite thing about Mom. Older kids might want to try using stencils or tracing designs to make their cards look extra neat. Adding bright colors or patterns will help the card stand out.
Inside the card, include a special message. For example:
- “You are the best mom in the world because you always make me laugh.”
- “Thank you for all the hugs and for always being there for me.”
- “I love you because you make every day fun and special.”
Want to make it even more creative? Use scraps of paper to make a pop-up design, like a heart or flower, that surprises Mom when she opens it. Or print out a small photo to glue on the front of the card as a keepsake.
Every card will turn out different, and that’s what makes them so special. The time and love you put into making a personalized card will mean more than anything you could buy. Mom will treasure it forever, and it’s a fun activity for everyone involved.
Custom Photo Frames: Capturing Moments
Making custom photo frames is a creative and meaningful Mother’s Day craft that results in a gift she’ll use and love. These frames are simple to make and can be customized to reflect her personality or favorite colors. Plus, they’re a perfect way to display family photos, adding a personal touch to any room.
Here’s what you’ll need:
- A plain frame (wooden, plastic, or even cardboard).
- Popsicle sticks, cardboard cutouts, or recycled materials if starting from scratch.
- Glue or a hot glue gun for attaching decorations.
- Embellishments like buttons, beads, fabric scraps, or small flowers.
- Paints or markers to add color and designs.
If you’re starting with a plain frame, clean it off to ensure everything sticks well. If you’re building one from scratch, arrange popsicle sticks or pieces of sturdy cardboard into a square or rectangle shape and glue them together.
Now comes the fun part: decorating! You can paint the frame with bright colors, add patterns using stencils, or glue on items like buttons and beads to create a textured look. For a softer feel, wrap sections of the frame in fabric or yarn. If your mom loves a natural vibe, consider adding small twigs, dried flowers, or seashells.
To make it even more personal, write a small message on the frame, like “Best Mom Ever” or “Love You Always.” Once decorated, let everything dry completely before adding a photo.
This craft is versatile and easy to adapt for any skill level. Whether it’s a family photo, a picture from a favorite trip, or a shot of her with the kids, the frame will turn it into a cherished keepsake. It’s not just a gift—it’s a way to preserve a special memory.
Mother’s Day Crafts Nature-Inspired Flower Pots for Mom
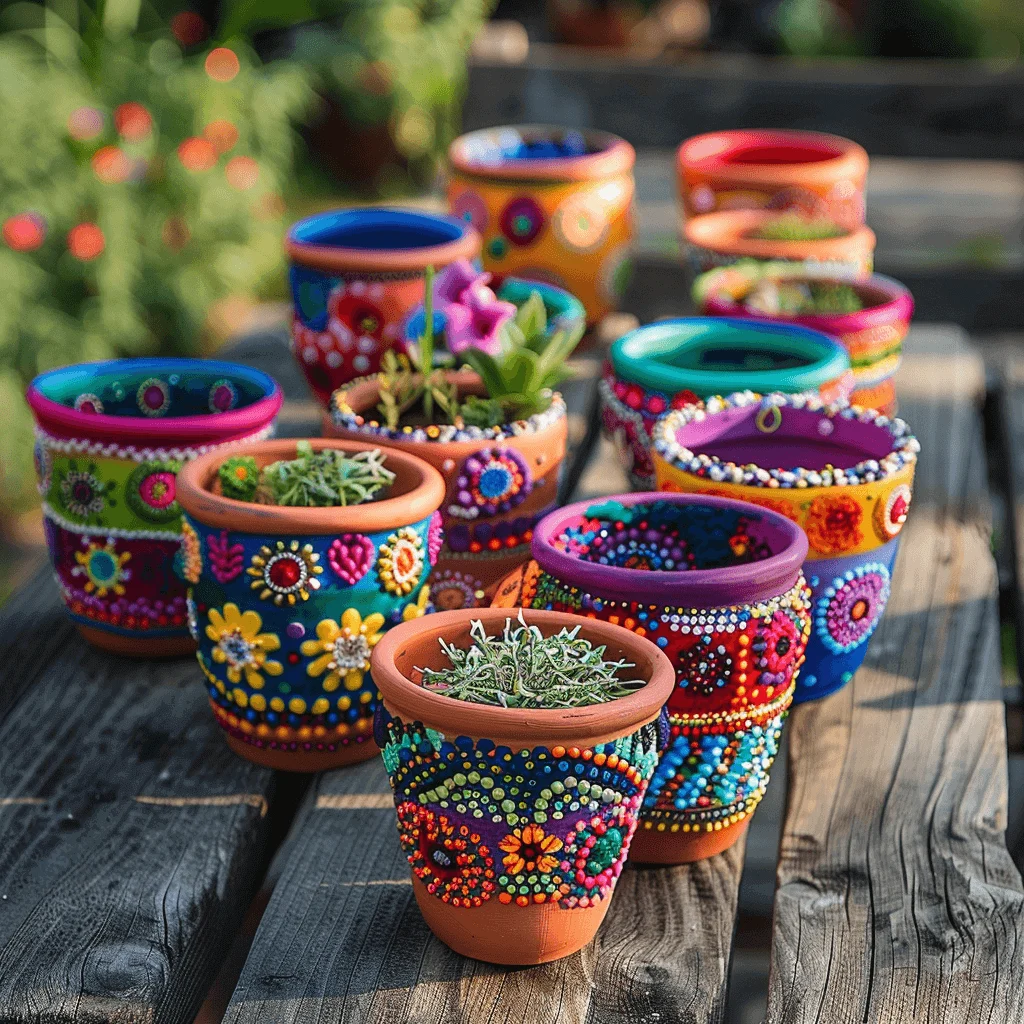
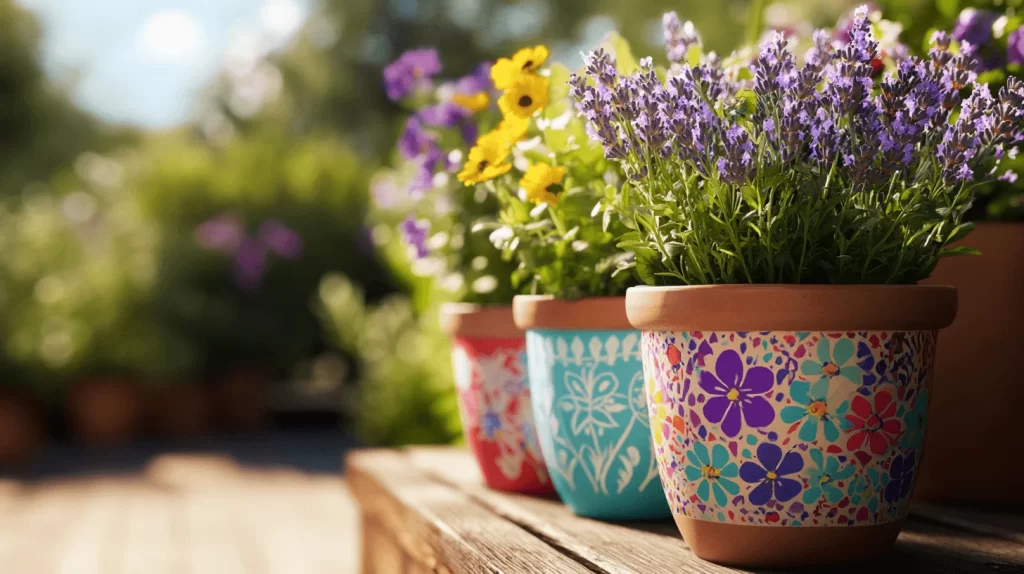
Decorating flower pots is one of the easiest and most thoughtful Mother’s Day crafts. It’s a fun project for all ages and adds a fresh, personal touch to any space. All you need are some plain terracotta pots, paints, and a little creativity to get started.
Here’s how to do it:
- Step 1: Gather supplies: terracotta pots, acrylic paints, brushes, and optional decorations like ribbons, stencils, or buttons.
- Step 2: Paint the pots in bright colors or patterns. Polka dots, stripes, and flowers work well. Add a sweet message like “Love You, Mom” for a personal touch.
- Step 3: Let the paint dry completely. If kids are helping, encourage them to include handprints or thumbprint flowers.
- Step 4: Fill the pots with Mom’s favorite plants. Herbs like basil or parsley are both practical and fragrant, while colorful flowers like petunias or marigolds brighten any space.
Once the pots are ready, you can tie a ribbon around each one or attach a small card with a message. For an extra-special gift, make a matching set of three for her patio or windowsill.
These flower pots aren’t just gifts—they’re a way to show love through creativity. They’re easy to make, budget-friendly, and something Mom can enjoy long after Mother’s Day. Crafting these together is a memory in itself, making it a perfect activity for the whole family.
Painted Rhinestone Flower Pots for Mother’s Day
If you want a Mother’s Day craft that’s beautiful, bold, and fun for all ages, this one’s it. These painted flower pots with rhinestones and dot art look stunning when finished, but they’re surprisingly easy to make. They’re perfect for school, church groups, or home crafting. Moms love them, and kids feel proud making something so pretty.
You’ll need:
- Terracotta flower pots
- Acrylic paint in assorted colors
- Q-tips, dotting tools, or the ends of paintbrushes
- Flat-back rhinestones or mini acrylic cabochons
- Strong craft glue (like Tacky Glue or a glue gun with help)
- Optional: self-adhesive rhinestones
- Paper plates for paint
- Paint shirts or aprons to protect clothes
- Tweezers (helpful for placing small gems)
Instructions:
-
Paint the base.
Let kids cover the outside of their pot in a bright solid color. Let it dry fully. -
Add dotted designs.
Using dotting tools or Q-tips, create patterns with different colors. Try flowers, swirls, stripes, or just rainbow dots all over. No wrong way to do this. -
Glue on rhinestones.
Add sparkle by gluing rhinestones into your painted design. Try outlining flowers, circling the rim, or filling in big patterns. Self-adhesive gems make this easier for little hands. -
Let everything dry.
Give the pots plenty of time to dry—especially the glue. Set them in a safe spot where they won’t be bumped. -
Fill them up.
Add a small plant, succulent, or even a packet of seeds. They also look cute with tissue paper flowers or a handmade card inside.
These are fun for any age, but especially great for elementary-aged kids and up. Moms will love displaying them, and they make great gifts for grandmas too. Want to keep it extra simple? Just do the dot painting without the gems—it still looks beautiful.
Homemade Jewelry A Personal Touch for Mom
Making homemade jewelry is a simple and thoughtful Mother’s Day craft that creates something Mom can treasure. With just a few supplies like beads, string, and clasps, you can design unique pieces she’ll love wearing. Plus, it’s a fun activity that anyone can enjoy, from kids to adults.
To get started, gather the basics:
- Beads in different colors, shapes, or materials like glass, wood, or plastic.
- Jewelry string, stretchy cord, or wire, depending on the style you want to make.
- Clasps and connectors to finish necklaces and bracelets.
- Small tools like pliers for cutting and fastening.
Start with something simple, like a bracelet. Choose beads in Mom’s favorite colors or shapes and string them in a pattern. Add a charm or a few letter beads to spell out her name or a sweet word like “Love.” If you’re making a necklace, consider using larger beads or layering different strands for a creative look.
For earrings, small beads or charms can make elegant or playful designs. Use earring hooks and attach beads or pendants with wire to create a custom set. Even first-timers can easily make a beautiful pair with just a little practice.
Homemade jewelry isn’t just a gift—it’s a personal keepsake. Every time Mom wears it, she’ll think of the love and effort you put into making it. Whether it’s a simple bracelet from a child or a detailed necklace crafted with care, it’s a gift that feels uniquely hers. This craft is a perfect way to combine creativity with a heartfelt gesture for Mother’s Day.
Soap Making A Luxurious and Thoughtful Gift for Mom
Homemade soap is a creative and practical Mother’s Day craft that feels both personal and luxurious. With just a few supplies, you can create beautiful, fragrant soaps that Mom will love using every day. This DIY project is easy enough for beginners and fun for all ages.
Here’s what you’ll need to get started:
- Glycerin soap base, available at craft stores or online.
- Essential oils for scent, like lavender, eucalyptus, or vanilla.
- Silicone molds in fun shapes or classic designs.
- Optional add-ins: dried flowers, oatmeal, or natural colorants like mica powder.
Start by melting the soap base according to the package instructions. This can usually be done in the microwave or on the stove. Once melted, stir in a few drops of essential oil and any extras like dried lavender or a pinch of oatmeal for a soothing touch.
Pour the mixture into silicone molds, tapping gently to remove air bubbles. Let the soap cool completely, which usually takes a few hours. Once set, pop the soaps out of the molds, and they’re ready to use or gift.
For a thoughtful finishing touch, wrap each soap in wax paper or place it in a small gift box. Add a label with the scent and any special ingredients. You can even pair the soaps with a homemade scrub or bath salts for a complete spa-themed gift set.
Homemade soap is more than just a thoughtful gesture—it’s a gift that shows care and attention to detail. Every bar is a little reminder of the effort and love that went into making it, making this craft a perfect way to celebrate Mom on her special day.
Mother’s Day Memory Jar Craft
A Memory Jar is a simple and heartfelt Mother’s Day craft that turns family moments into a lasting keepsake. Start with a plain glass jar—something you might already have at home. Then, gather some paint, ribbons, or fabric to decorate it and make it extra special for Mom.
Here’s how to make it:
- Clean the jar so decorations stick well.
- Use paint to add colorful designs, like flowers, hearts, or Mom’s name.
- Wrap the top of the jar with a ribbon or tie on a small tag that says “Mom’s Memories.”
- If you like, glue small fabric pieces around the jar for a unique touch.
Once the jar is decorated, it’s time to fill it with love. Cut small pieces of paper or index cards into note-sized squares. Each family member can write down their favorite memories with Mom or reasons why they love and appreciate her. For example:
- “I love how you always make bedtime stories fun.”
- “Thank you for helping me with my homework every day.”
- “I’ll never forget our trip to the beach last summer.”
Fold the notes and place them in the jar. Add as many as you can so Mom has plenty to read. You can even include little surprises, like a small drawing or a photo folded inside.
This craft is simple, but the impact is big. Every time Mom opens the jar and reads a note, she’ll be reminded of how loved and cherished she is. It’s a thoughtful gift that keeps giving, making it perfect for Mother’s Day.
Hand-Painted Tote Bags for Mother’s Day
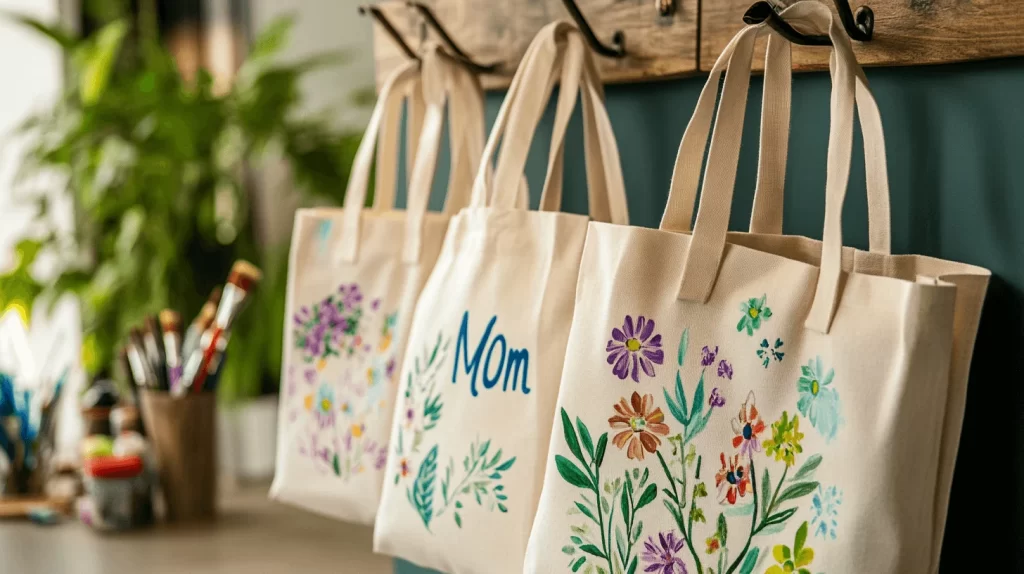
Hand-painted tote bags are a fun and thoughtful Mother’s Day craft that combines creativity with practicality. Start with plain canvas tote bags, which you can find at craft stores or online, and some fabric paints to bring your ideas to life.
Here’s how to make them:
- Choose a design: Think about what Mom would love. You could paint flowers, hearts, or even a favorite quote. Abstract patterns or geometric shapes also work well if you want something simple.
- Prep your bag: Lay the tote flat and place a piece of cardboard inside to prevent paint from bleeding through.
- Start painting: Use brushes or sponges to apply the fabric paint. For crisp lines, use painter’s tape to create sections or stencils for precise shapes.
- Add personal touches: Write messages like “Best Mom Ever” or paint a design inspired by her favorite colors or hobbies.
Once your design is complete, let the paint dry thoroughly. Follow the paint’s instructions for setting it—this might involve ironing the design to make it permanent.
These tote bags are not just beautiful but also practical. Mom can use them for grocery shopping, running errands, or even as a cute purse alternative. They’re eco-friendly, reusable, and, most importantly, made with love.
This craft is perfect for kids and adults alike, offering a way to create something personal that Mom can use every day. Hand-painted tote bags are more than just a gift—they’re a thoughtful way to show how much you care.
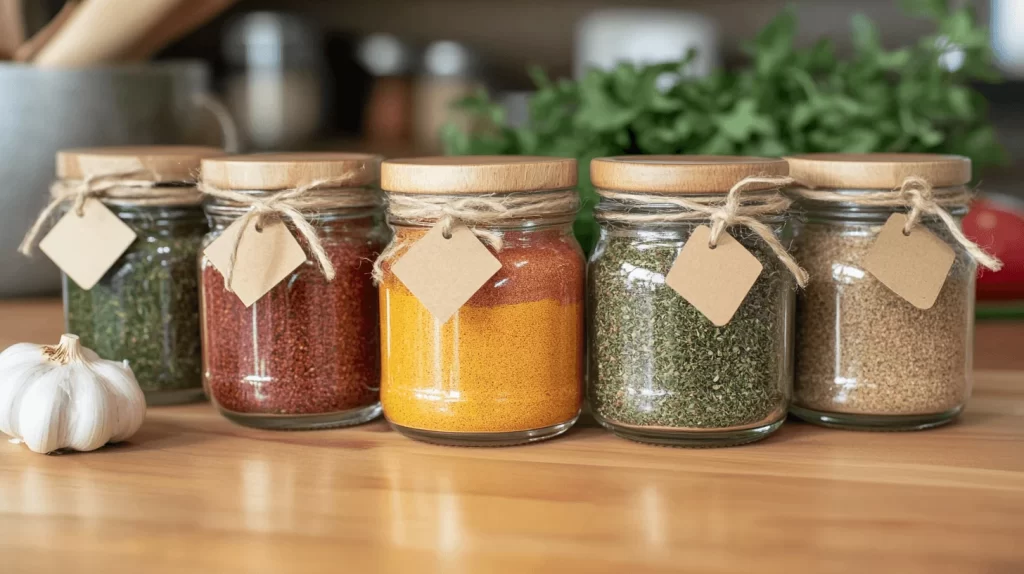
Custom Spice Blends for Mom
If your mom loves to cook, custom spice blends are a thoughtful and practical Mother’s Day craft. They’re easy to make and can be tailored to her favorite flavors, making this a unique gift she’ll enjoy using in the kitchen.
Here’s how to create them:
- Choose your blends: Think about her favorite dishes. A smoky BBQ rub, a zesty taco seasoning, or a fragrant curry mix are all great options. You can even try a sweet cinnamon-sugar blend for baking.
- Gather your supplies: You’ll need small mason jars or spice containers, measuring spoons, and fresh spices or herbs. Look for jars with lids to keep the blends fresh.
-
Mix the spices: Combine the ingredients in a bowl, then spoon the mix into each jar. For example:
- BBQ Rub: Paprika, garlic powder, brown sugar, chili powder, and a pinch of cayenne.
- Taco Seasoning: Cumin, chili powder, oregano, onion powder, and smoked paprika.
- Herb Blend: Dried basil, thyme, rosemary, and parsley for a versatile Italian mix.
Once the jars are filled, it’s time to decorate. Add a label with the name of the blend, and include a printed recipe card showing how to use it. For a final touch, tie a ribbon around the jar or place them in a small basket for a gift set.
Custom spice blends aren’t just a gift—they’re a way to celebrate her love for cooking. Every time she seasons a dish, she’ll think of the care and effort you put into creating something just for her. This practical and personal craft is sure to spice up her Mother’s Day!
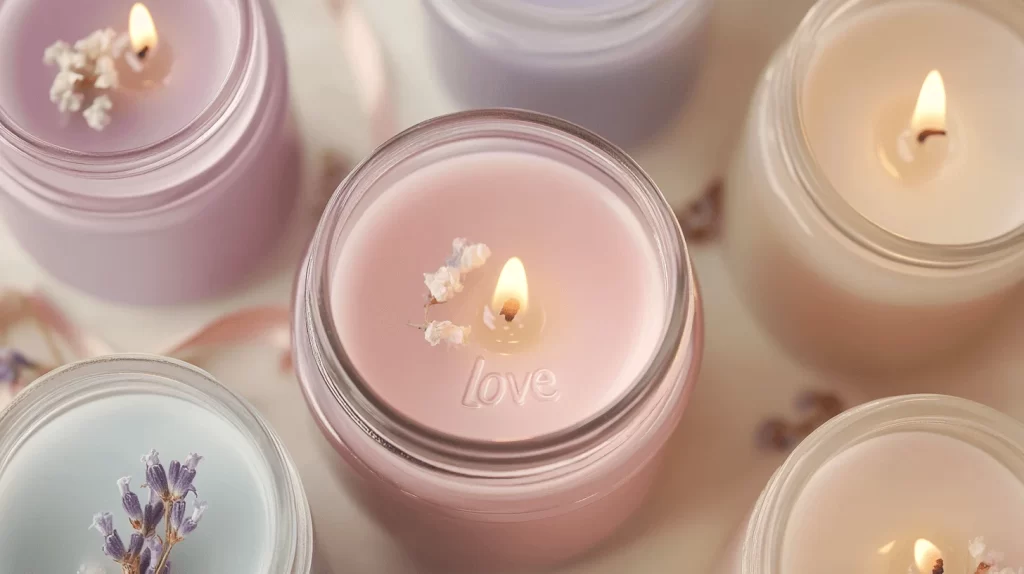
Scented Candles with Hidden Messages for Mom
Scented candles are a classic gift, but adding hidden messages makes them extra special for Mother’s Day. This thoughtful craft is simple to make and offers a delightful surprise as the candles burn, revealing sweet notes tucked inside.
Here’s how to create them:
- Gather supplies: You’ll need candle wax (soy or beeswax works well), wicks, a heat-safe container or mold, essential oils for scent, and thin, fire-safe paper for the messages. Small jars or tins make great candle holders.
- Write the messages: On thin, heat-resistant paper, write heartfelt notes or short messages like “You’re the best mom,” “Thank you for everything,” or “We love you!” Roll them tightly, securing them with a small piece of thread.
- Melt the wax: Use a double boiler to melt the wax. Once melted, add a few drops of essential oil, such as lavender, vanilla, or citrus, for a soothing scent. Stir gently to combine.
- Prepare the mold: Attach the wick to the center of the container using glue or a wick holder, ensuring it stays upright.
- Add the messages: Pour a small layer of wax into the mold, let it set slightly, and place the rolled messages in the wax. Pour the rest of the wax over the messages, ensuring they’re completely covered.
Let the candles cool and harden completely before trimming the wick. To finish, decorate the jar with ribbon or a label that hints at the surprise inside.
These hidden-message candles are more than just a gift—they’re an experience. As the wax melts, each note will appear, giving Mom a sweet reminder of your love and appreciation every time she lights the candle.
Personalized Puzzle for Mother’s Day
A personalized puzzle is a creative and heartfelt Mother’s Day gift that combines fun and sentimentality. Use a favorite family photo, a picture of the kids, or even a collage of special moments to create a unique keepsake Mom will treasure.
Here’s how to make one:
- Choose your photo: Pick a high-quality image that holds meaning, like a family portrait, a vacation memory, or a snapshot of Mom with her kids.
- Order the puzzle: Many online services let you upload the photo and create a custom puzzle. Choose the size and number of pieces to match Mom’s preference—smaller pieces for a challenge or larger ones for a quick activity.
- Add a handmade touch: To make it even more special, create a custom box for the puzzle. Use a plain cardboard box and decorate it with hand-painted designs, meaningful quotes, or drawings. You can also write a short message like “Piece by piece, we love you!”
If you’re feeling extra crafty, you can try making the puzzle yourself. Print the photo on sturdy paper, glue it to cardboard, and cut it into puzzle-shaped pieces using scissors or a craft knife.
A personalized puzzle isn’t just a gift—it’s an activity that brings everyone together. Mom can enjoy putting it together while reflecting on the love and thought behind it. Once complete, it becomes a keepsake she can frame or redo whenever she wants. This simple yet meaningful craft is a perfect way to show appreciation and creativity on Mother’s Day.
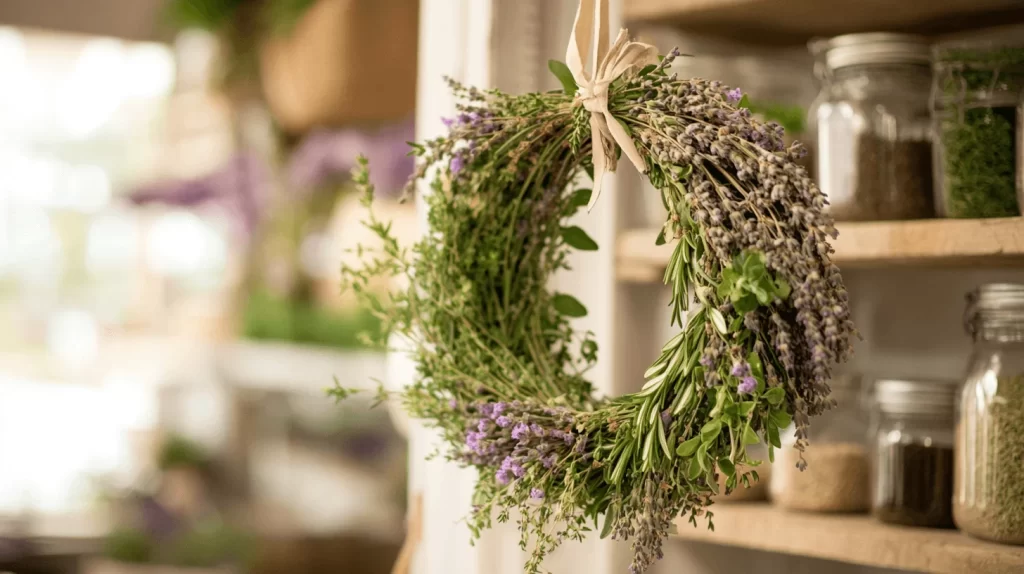
Herbal Wreath Mother’s Day Craft
An herbal wreath is a thoughtful and practical Mother’s Day craft that combines beauty and function. Made with fresh herbs like rosemary, thyme, and lavender, this wreath adds a touch of nature to Mom’s home while providing her with fresh ingredients for cooking.
Here’s how to make one:
- Gather your supplies: You’ll need a wire wreath frame, floral wire, scissors, and fresh herbs. Choose aromatic herbs like rosemary, sage, thyme, and lavender for a mix of beauty and fragrance.
- Prepare the herbs: Trim the stems to manageable lengths, around 6–8 inches. Group them into small bundles for easier handling.
- Attach the herbs: Secure each bundle to the frame with floral wire, slightly overlapping each one to cover the frame and create a full, lush look. Continue around the entire frame until it’s completely covered.
- Add decorative touches: For a pop of color, tuck in a few dried flowers, sprigs of baby’s breath, or even small bows made from ribbon.
Once finished, the wreath can be hung in the kitchen, on a door, or even on a sunny patio. Mom can pluck fresh herbs straight from the wreath as she cooks, making this gift as useful as it is beautiful.
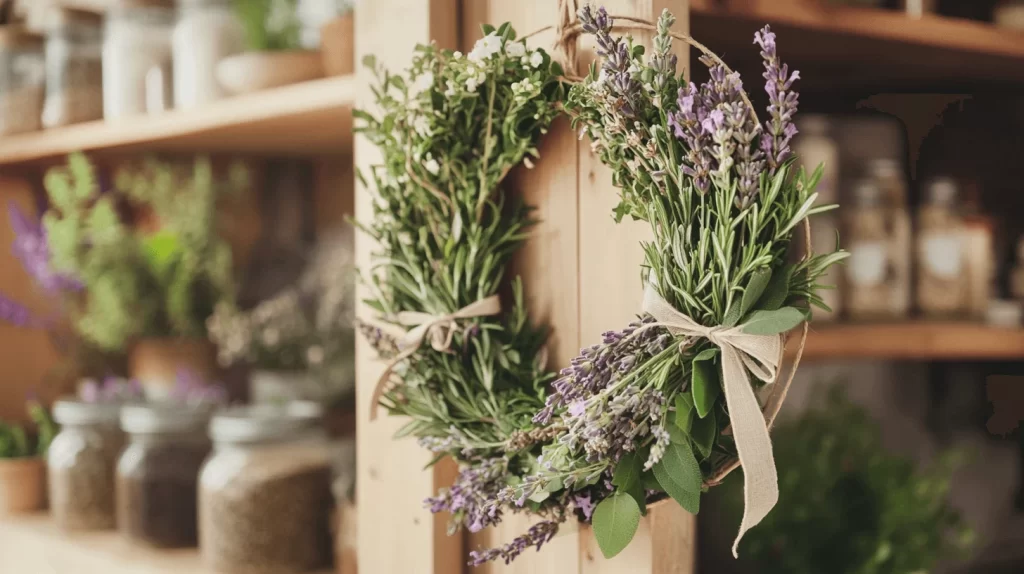
This herbal wreath is more than just decoration—it’s a gift filled with thoughtfulness and practicality. Every time Mom uses the herbs or enjoys its fragrance, she’ll be reminded of the love and care you put into creating something just for her. It’s a simple craft that brings both joy and utility into her home.
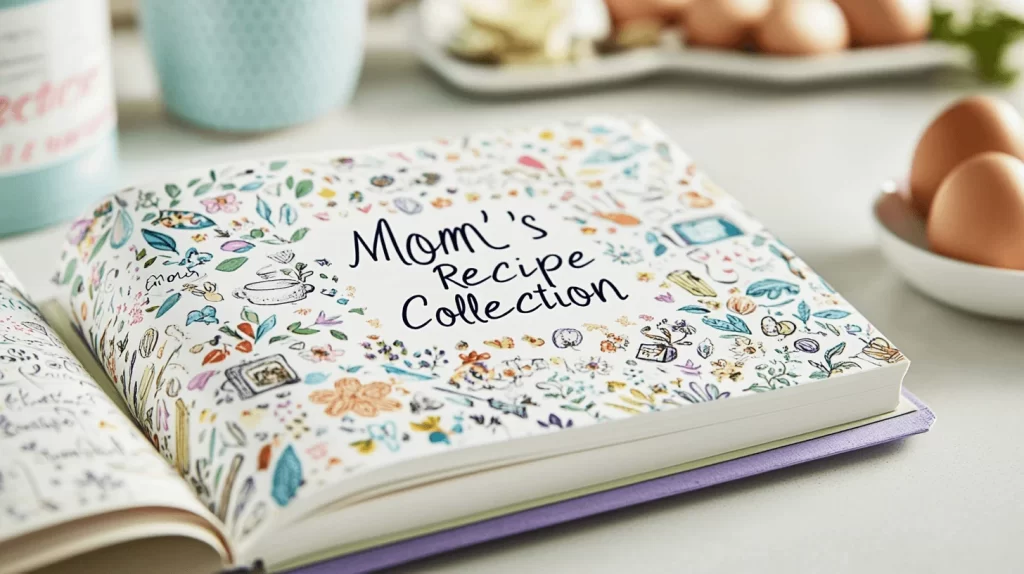
Personalized Recipe Book for Mother’s Day
A personalized recipe book is a thoughtful and heartfelt Mother’s Day gift that celebrates Mom’s love for cooking and family traditions. It’s a simple yet meaningful craft that turns her favorite recipes into a keepsake she’ll treasure forever.
Here’s how to make one:
- Gather the recipes: Collect her go-to recipes or those with sentimental value, like Grandma’s famous pie or a favorite family casserole. You can also include blank pages for her to add new ones over time.
- Choose a book style: Use a scrapbook, a binder with clear sleeves, or even a blank journal with sturdy pages. Select one that suits her style—something colorful and fun or sleek and elegant.
- Decorate the pages: Add personal touches by including handwritten notes, family photos, or small drawings. Write why each recipe is special, like “This was always our favorite birthday cake” or “You make this dish better than anyone else!”
- Organize by sections: Divide the book into categories like appetizers, main dishes, desserts, or family favorites. Use tabs or colored paper to make it easy to flip through.
- Add a cover design: Decorate the front cover with her name or a sweet title like “Mom’s Recipe Collection” or “Family Favorites with Love.”
This personalized recipe book is more than a collection of meals—it’s a celebration of memories, traditions, and love. Every time she flips through its pages, she’ll be reminded of the thought and effort you put into creating it just for her. It’s a gift that combines creativity and practicality, making it perfect for Mother’s Day.
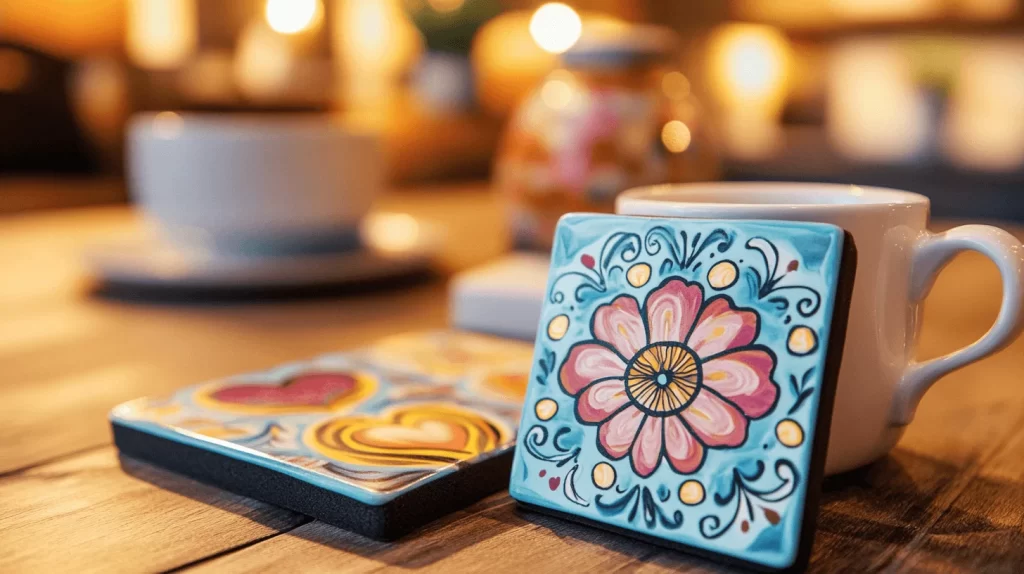
Ceramic Tile Coasters for Mother’s Day
Ceramic tile coasters are a simple yet thoughtful Mother’s Day craft that’s both beautiful and functional. With just a few supplies, you can create custom coasters that reflect Mom’s style and add a personal touch to her home.
Here’s how to make them:
- Gather your supplies: You’ll need plain ceramic tiles (available at hardware stores), porcelain pens or acrylic paints, a small paintbrush, and a sealant or clear spray varnish.
- Plan your design: Think about what Mom would love. You can paint her initials, a meaningful date, or simple patterns like flowers, stripes, or hearts. If you’re crafting with kids, let them draw pictures or write sweet messages like “Love you, Mom.”
- Decorate the tiles: Use the porcelain pens or paint to create your designs. If you want crisp lines or shapes, use painter’s tape or stencils.
- Bake the tiles: Once the paint dries, bake the tiles in the oven at 300°F for 30 minutes to set the design. Be sure to follow the instructions on your paint or pen for best results.
- Seal for durability: After baking and cooling, apply a clear sealant to protect the design and make the coasters water-resistant. Attach small felt pads to the bottom of each tile to prevent scratching surfaces.
These coasters are a perfect mix of creativity and practicality. Whether Mom uses them for her morning coffee or as décor, they’ll remind her of the love and care that went into making them. This easy craft is not only fun to create but also makes a gift she’ll cherish for years.

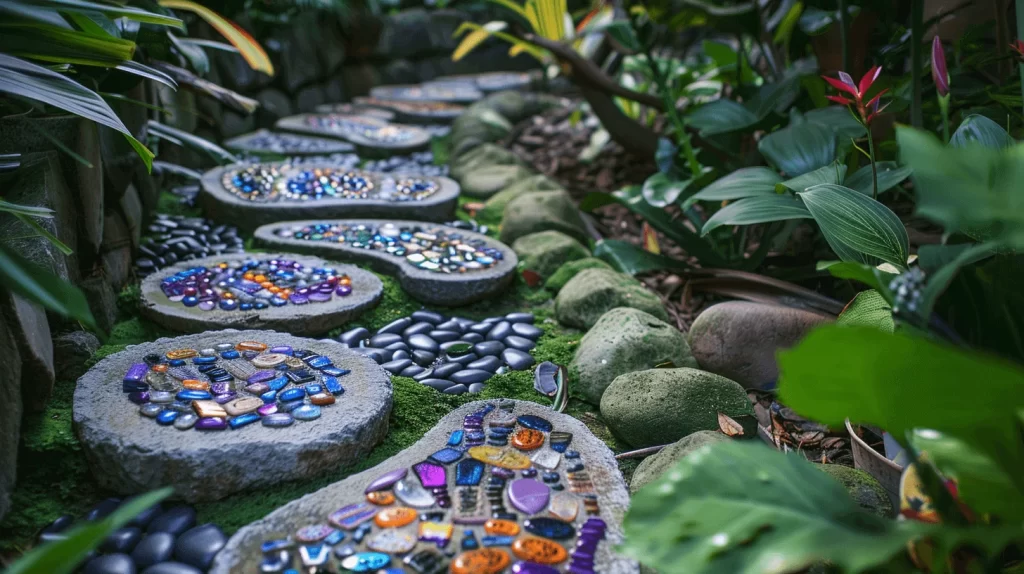
Garden Stepping Stones for Mother’s Day
Garden stepping stones are a heartfelt and creative Mother’s Day craft that adds a personal touch to her outdoor space. Each stone can represent a family member, turning the garden into a special place filled with love and memories.
Here’s how to make them:
- Gather your supplies: You’ll need quick-set concrete, molds (like plastic trays or pie tins), and decorations such as pebbles, colored glass, shells, or small tiles. For extra personalization, prepare tools for adding handprints, footprints, or names.
- Prepare the molds: Grease the molds lightly with cooking spray or petroleum jelly to make it easier to remove the stones later.
- Mix the concrete: Follow the instructions on the bag to mix the concrete until it reaches a smooth, thick consistency. Pour it into the molds, filling them about halfway.
- Decorate the stones: While the concrete is still wet, press decorations into the surface. Arrange pebbles or glass in patterns, write a message with a stick, or press children’s handprints or footprints into the concrete. Be sure to work quickly, as concrete begins to set fast.
- Let them cure: Allow the stones to dry completely according to the concrete’s instructions, usually about 24–48 hours. Once dry, gently remove them from the molds.
These stepping stones are more than just garden décor—they’re a permanent reminder of the love and creativity that went into making them. Whether displayed along a path or used as accents in flower beds, they’ll bring joy to her garden and heart every time she sees them. It’s a practical and meaningful gift that lasts for years to come.
Personalized Stationery Set for Mother’s Day
A personalized stationery set is a thoughtful and creative Mother’s Day craft that combines practicality with a personal touch. Perfect for moms who love writing or journaling, this gift turns everyday items into something truly special.
Here’s how to make it:
- Gather your supplies: You’ll need blank notepads, letter paper, envelopes, bookmarks, and crafting tools like stamps, stencils, paints, markers, and washi tape.
- Design the notepads and paper: Use stencils or stamps to create patterns or borders. Try floral designs, hearts, or simple lines in her favorite colors. Hand-painted designs, like a small flower in the corner of each page, add a unique touch.
- Decorate the envelopes: Add matching designs to the envelopes. Use stencils to create cohesive patterns or write a sweet message like “For someone special” on the front.
- Make custom bookmarks: Cut sturdy cardstock into bookmark-sized strips and decorate them with drawings, quotes, or even pressed flowers. Laminate them or cover them with clear tape to make them durable.
- Package it beautifully: Stack the stationery neatly and tie it with a ribbon or place it in a decorated box for a polished look.
This personalized stationery set is more than just functional—it’s a gift that shows thoughtfulness and creativity. Every time Mom writes a note or jots down her thoughts, she’ll be reminded of the care and effort you put into creating something just for her. It’s a simple yet meaningful way to celebrate her this Mother’s Day.
Bath Bomb and Salts Set for Mother’s Day
A bath bomb and salts set is a thoughtful and relaxing Mother’s Day craft that brings the spa experience home. Handmade with love, this gift lets Mom enjoy a well-deserved break filled with soothing scents and beautiful colors.
Here’s how to create it:
- Gather your supplies: For bath bombs, you’ll need baking soda, citric acid, cornstarch, Epsom salts, essential oils (like lavender or chamomile), natural colorants (such as mica powder), and bath bomb molds. For bath salts, use Epsom salts, sea salt, and essential oils.
-
Make the bath bombs:
- Mix dry ingredients: Combine baking soda, citric acid, cornstarch, and Epsom salts in a bowl.
- Add wet ingredients: Mix essential oils and a few drops of colorant with water or witch hazel in a spray bottle. Slowly spritz the mixture into the dry ingredients, stirring until it feels like damp sand.
- Mold and dry: Press the mixture into bath bomb molds, let them set for 24 hours, then gently remove.
-
Prepare the bath salts:
- Combine Epsom salts and sea salt in a bowl.
- Add essential oils and colorants, then stir well. You can layer the salts in different colors for a pretty effect.
Package your creations in jars or boxes for a polished look. Add custom labels with the scents and a message like “Relax and Unwind.” Tie a ribbon around each jar for a finishing touch.
This handmade spa kit is more than just a gift—it’s a way to show Mom how much she’s appreciated. With every bath, she’ll enjoy the relaxing scents and thoughtful care you’ve put into crafting her special day.

Final Thoughts on Mother’s Day Crafts
Mother’s Day crafts are more than just projects—they’re a heartfelt way to honor the special women in our lives. The joy comes not only from the final gift but also from the time spent creating something meaningful together. These handmade treasures show love and appreciation in a way store-bought items never can.
This year, take a moment to make something personal for Mom. Whether it’s a colorful card, a unique photo frame, or a simple keepsake like a memory jar, each craft reflects the thought and effort you put into celebrating her. The process itself is a chance to make lasting memories, whether you’re crafting with kids, siblings, or friends.
Handmade gifts carry a special kind of magic—Mom will feel the love in every detail. So gather your supplies, get creative, and make this Mother’s Day one she’ll always remember. Your time and effort will really pay off, turning your crafts into special keepsakes she will love for years.


