
There’s a very specific kind of chaos that happens the second a kid asks how to make slime. I think we should talk about that first. One minute you’re minding your own business, sipping something warm. The next minute you’re googling “is borax safe” at eleven at night. Funny how one small request turns into a full research project.
I live in Orlando, where summer break stretches on forever. The humidity somehow makes everything stickier before slime even shows up. Kids here don’t ask for slime once. They ask for it on a loop, like a song stuck in someone’s head. Eventually you cave and start pulling ingredients out of the pantry.
Here’s the thing nobody tells you upfront: slime isn’t hard. It’s just loud, a little messy, and weirdly addictive to make. Even grown-ups who swore they were “just supervising” get hooked fast! I’ve found that the second batch always turns out better than the first. Mostly because you finally stop overthinking it. Confidence apparently counts for a lot in slime-making.
Every parent I know has a slime era, whether they admit it or not. It shows up quietly, right when you’re desperate for a screen-free activity.
So if you’ve been standing in your kitchen, wondering where to start, you’re in the right spot. Maybe your last attempt turned into a puddle instead of a stretchy blob. There’s one ingredient mix-up that ruins more batches than anything else. I’m getting to it in a minute.
Some of the links on this page are affiliate links. That means if you click and make a purchase, I may earn a small commission at no extra cost to you. If you’re curious about the fine print, you can check out my full disclosure.
How to Make Slime Without a Trip to the Craft Store
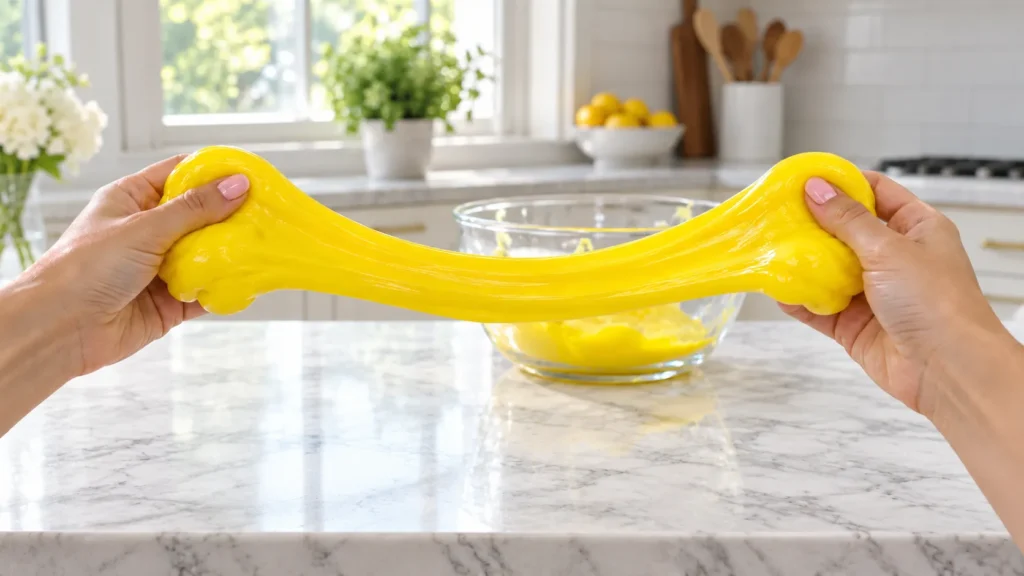
Everyone assumes you need a special store and a dozen ingredients. That assumption is mostly wrong, and I say that with confidence. Most people already own everything needed for a solid first batch. It’s usually tucked away in your junk drawer or under the sink.
Glue is the obvious one, and you probably already have a bottle. Baking soda works as a hardening agent, and it’s already in your fridge. Contact lens solution, of all things, acts as an activator in tons of recipes. That still surprises me every single time.
Amazon exists too, if you want something delivered by tomorrow. But even that seems unnecessary once you check your own cabinets first. I’d bet money you’re one ingredient away from starting right now.
Here’s where I’ll push back on the internet a little. You don’t need fancy add-ins to make a good batch. Glitter, food coloring, and lotion are nice touches, not requirements. People treat those extras like they’re mandatory, and that’s just not true.
Recipes claiming you need ten specialty products are usually selling those products. Kind of convenient, if you ask me. The real formula is simpler than most tutorials make it sound. That simplicity is basically the whole appeal.
Plenty of tutorials drag out the process with unnecessary steps. Slime doesn’t need twelve steps or a printable checklist. It needs two liquids, a little stirring, and some patience.
If you’re doing a mental inventory right now, stop. You almost certainly have what you need within arm’s reach. The only real question is whether you’re ready for the mess. Because there absolutely will be one. Consider this your official permission to skip the shopping cart!
Supplies You Probably Already Own
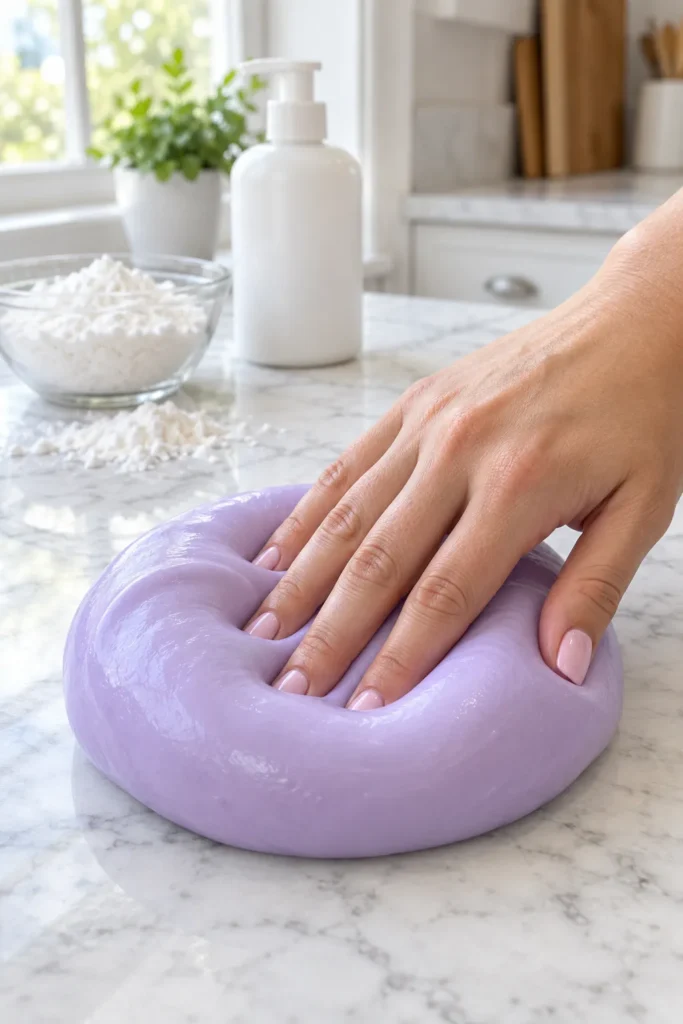
Before you spiral into a Target run, let’s do a reality check. Most slime recipes call for the same handful of basic ingredients. They’re just dressed up differently depending on the blogger. Once you see the pattern, it stops seeming complicated.
Here’s what shows up in almost every recipe that works:
- School glue, clear or white, both work fine
- Baking soda for texture and hold
- Contact lens solution or liquid starch as the activator
- Warm water to help everything blend
- Food coloring for a satisfying pop of color
- A big mixing bowl you don’t mind getting sticky
Notice what’s missing from that list? Borax isn’t on there, and neither is anything hard to pronounce. Plenty of recipes use it, sure, but plenty skip it entirely. Those still turn out stretchy and smooth.
Clear glue gives you a see-through, jewel-like slime. White glue gives you the classic, opaque kind instead. Neither one is better, just different depending on the look you want.
People overbuy supplies the first time, grabbing extra glue and activator just in case. You really only need one of each to start. Save the extras for round two, because there will be one.
Supplies matter less than ratios, which is the part most tutorials rush through. Too much activator gives you a rubbery clump instead of a stretchy blob. Not enough, and it stays soupy no matter how long you knead it. That balance is really the whole trick, not some rare ingredient.
Store brand glue works just as well as name brand, in my experience. Save the extra dollars for things that really change the outcome, like a good activator. A store run is optional here, not required, no matter what Pinterest implies.
Fluffy Slime Without Glue (Yes, Really)
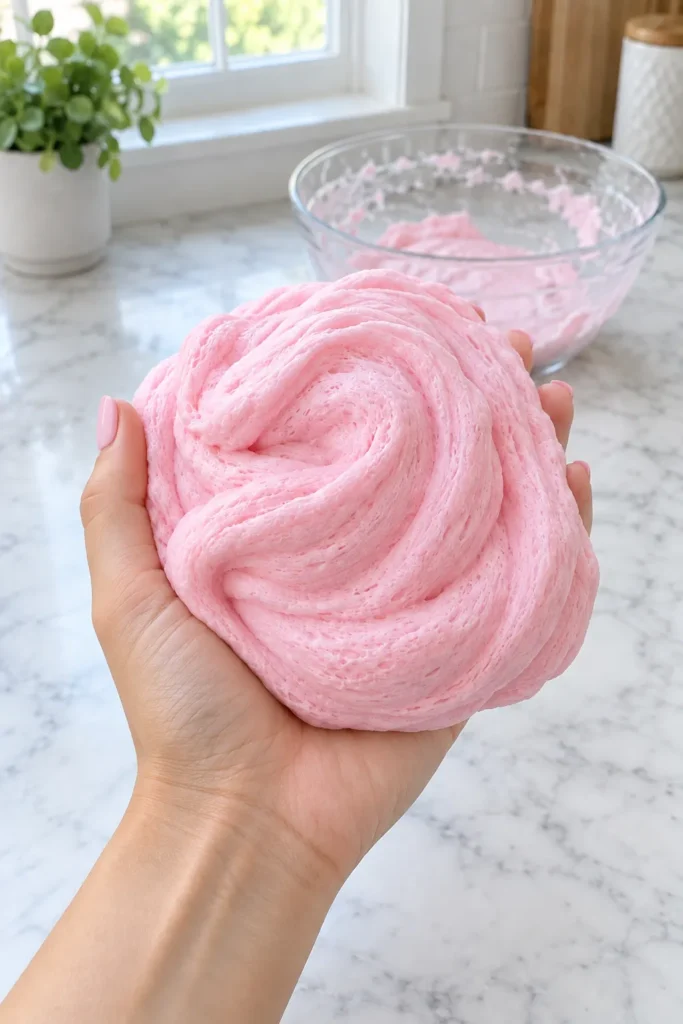
Fluffy slime gets treated like some advanced, secret-level project. I don’t think that’s fair at all. The “fluffy” part just comes from shaving cream. It whips extra air into the mixture. That’s genuinely the whole trick behind the fluffiness everyone loves.
Skipping glue entirely is trickier, though, and I want to be upfront about that. Most fluffy recipes still lean on glue for structure. Shaving cream there is purely for texture and volume. Full no-glue versions exist too, usually built around cornstarch or lotion.
Here’s my honest opinion: no-glue slime rarely gets as stretchy. It can still be soft, moldable, and fun to squish. Just don’t expect the same satisfying pull. Setting that expectation early saves everyone some disappointment later.
Texture, in my experience, comes down almost entirely to ratio and patience. Add shaving cream slowly instead of dumping it all in at once. That gives you way more control over the final texture. Rushing this step is the biggest reason fluffy slime turns out flat.
Cornstarch-based versions need a longer knead than glue versions. Your hands do more of the work here. There’s no chemical reaction pulling everything together like glue and activator do. It’s a slower process, but a weirdly satisfying one once it clicks.
If fluffy slime let you down before, the shaving cream ratio was probably the culprit. More air, added gradually, almost always fixes it. Give it one more try before writing the method off completely.
Cheap shaving cream works better than the expensive kind, oddly enough. Pricier gel formulas tend to be denser and don’t whip in as well. Stick with the cheapest can on the shelf for the best fluff.
How to Make Slime With Kids Without Losing Your Sanity
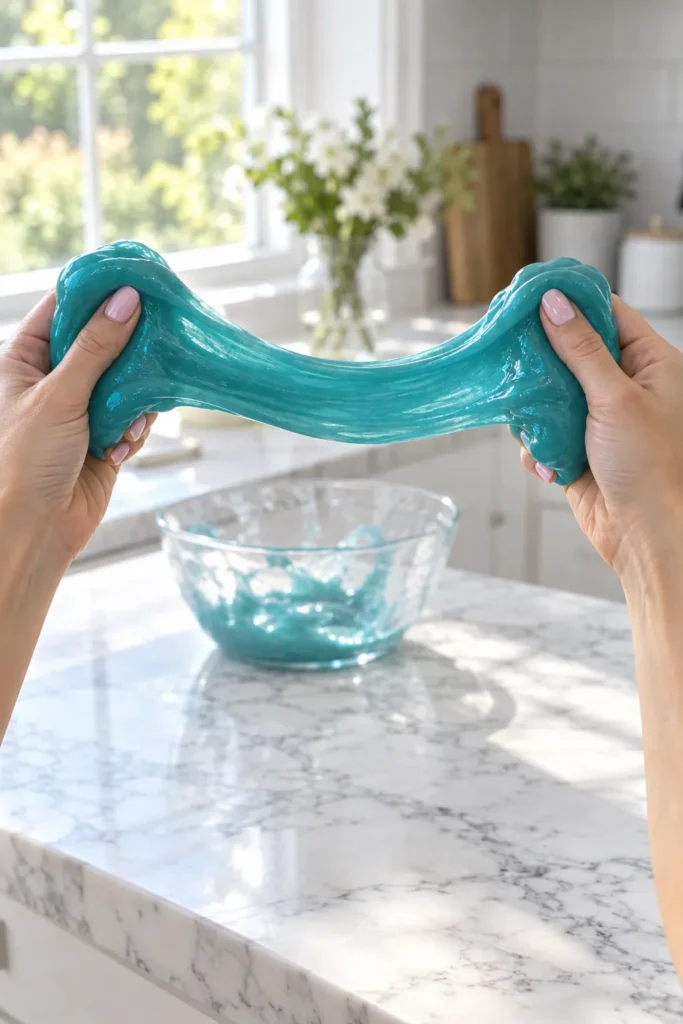
Doing this with kids changes the entire experience. And not always in the calm direction. Little hands move fast, and ingredients end up everywhere. Someone always wants to add “just a little more” glitter. Planning ahead makes a genuinely huge difference here.
A few things help keep the chaos manageable:
- Cover the table with a cheap plastic tablecloth first
- Pre-measure ingredients into small cups, not full bottles
- Let each kid pick one mix-in, not five
- Keep a damp towel within reach the whole time
- Set the expectation early that hands get messy
Set a hard stop time before you even start mixing. Slime sessions can stretch on forever if nobody calls it. A timer on the counter works better than any verbal warning.
Kids under six do better with fewer steps and closer supervision. Older kids can usually handle measuring and mixing mostly alone. That frees you up to just watch and referee. The shift happens faster than most parents expect, sometimes overnight.
Letting kids control the color keeps them way more invested. Even when it turns an unfortunate shade of brown. It’s their slime, not a Pinterest-worthy craft project. That mental shift alone makes the afternoon less stressful for everyone.
Here’s what I’d tell any parent mid-mixing-bowl chaos: the goal is play, not perfection. If it’s slightly lumpy but they’re having a blast, that’s a win. That’s the only measure that really matters here.
Assign one kid to hold the bowl steady if things get out of hand. Giving everyone a specific job cuts down on the grabbing fast. Trust me, the mess washes off way easier than the meltdown does.
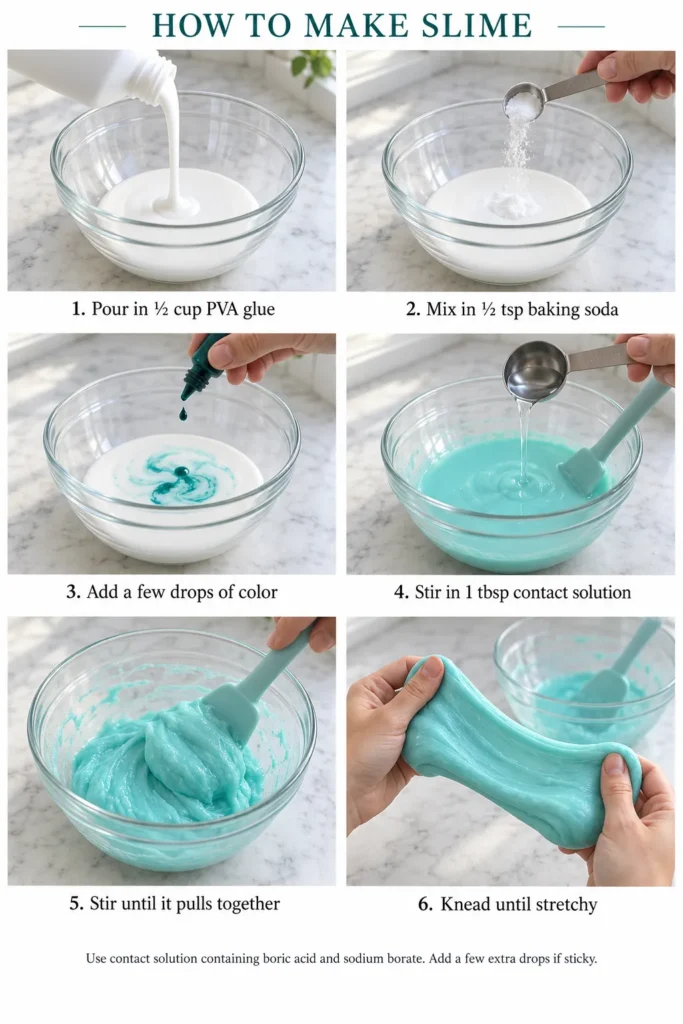
How to Make Classic Slime, Step by Step
This is the classic version most people picture when slime comes up. It’s the same basic method from earlier, just written out plainly. Keep these measurements handy the next time you’re standing at the counter.
Ingredients:
- ½ cup white or clear glue
- ½ tsp baking soda
- A few drops of food coloring
- 1 tbsp contact solution (look for boric acid and sodium borate on the label)
Instructions:
- Pour the glue into a mixing bowl.
- Stir in the baking soda until it disappears completely.
- Add a few drops of color and mix well.
- Pour in the contact solution and stir until it clumps together.
- Knead with your hands for two to three minutes.
- Add a few more drops of contact solution if it still sticks to your hands.
If it’s too sticky, add contact solution one drop at a time. Too firm instead? Knead in a tiny bit of lotion. Small adjustments beat starting over from scratch.
Most glue bottles hold about six ounces, which is close to this amount. That means one bottle makes almost exactly one batch. No measuring cups required if you don’t want to bother.
Swap the food coloring for glitter or a few drops of scent if you like. Neither one changes the texture, just the fun factor. Store leftovers in an airtight container, just like the tips above.
This recipe scales up easily for a bigger group project. Just multiply every ingredient by the same number. A double batch still comes together in under five minutes. Consistency really does come down to hitting these exact ratios.
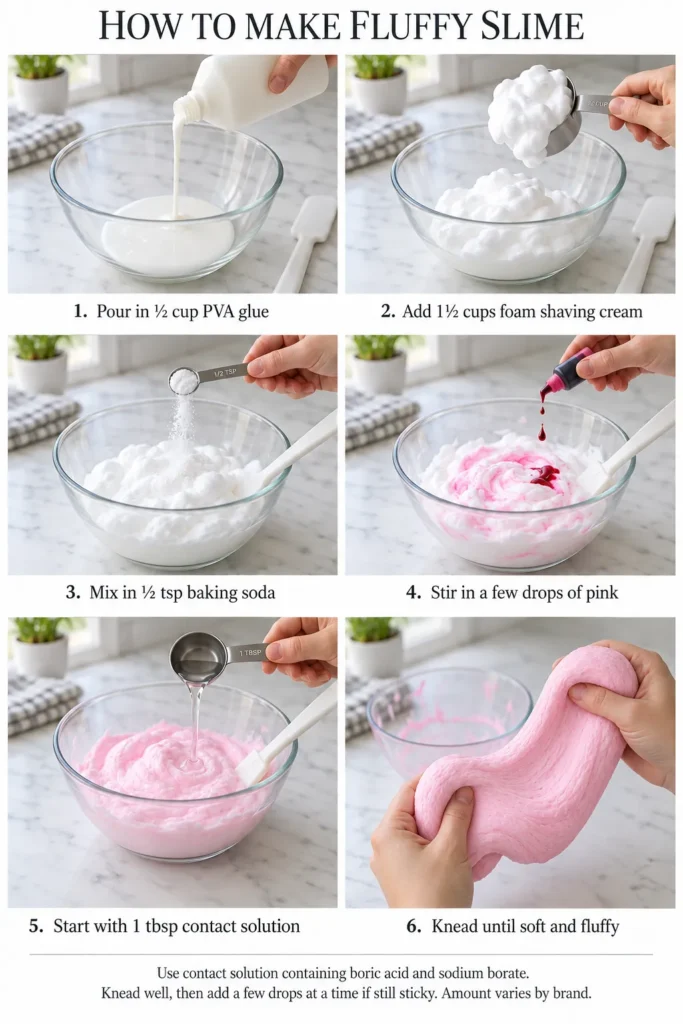
The Fluffy Slime Recipe (Ratios That Hold Up)
Fluffy slime recipes online often call for way too much shaving cream. That extra volume needs a lot more activator to firm up properly. These measurements keep the ratio balanced, so it sets properly.
Ingredients:
- ½ cup white glue
- 1½ cups shaving cream (foam, not gel)
- ½ tsp baking soda
- A few drops of food coloring
- 2 tbsp contact solution, added gradually
Instructions:
- Pour the glue into a large bowl.
- Add the shaving cream and stir until fully combined.
- Mix in the baking soda.
- Stir in a few drops of food coloring.
- Add the contact solution one tablespoon at a time.
- Knead until it turns soft, fluffy, and no longer sticky.
I like keeping the shaving cream closer to one and a half cups. Recipes that call for three cups often end up under-activated and loose. You can always add more foam later if you want it airier.
Use the poke test from earlier to check if it’s ready. Press one finger into the batch and pull it back slowly. If it springs back clean, you’re done kneading.
Stick with plain white foam, not the gel or scented kind. Gel formulas are denser and throw off the whole ratio. Scented versions can irritate sensitive skin during long play sessions.
If your batch still seems loose after kneading, add contact solution slowly. A teaspoon at a time keeps you from overshooting the texture. Overdoing the activator turns fluffy slime rubbery fast.
This batch turns out pillowy soft, closer to whipped frosting than glue. Kids tend to love this version most for the texture alone. Store it the same way as classic slime, in a sealed container. Double the recipe if you’re making it for a group.
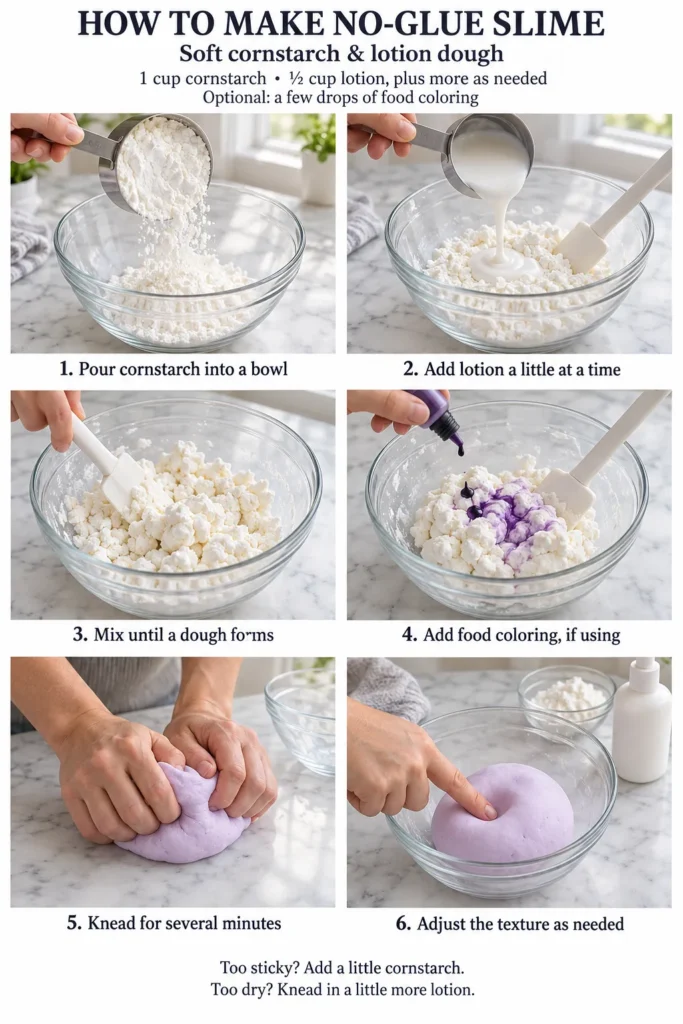
A No-Glue Recipe Worth Trying
This version skips glue completely, built around cornstarch and lotion instead. It’s the most forgiving no-glue combination I mentioned earlier. Measurements here are more flexible than the glue-based recipes above.
Ingredients:
- 1 cup cornstarch
- ½ cup lotion, plus more as needed
- A few drops of food coloring, optional
Instructions:
- Pour the cornstarch into a mixing bowl.
- Add the lotion a little at a time.
- Mix until it starts forming a dough.
- Add a few drops of color if using.
- Knead with your hands for several minutes.
- Add more cornstarch if it’s too sticky, or more lotion if it’s too dry.
This won’t stretch like glue slime does, and that’s expected. It squishes and molds instead, more like a soft dough. Kids with sensitive skin usually do better with this version.
Humidity changes how much lotion this recipe genuinely needs. Add it in small amounts instead of dumping it all in. You can always add more, but you can’t take it back out.
Unscented lotion works best if a kid has sensitive skin. Scented versions are fine otherwise, and they smell nice while kneading. Either option ends up with the same basic texture.
If it crumbles instead of holding together, add a bit more lotion. Too wet instead? Work in more cornstarch a spoonful at a time.
This dough-like texture holds its shape well once fully kneaded. It won’t dry out as fast as the glue-based versions either.
Store it the same way, in a sealed container somewhere cool. It won’t last quite as long as glue slime, so use it within a week or two. That shorter shelf life is a fair trade for a gentler recipe.
No-Glue Slime Recipes That Really Work
No-glue slime sounds like a myth some tired parent invented at midnight. But it’s real. It just requires letting go of glue-version expectations. Different base, different texture, different rules entirely.
A few no-glue combinations genuinely hold together:
- Cornstarch and lotion, mixed slowly until it stops sticking
- Cornstarch and hair conditioner, for a smoother finish
- Body wash and salt, chilled for a firmer texture
- Toothpaste and cornstarch in a pinch, though the smell is a lot
No-glue versions also skip the strong glue smell some kids dislike. That makes them a nice option for sensory-sensitive kids. Cleanup tends to be easier too, since nothing dries rock hard on furniture.
Cornstarch-based recipes need way more kneading than people expect. The mixture looks like a mess for a solid few minutes. Then it suddenly comes together. That transition catches almost everyone off guard the first time.
I’d argue lotion-and-cornstarch is the most forgiving combo for beginners. It’s cheap, it’s already in most bathrooms, and the ratio forgives mistakes. Even eyeballing the measurements usually still works out fine.
What it won’t do is stretch like glue slime does. So set that expectation before you even start. It squishes, it molds, it holds shape, but skips the dramatic pull. Different texture, different fun, not a lesser version of the real thing.
Temperature plays a role here too, more than people expect. Cold lotion or conditioner straight from the fridge speeds up the process. Room temperature ingredients work fine, just a little slower.
If your kid is allergic to certain glues, try these first. Keep a small batch of each and let your kid pick a favorite. Give each combination a real chance before ruling it out.
How to Make Slime Fluffy, Stretchy, and Not Sticky
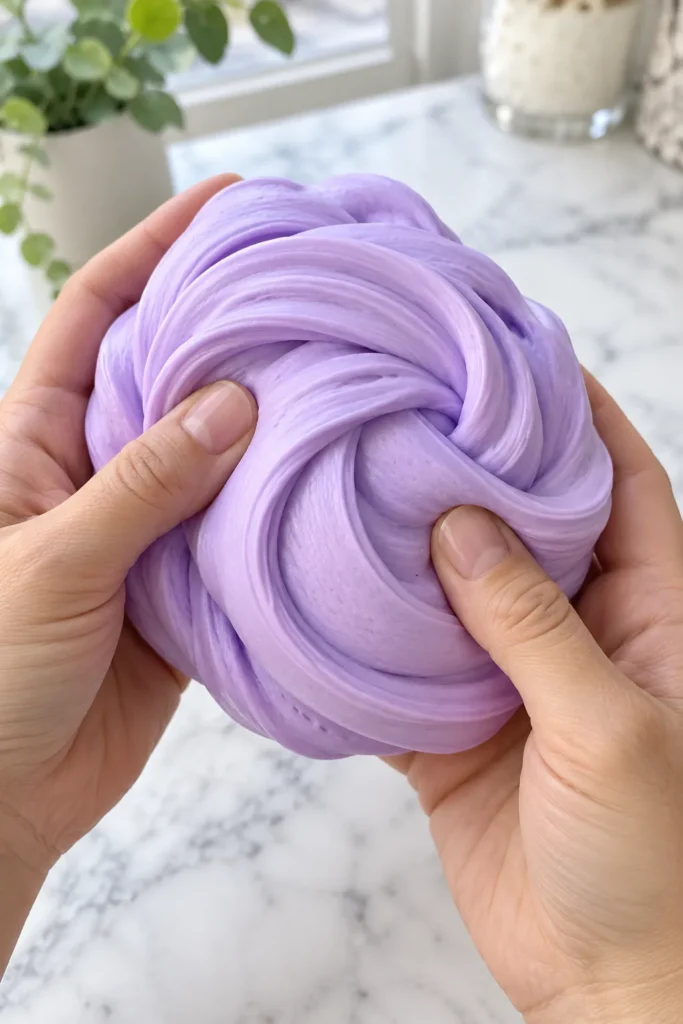
Sticky slime is easily the most common complaint I hear. It usually comes down to one fixable issue. Too much water or too little activator leaves it wet and clingy. The fix is almost always more activator, added in small amounts. Try the poke test before adding anything else. Poke the slime gently with one finger. If it springs back without sticking, it’s ready to go.
Here’s a moment worth sitting with: sticky slime isn’t ruined. It’s simply unfinished. People toss whole batches thinking they failed. Really, the mixture just needed another minute of kneading. That distinction saves plenty of batches from the trash. Small adjustments, made slowly, beat starting the whole batch over.
Stretch comes from a totally different balance. It’s easy to confuse the two problems. Too stretchy and thin usually means too much glue for the activator. Won’t stretch at all usually means the opposite problem.
Getting both fluffy and stretchy in one batch takes extra patience. Add shaving cream after the base slime already holds together. Fold it in gently instead of stirring hard. That keeps the air bubbles intact longer.
Temperature matters more than most tutorials mention. Warm hands really do help slime come together faster. Cold hands can make an already stiff batch tougher to work with. Running hands under warm water first can help on chilly days.
If your slime still seems off, let it rest for five minutes. Slime often firms up simply by sitting still. No extra ingredients required.
Rushing the kneading step is the mistake I see most often. Give it the full few minutes before deciding something’s wrong. Every batch behaves a little differently depending on humidity and glue brand.

Slime Without Glue And Activator: What That Even Means
This phrase confuses people more than almost any other slime search term. Slime without glue and activator sounds impossible, chemically speaking. In a strict sense, you’re right to be skeptical. The phrase gets searched constantly, which tells you people want simpler options. Fewer ingredients, fewer trips to the store, fewer chemical worries. That desire makes total sense to me.
What people usually mean is skipping the traditional glue-and-borax combo. Cornstarch, lotion, conditioner, and even flour create a similar squishy texture. It’s not identical to classic slime. But it scratches the same itch for sensory-loving kids. Think of it less as slime and more as moldable dough. It behaves more like play dough than a stretchy blob. That mental shift alone changes how you judge the results.
I’ll be blunt: these versions are closer to putty than true slime. That’s not bad, just different, and worth knowing upfront. Expecting glue-level stretch from a flour mix sets you up to be let down.
This method really shines for younger kids or sensitive skin. No harsh activator, no borax debate, no lingering chemical smell. Just cornstarch, something creamy, and a lot of patient kneading. No trip to the pharmacy for contact solution required either.
Texture takes longer to develop without an activator doing the work. Your hands essentially replace that reaction. It takes more time, more effort, and noticeably more patience. That trade-off is worth it for some households, not all.
Worth it? For sensitive skin or young toddlers, absolutely. Not so much for a kid chasing that classic stretchy pull.
I’d frame it as a separate category of sensory play. Comparing the two head-to-head sets you up to like neither. Judge each one on its own terms instead.

How to Make Slime Last (Storage Tips Nobody Tells You)
Making a great batch is only half the job. Slime dies a slow, sad death if you store it wrong. Air is the enemy here, drying everything out within a day or two. A little effort upfront buys you weeks of playtime instead of days.
These storage habits genuinely extend slime’s life:
- Store it in an airtight container, not a folded sandwich bag
- Keep it somewhere cool, since heat speeds up drying
- Add a few drops of water if it starts turning stiff
- Wash hands before playing, since dirt shortens its lifespan
- Toss it once it smells off, which usually means bacteria got in
Kids also tend to leave slime out on purpose, testing what happens. That curiosity is normal, but it does shorten the slime’s life fast. A quick reminder about the lid usually solves it.
Refrigerating slime between uses genuinely extends its life. It’s not required, but I’ve found it makes a real difference. That’s especially true somewhere warm and humid, like Florida. Cold slows the drying process more than almost anything else.
Reviving dry slime is usually possible, so don’t toss it yet. A tiny bit of warm water, kneaded in slowly, often brings it back. Add too much water at once, though, and you’ll hit soupy territory.
Most homemade batches last two to four weeks with decent care. That’s a solid run for something so cheap and quick to make. Treat it like fridge food, not a permanent kitchen fixture, and it’ll last far longer.
Label the container with the date it was made. That sounds excessive until you’re guessing between three unmarked tubs. Future you will be grateful for the five extra seconds it takes.
FAQs
Can I make slime without borax? Yes. Plenty of recipes skip borax and use contact lens solution or liquid starch instead. Cornstarch-based versions skip it completely, relying on kneading instead of a chemical reaction.
Why is my slime not stretching? Usually there’s too much activator relative to glue. Add a little extra glue and knead it in slowly. The stretch should come right back.
How long does homemade slime last? Most batches stay playable for two to four weeks. Store it in an airtight container somewhere cool for the best results.
Is fluffy slime the same as regular slime? Not quite. Fluffy slime uses shaving cream to add air and volume. That gives it a softer, cloud-like texture compared to the classic stretchy kind.
Can toddlers safely play with slime? Slime made without borax or harsh activators tends to be gentler for little ones. Always supervise closely, since slime isn’t meant to be eaten.

Consider This Your Permission Slip to Get a Little Messy
I’ll be the first to admit slime looked intimidating before I tried it myself. All those ingredient lists and warnings made it seem like a science project gone wrong. It’s really just glue, patience, and a willingness to get sticky.
Living in Orlando, indoor activities become a survival strategy for half the year. Slime earned a permanent spot in our rotation because of that. It’s cheap, it’s fast, and it keeps kids busy longer than almost anything else. Some afternoons, that alone counts as winning.
Every parent eventually finds their own reliable, no-fail activity. This one earned its spot the hard way. It doesn’t need a special occasion or a picture-perfect setup. Some Tuesday afternoon works just as well as any planned activity. That’s kind of the whole point, if you ask me.
Once you know how to make slime with stuff you already own, it stops seeming like a project. It starts working like a five-minute activity instead. No special trip required, no complicated tools, just a bowl and some trial and error. The learning curve is smaller than the internet makes it sound.
If you’re hunting for more ideas, Pinterest is a bottomless well of variations. Save a few, pin a few, and keep experimenting from there. There’s always another batch waiting to be tried. That’s the beauty of a recipe with basically zero rules!
So go ahead, clear off the counter, and make the mess! Your kitchen table has survived worse. And so will you.