I love a dessert that acts right, and fantasy fudge delivers every time. The stuff melts smooth, sets clean, and behaves better than half the things I try to organize on a Monday. I reach for this recipe when I want something sweet but refuse to deal with drama. It gives rich flavor, silky texture, and simple steps that never fight back. You get the idea.
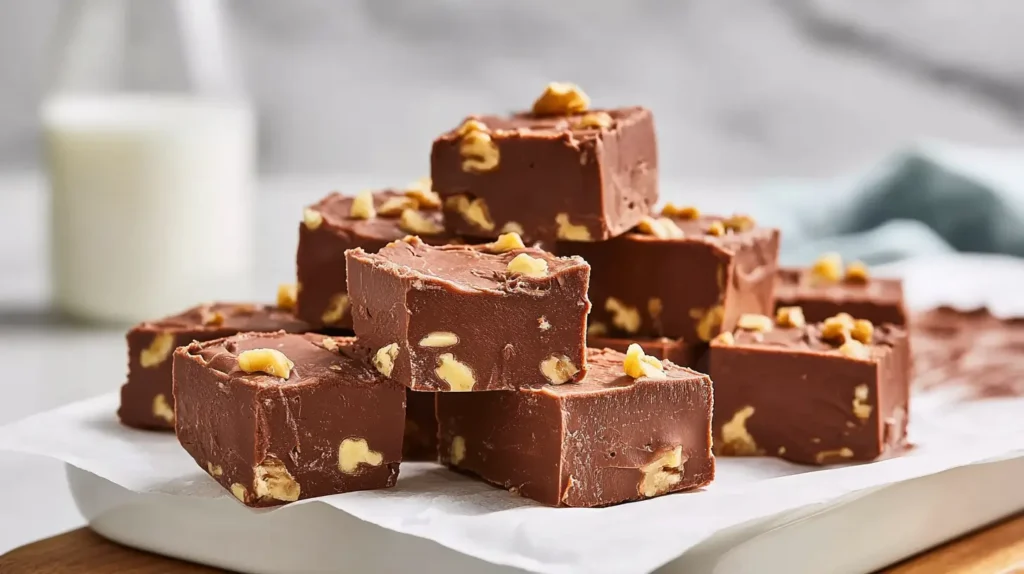
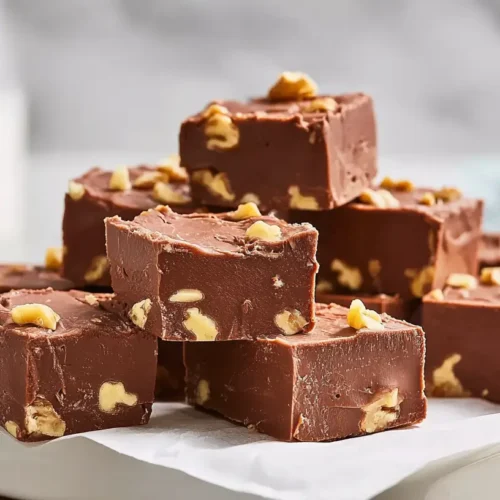
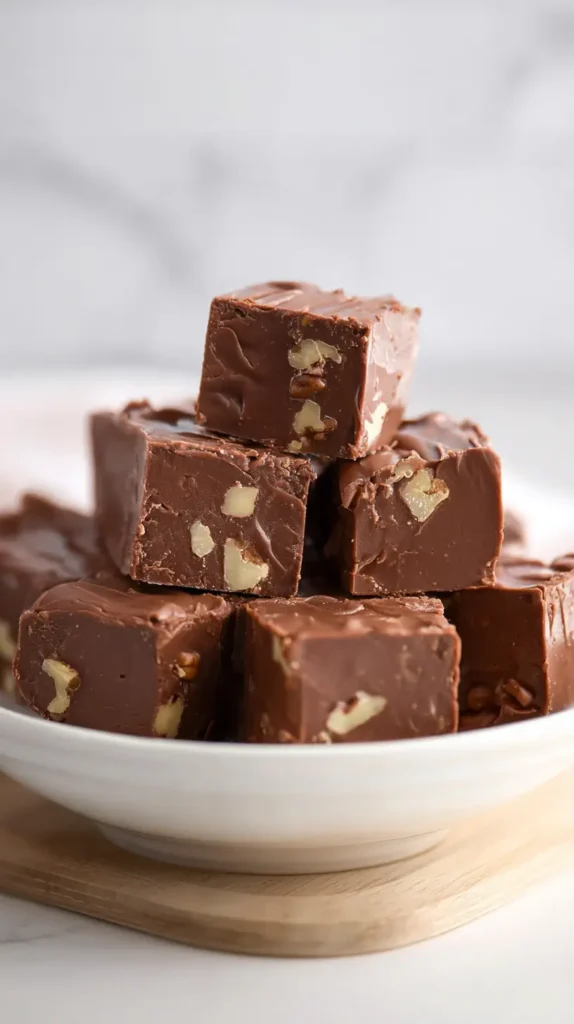
Even better, this fudge cools into tidy little squares that look like you planned everything. I love that feeling. It’s like tricking your kitchen into thinking you’re a whole adult with a color-coded calendar. I’ve found that this recipe always hits that happy balance between easy and impressive. People see the squares and assume you worked all day. You don’t need to correct them. Let them live in that illusion.
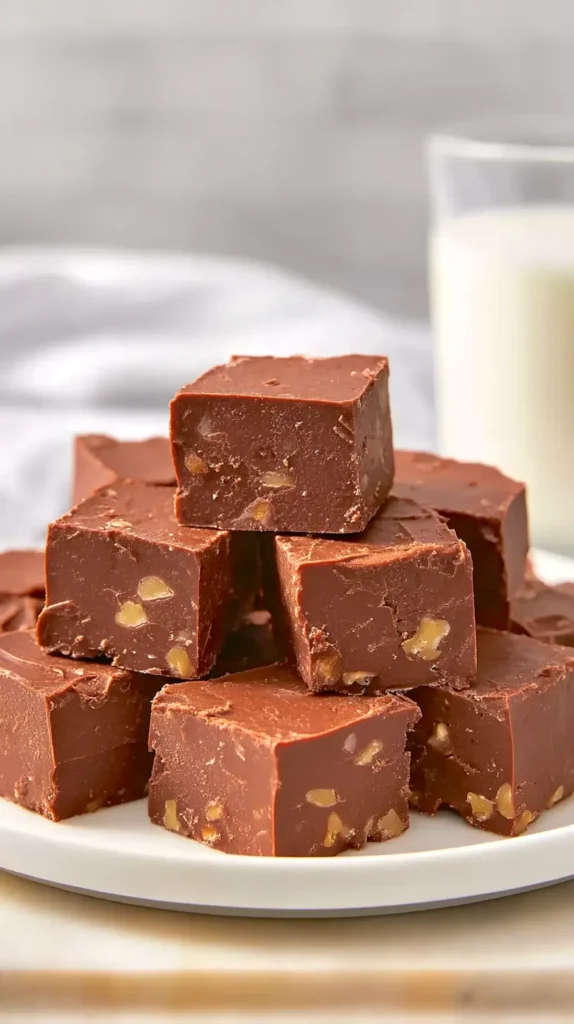
Living in Orlando adds a fun twist to dessert time because heat tries its best to ruin anything soft. This fudge stays much calmer than most chocolate treats, though. It keeps its shape. It refuses to melt into a sad puddle. I appreciate that level of loyalty. If a dessert can survive Florida weather, it earns a permanent spot in my recipe stack.
You’ll see why I love it once you make it because the whole process stays simple from start to finish. Ingredients line up like they know their jobs, and the steps flow in a way that keeps everything calm. The texture even lands in that dreamy place that makes you forget how quickly it came together. I’ll guide you through each part so it all feels predictable in the best way. Go ahead and grab a pan while you’re at it, then get the chocolate ready because your kitchen is about to smell incredible.
Some of the links on this page are affiliate links, which means that if you click on them and buy something, I might get a small commission. But don’t worry; it never costs you more. You can peek at my full disclosure if you’re curious about the fine print.
Ingredients That Keep This Fudge Silky And Sweet
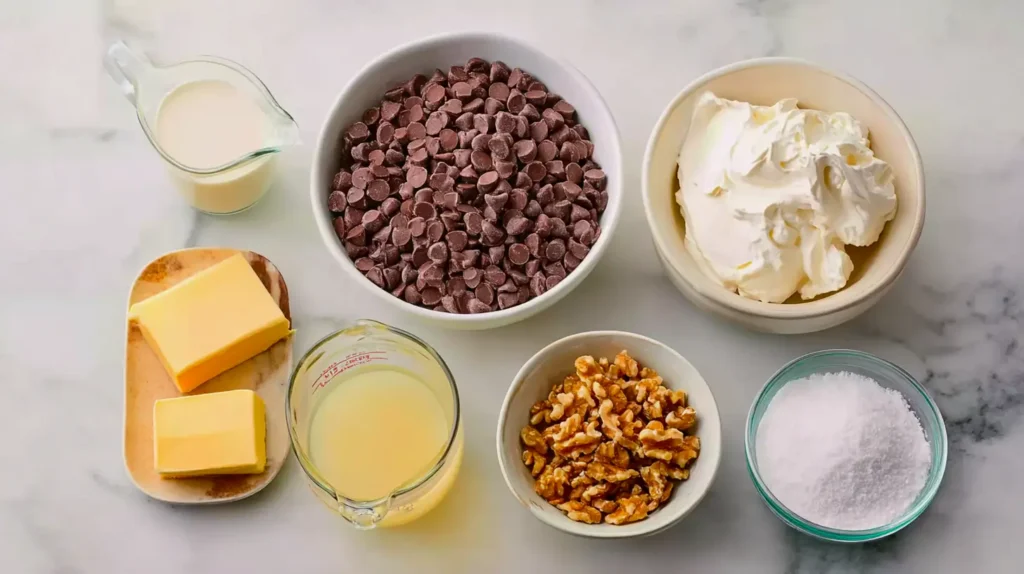
A good fudge recipe depends on ingredients that pull their weight. I want each thing in the bowl to show up ready to work. That’s why this list stays tight. The mix gives creamy texture without turning bossy. Sugar, butter, evaporated milk, marshmallow creme, and chocolate chips form the core. Each item adds something vital. Nothing feels extra, and nothing slows you down.
Sugar creates the structure. It melts and thickens the base. Butter adds richness and helps the fudge stay sliceable. Evaporated milk blends smoother than regular milk. It also helps the mixture cook evenly. Marshmallow creme keeps things soft. It dissolves into a glossy swirl that prevents graininess. Chocolate chips bring flavor and melt quickly. Vanilla ties everything together and adds warmth. Every ingredient matters. Every bit contributes to the texture we want.
Here’s the full list for one 9×13-inch pan:
- 3 cups granulated sugar
- ¾ cup unsalted butter
- ⅔ cup evaporated milk
- 2 cups semi-sweet chocolate chips
- 1 jar (7 oz) marshmallow creme
- 1 teaspoon vanilla extract
- 1 cup chopped walnuts (optional)
These ingredients stay reliable. I’ve found that name-brand chocolate chips melt more evenly. Marshmallow creme also varies between brands, so choosing one you trust pays off. You don’t need a candy thermometer here. That’s the beauty of fantasy fudge. The mixture boils for a set time, and that timing gives the right consistency. The ingredients do most of the heavy lifting.
You can skip the nuts if you prefer smooth fudge. You can also swap them for pecans. Pecans add warmth and softness, while walnuts bring a firmer crunch. Either choice works. These ingredients combine into something silky and satisfying without any complicated steps. That makes this recipe perfect for busy days, tired evenings, or moments when dessert needs to appear quickly.
Prepare Your Pan Before Things Get Wild On The Stove
I like a clean setup before anything hits the burner. It gives the whole recipe a calmer vibe. A prepared pan makes the process smoother and keeps the fudge from sticking. You also get tidy edges, which matters when you want the squares to look pretty. Those edges help the fudge slice with confidence. It’s the little things.
Line your 9×13-inch pan with parchment paper. Press it into the corners so it hugs the shape. Leave a small overhang on two sides. That overhang becomes your built-in handle for lifting the fudge later. Parchment keeps the fudge from clinging to the pan. It also keeps cleanup short. Foil works too, but parchment gives cleaner cuts.
Here’s how to set everything up:
- Place parchment across the bottom of the pan.
- Press it into the corners.
- Smooth the sides so they stay upright.
- Leave a little extra paper over the edges for lifting.
- Keep the pan near your stove.
A prepared pan helps you move fast once the mixture finishes cooking. This fudge sets quickly. Having everything ready prevents rushing. I also keep all ingredients open and within reach. Marshmallow creme sticks to everything, so peeling the lid early saves time. Chocolate chips melt fast, so you want them ready before pouring.
I use a heavy-bottomed pot because it heats evenly. Thin pots create hot spots. Hot spots can scorch the sugar. Scorched sugar will fight you, and we do not have time for that kind of energy. A heavy pot keeps things steady and predictable.
Once the pan is ready and the ingredients sit nearby, you’re set. The cooking stage moves fast. Preparation keeps the entire process fun instead of frantic.
Cook The Mixture Into Silky, Glossy Fantasy Fudge
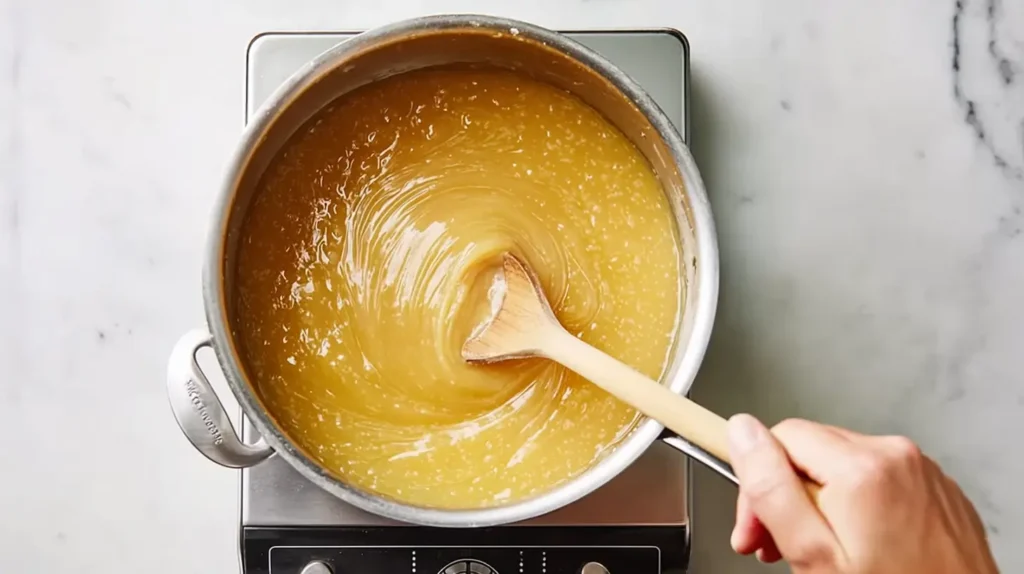
Cooking this mixture feels almost magical, but in a calm way. The transformation happens fast. Butter melts. Sugar dissolves. Milk blends in. Everything swirls together like it knows what it’s doing. You just guide it along. Stirring keeps it smooth. Boiling thickens it. The mixture turns glossy as it cooks. It also fills your kitchen with chocolatey warmth.
Start by melting the butter in a heavy pot. Add the sugar and evaporated milk once the butter melts. Stir until everything combines. The mixture will look thick. It will loosen as it warms. Keep stirring as it heats. Constant stirring prevents burning. It also helps the sugar dissolve evenly.
Once the mixture boils, set a timer for five minutes. Keep stirring while it boils. This part matters. Those five minutes bring the fudge to the exact consistency it needs. After five minutes, remove the pot from the heat. Add the chocolate chips immediately. They melt into a smooth base almost instantly. Add the marshmallow creme next. It melts quickly and adds shine. Add the vanilla last. Fold in nuts if you want them.
Here’s the clean, easy list of steps:
- Melt ¾ cup butter over medium heat.
- Add 3 cups sugar and ⅔ cup evaporated milk.
- Stir until blended.
- Bring mixture to a boil.
- Stir constantly for 5 minutes.
- Remove from heat.
- Add 2 cups chocolate chips and stir.
- Add marshmallow creme.
- Stir until smooth.
- Add vanilla extract.
- Fold in nuts if using.
- Pour into prepared pan.
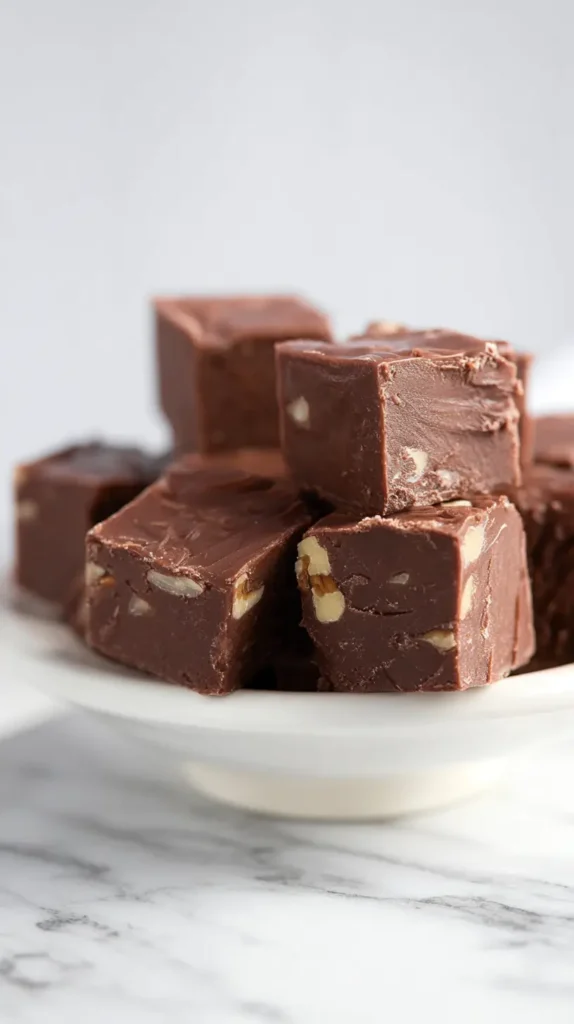
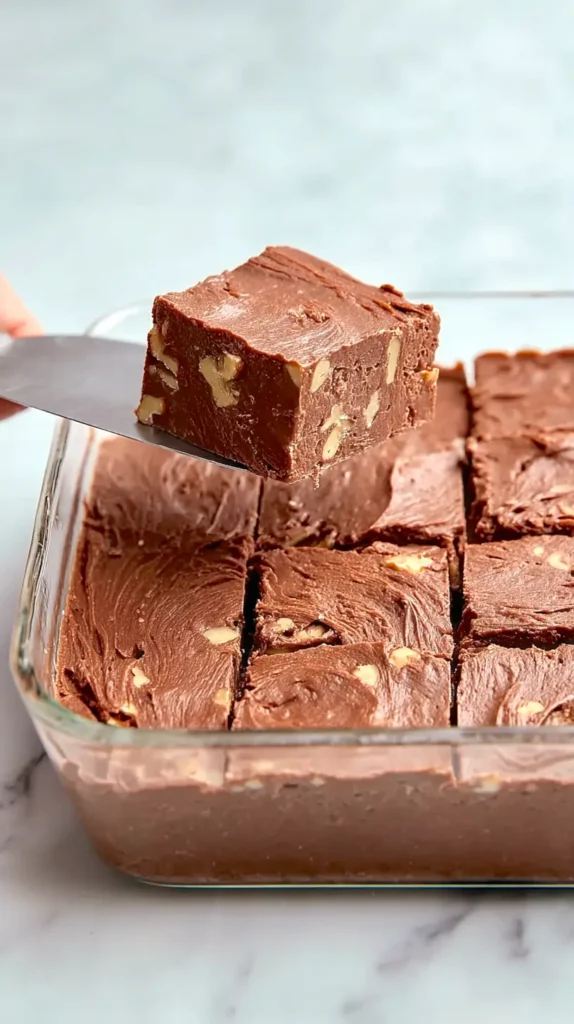
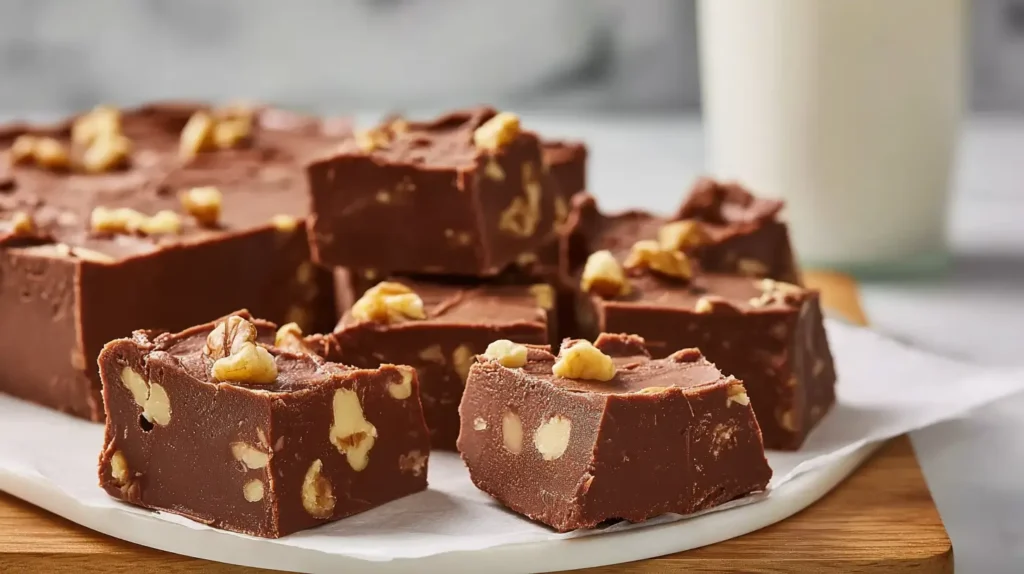
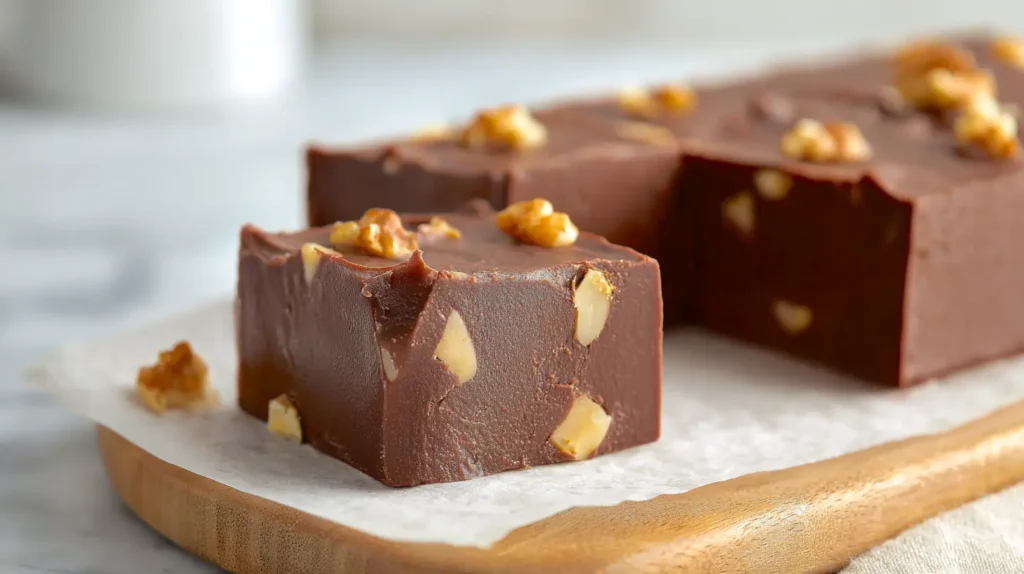
The mixture will look thick and glossy. It spreads well with a spatula, especially a silicone one. Smooth the top while it’s warm. Let it cool at room temperature. Once set, lift the parchment and transfer the large slab to a cutting board. Slice into small squares. Each square will feel rich and creamy with clean edges and a soft bite.
Fantasy Fudge
Ingredients
- 3 cups granulated sugar
- ¾ cup unsalted butter
- ⅔ cup evaporated milk
- 2 cups semi-sweet chocolate chips
- 1 jar 7 oz marshmallow creme
- 1 teaspoon vanilla extract
- 1 cup chopped walnuts optional
Instructions
- Line a 9×13-inch baking pan with parchment paper.
- Melt the butter in a heavy saucepan over medium heat.
- Add the granulated sugar and evaporated milk to the pot.
- Stir until the mixture blends smoothly.
- Bring the mixture to a full boil.
- Stir constantly for 5 minutes while the mixture boils.
- Remove the pot from the heat.
- Add the semi-sweet chocolate chips.
- Stir until the chocolate chips melt completely.
- Add the marshmallow creme to the pot.
- Stir until the mixture becomes smooth and glossy.
- Add the vanilla extract.
- Fold in the chopped walnuts if using.
- Pour the fudge mixture into the lined baking pan.
- Smooth the top with a spatula.
- Let the fudge cool completely at room temperature.
- Lift the set fudge from the pan using the parchment.
- Cut into 36 small squares.
A Simple Trick That Turns Fudge Into A “Slice-and-Savor” Fantasy Bar
I love a dessert that multitasks, and there’s a fun little trick that gives fudge a whole new life without changing the recipe. Instead of pouring the mixture into a big pan, you can spread it into a shallow loaf pan lined with a long strip of parchment. The narrower shape creates a tall brick of fantasy fudge that slices like a bakery bar. The texture changes in a tiny but delightful way. Each slice gets a firm edge and a creamy center, almost like a candy bar that doesn’t bother pretending to be store-bought.
This shape also helps with portioning. You can control every slice with a gentle knife press, and each piece stays uniform without needing a ruler to get perfect squares. It feels a bit fancy without the pressure of acting fancy. I’ve found that people love the surprise of getting a fudge bar instead of the classic cubes, and the tall slices work beautifully for wrapping or gifting. They stack neatly in small treat bags. They also freeze cleanly, which helps if you like prepping sweets ahead of time for holidays or parties.
Another perk of this trick is flavor layering. A loaf pan makes it easy to create two thin layers without extra effort. Pour half the mixture in, wait two minutes, then pour the rest. You get a soft two-tone effect that looks intentional and elegant. It’s the kind of detail that feels impressive when it didn’t actually take any extra time. It keeps the recipe fun, fresh, and flexible while staying simple enough for anyone to try.
Easy Ways To Personalize Fantasy Fudge Without Losing The Plot
I love when a recipe lets you play without consequences. This one welcomes small twists. You can change the flavor, add crunch, or give the top a new look. The base stays steady no matter what direction you choose. You can keep it classic or add flair. Either way, the fudge stays creamy and dependable.
Here are fun variations that keep everything easy:
- Add crushed peppermint for holiday sparkle.
- Swirl in creamy peanut butter.
- Swap semi-sweet chocolate for dark chocolate.
- Add chopped pecans for softer crunch.
- Stir in mini marshmallows for pops of texture.
- Add instant coffee for a mocha edge.
- Drizzle melted white chocolate on top.
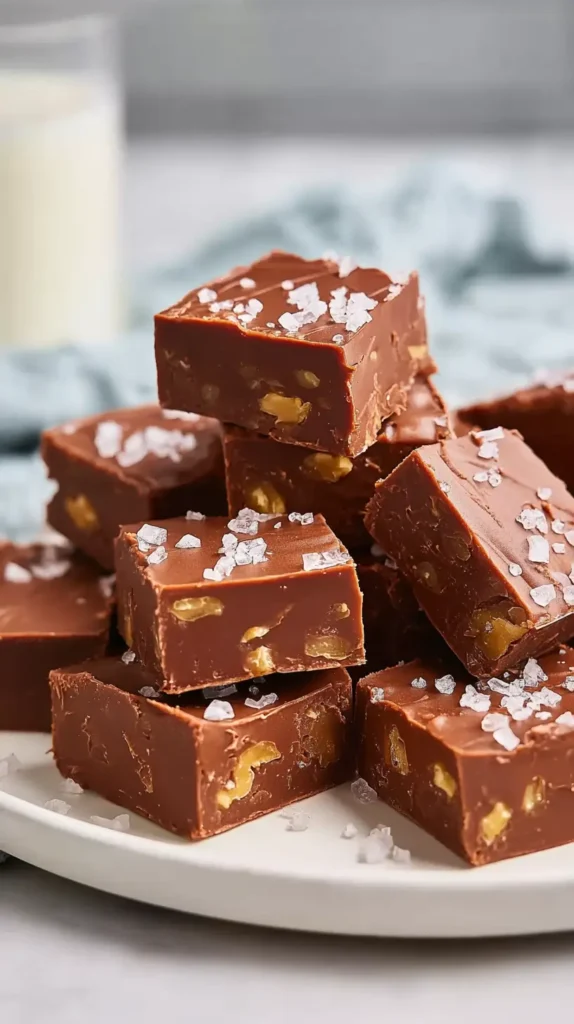
- Add flaky sea salt for balance.
- Mix in cookie crumbs.
These ideas bring personality without adding extra steps. You add them at the same stage you’d add nuts. The warm mixture welcomes everything. Because the fudge sets quickly, work fast. Use a light hand if you swirl anything. Patterns look prettier when you don’t overmix.
I’ve found that add-ins work best when they complement chocolate. Peppermint brightens the flavor. Peanut butter adds warmth. Coffee brings depth. Sea salt sharpens everything. White chocolate adds sweetness. You can mix and match these ideas for endless combinations.
Colorful toppings also make the fudge cute for parties. Sprinkles, chopped nuts, tiny chips, and crushed candies all cling to the warm surface. You can create seasonal versions without creating extra work.
This recipe stays easy even when you change the vibe. The base remains creamy. The texture stays smooth. You get a dessert that feels fun, flexible, and reliable.
Full Fantasy Fudge Recipe
Fantasy Fudge Ingredients
3 cups granulated sugar
¾ cup unsalted butter
⅔ cup evaporated milk
2 cups semi-sweet chocolate chips
1 jar (7 oz) marshmallow creme
1 teaspoon vanilla extract
1 cup chopped walnuts (optional)
Instructions
- Line a 9×13-inch pan with parchment paper.
- Melt the butter in a heavy pot over medium heat.
- Add the sugar and evaporated milk.
- Stir until blended.
- Bring mixture to a boil.
- Stir constantly for 5 minutes.
- Remove from heat.
- Add chocolate chips.
- Stir until melted.
- Add marshmallow creme.
- Stir until smooth.
- Add vanilla extract.
- Fold in walnuts if using.
- Pour into the prepared pan.
- Smooth the top.
- Cool completely before cutting.
Makes about 36 squares.

Final Thoughts
I love recipes that reward you for putting in minimal effort, and fantasy fudge fits that mood perfectly. It works on days when you feel organized and also on days when you stare into your pantry hoping inspiration jumps out. The texture stays smooth. The flavor feels rich. The whole process runs faster than most errands on my to-do list. That’s probably why I keep this recipe nearby.
This fudge also survives heat better than many desserts. Living in Orlando means watching my treats melt the moment they hit the counter. This one holds steady. It keeps its shape. It even stays cute in small containers. That alone makes it a winner in my kitchen.
I’ve found that people react with joy when they see this fudge on a plate. Something about those tidy squares signals comfort. You can make it for parties, gifts, or quiet evenings. It works in every setting. You can also customize it without stress. That flexibility keeps things fun.
Sharing recipes that make people feel capable always makes me happy because confidence tastes just as sweet as chocolate. Friendly instructions also keep the whole process calm, and that matters when you want dessert without drama. Warm weather tries its best to ruin treats here, yet this fudge holds strong like it has something to prove. The texture stays smooth. The shape stays sharp. Pinterest posts love it, too, because glossy tops and tidy edges always steal a little extra attention.
You’ll end up with something sweet, pretty, and reliable. You’ll also feel like your kitchen is cheering you on. Make a batch when you want a treat that lifts the whole mood. This recipe always delivers.