Let’s talk about baby food—the homemade, organic, pureed kind that actually makes you feel like you’ve got your life together. Not in a Pinterest-perfect way, but in a real, “Hey, I did this myself” kind of way. There’s something satisfying about knowing exactly what’s in your baby’s food, right down to the last mushy spoonful. I’m not here to judge the store-bought stuff (we’ve all been there), but if you’re curious about making your own, I’ve got you covered.
I’ve always been the type to wonder what’s actually in those little jars—and how hard it’d really be to make my own.
This post is all about how to make homemade organic baby food, pureed and ready to go. I’m walking through everything—what tools you need, what foods work best for different stages, how to prep and blend it all, and how to store it without turning your fridge into a science experiment. It’s easier than you think, cheaper than those tiny jars, and honestly kind of fun once you get into the groove.
We’ll talk about the best beginner-friendly ingredients, how to avoid weird textures, what not to do (because yes, I’ve seen bananas go sideways), and how to keep it all safe and fresh. I’ll also share some smart storage ideas and freezer hacks that’ll save your sanity on those days when everything feels like chaos.
You don’t need fancy equipment or hours of free time. If you can steam a veggie and press a button, you’re halfway there. It’s not about being perfect—it’s about feeling confident in what you’re feeding your baby. And if you like being a little extra, we can even get into flavor combos that make your little one feel like a tiny food critic.
Some of the links on this site are affiliate links, which just means I may earn a small commission (at no extra cost to you) if you make a purchase. You can check out my full disclosure for all the details.
The Simple Baby Food Gear You Actually Need
You don’t need a baby food factory in your kitchen. A few basic tools are all it takes to get started. This isn’t about fancy gadgets. It’s about what actually works without taking over your counter space.
Here’s the must-have list:
- A steamer basket or pot with a lid
- A blender, food processor, or even a hand-held immersion blender
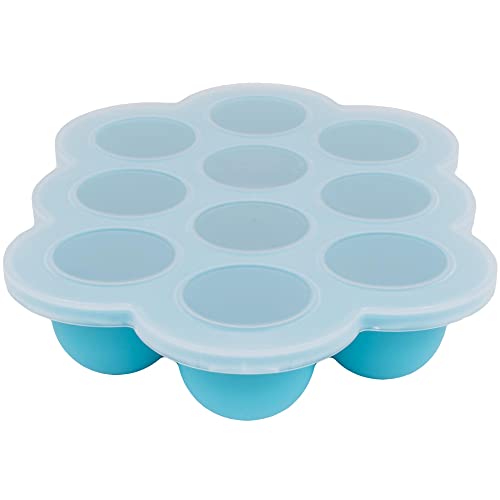
- Ice cube trays or silicone baby food molds
- Zip-top freezer bags or glass containers for storage
- A spatula or spoon to scrape and stir
That’s it. Seriously.
You can use what you already have. A regular blender works just fine for most purees. If you’re using a steamer basket, it fits inside a regular pot and steams everything evenly. No need for one of those baby-specific machines unless you’re really into gadgets.
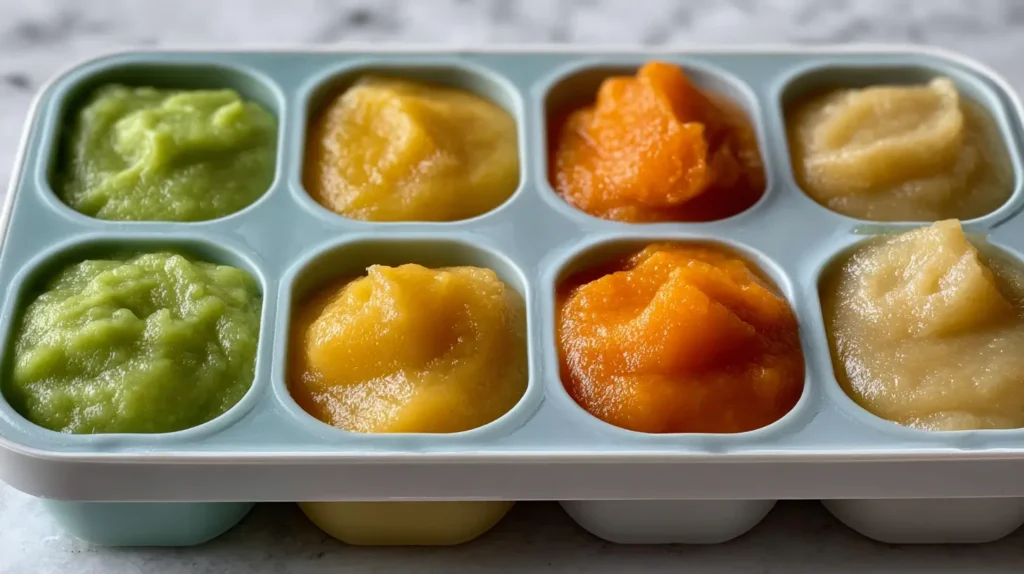
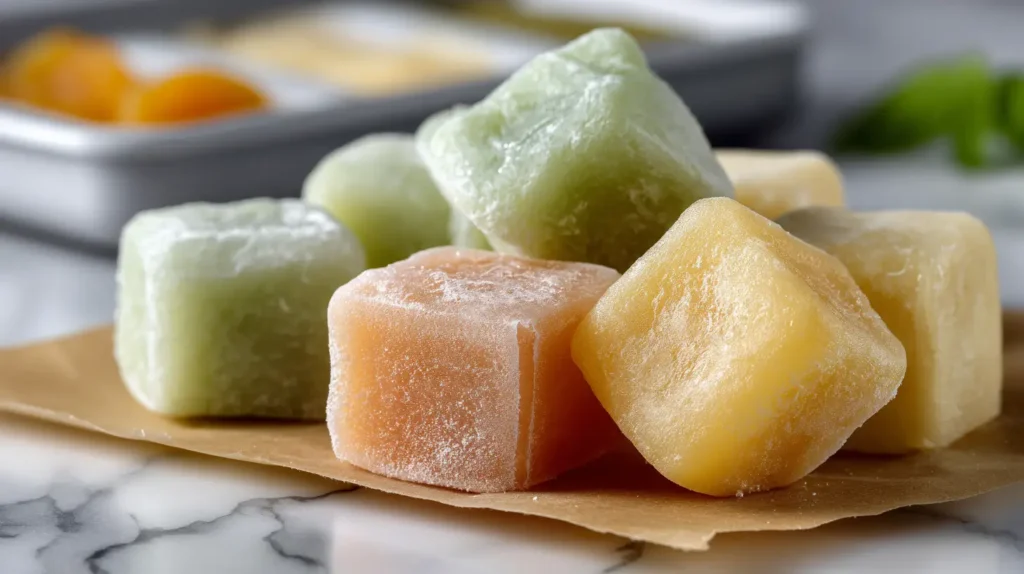
Start with one or two trays. Silicone makes it easy to pop the frozen cubes out. I’ve found that storing purees in 1-ounce portions helps keep waste down. It’s enough for a meal or snack without thawing more than you need.
Label everything. Sharpie + painter’s tape = your new best friend. Mark the food and the date. Frozen baby food lasts about 3 months, which is great when you want to stock up.
I don’t recommend using ice cube trays with hard plastic bottoms. They crack. Get silicone if you can. It’s just easier.
If you’re tight on space, stack the trays on a baking sheet and freeze all at once. Once the cubes are solid, transfer them to a bag and label it. Done.
Having the right gear makes the process smoother, but don’t overthink it. You’ve probably got everything you need already.
What Foods Are Best To Start With
Starting solids is exciting and a little nerve-wracking. There’s no single right way, but some foods are just easier to begin with.
Here are a few beginner-friendly favorites:
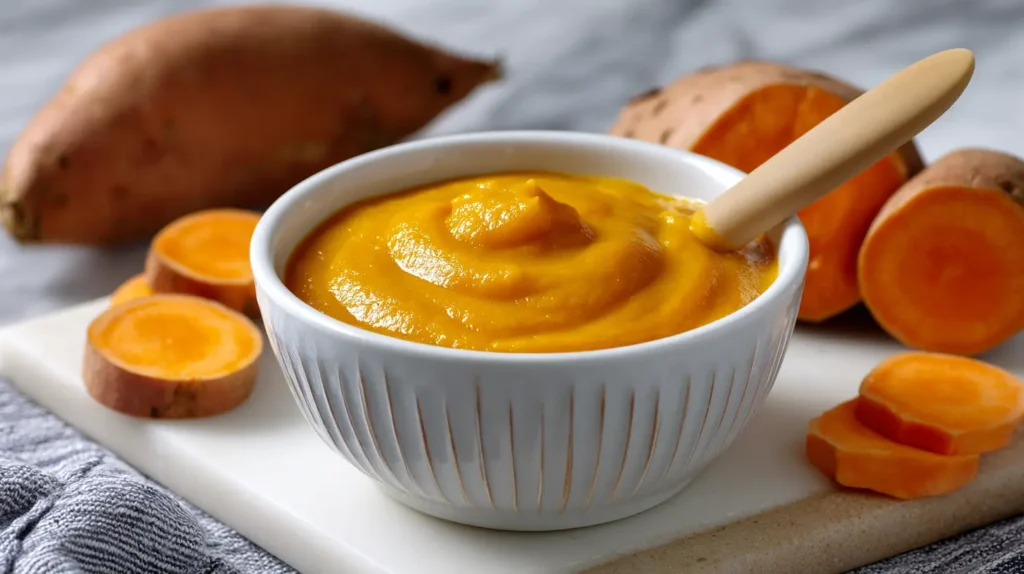
- Sweet potatoes
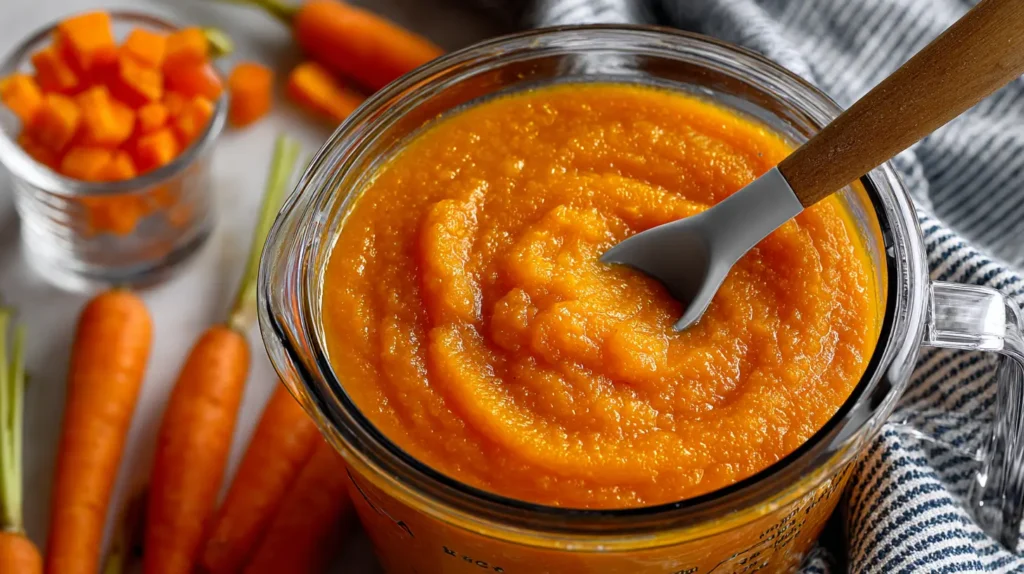
- Carrots
- Apples
- Pears
- Peas
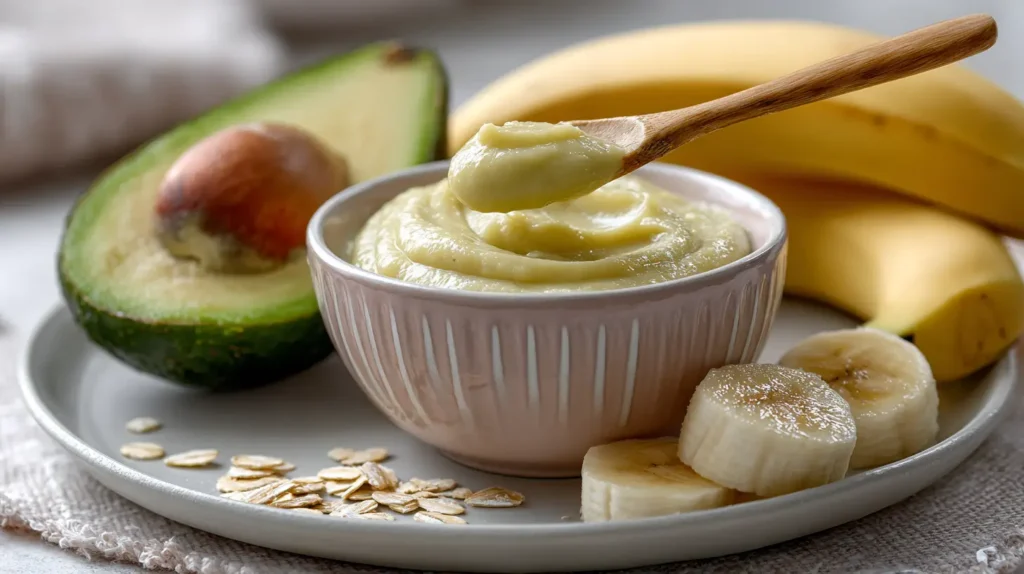
- Avocados
- Bananas
Each of these can be made into a soft, creamy puree with just one ingredient. That’s the beauty of homemade organic baby food—you control exactly what goes in.
Steam the harder stuff like sweet potatoes, carrots, apples, and pears. They soften up beautifully and blend smooth with a little water. Peas can be steamed or boiled, then blended and strained if needed. Avocados and bananas don’t need cooking. Just mash and serve.
I’ve found that single-ingredient purees are the easiest way to check for any food sensitivities. Introduce one new food at a time. Wait three days before adding another.
Here’s a tip I picked up: Mix in a little breastmilk or formula if your baby’s unsure about the new texture. It makes it more familiar and helps smooth everything out.
Once you’ve tested a few safe foods, you can start blending things together. Sweet potato + pear is a hit. Banana + avocado = creamy dream.
Don’t worry if they only eat a spoonful. It’s about exposure at first, not volume. Let them get used to the idea. It gets easier, I promise.
Easy Steps To Make Baby Food From Scratch
Making homemade baby food feels like a big project, but once you’ve done it, you’ll see how quick it really is.
Here’s the basic routine I follow:
- Choose your fruit or veggie.
- Wash it well.
- Peel if needed.
- Cut into chunks.
- Steam until soft.
- Blend with a splash of water (or breastmilk).
- Pour into trays or containers.
- Freeze or refrigerate.
That’s the whole thing.
You’ll want the consistency to be smooth and a little runny for first foods. As your baby grows, you can thicken it up or leave it slightly chunky.
Some foods, like apples and pears, release water as they cook. Others, like peas or sweet potatoes, need a bit added during blending. Start small. You can always add more liquid.
I’ve found that blending in short bursts works better than holding the button down. It gives you more control over texture.
Taste your puree. If it’s bland to you, it’ll probably be bland to them—but that’s okay. Babies don’t need salt or spices yet. Their taste buds are fresh. Even plain carrots are exciting to them.
Let the puree cool before freezing. Hot food in the freezer isn’t great for temperature control or safety.
Batch cooking saves time. Make a few types at once and freeze them all. You’ll thank yourself later.
How To Store And Reheat Baby Food Safely
Storage is where things get a little tricky if you’re not prepared. But once you get a system, it runs like clockwork.
Here’s what works for me:
- Refrigerate portions you’ll use in 2–3 days.
- Freeze everything else right away.
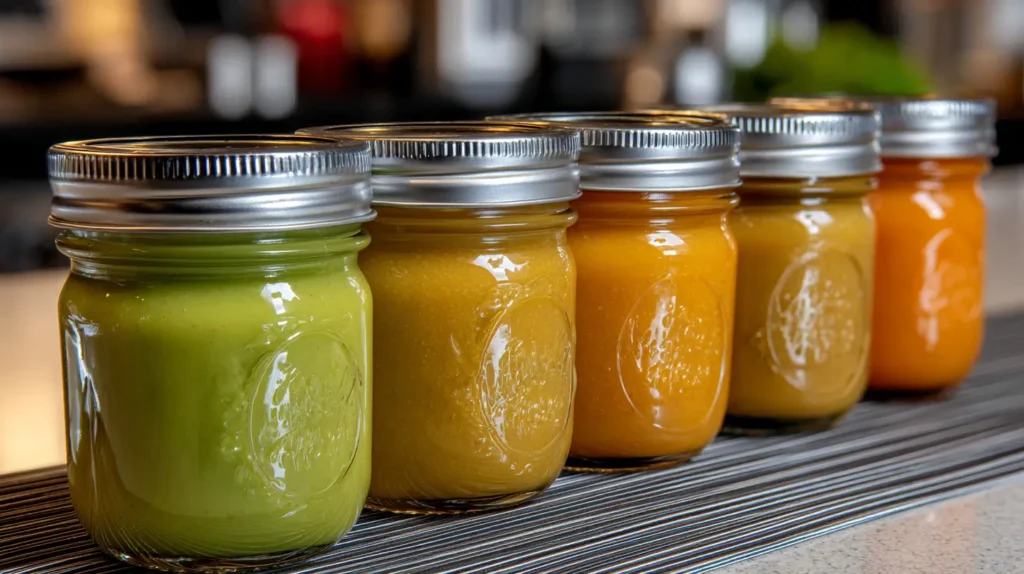
- Store in single servings to cut down on waste.
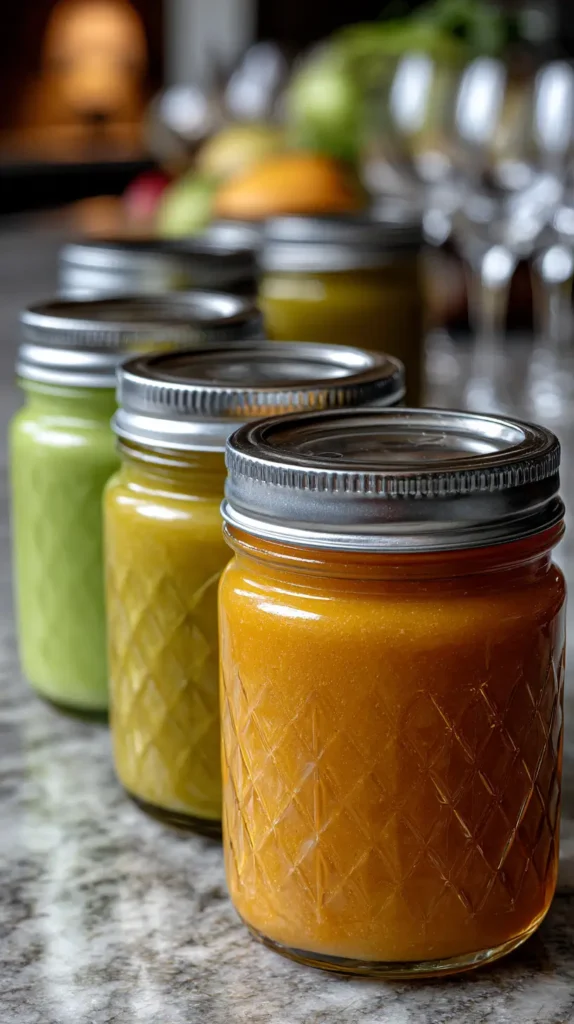
- Use airtight containers or freezer-safe bags.
- Label with both the food and the date.
Keep in mind:
- Refrigerator: 48–72 hours max
- Freezer: Up to 3 months
Thaw in the fridge overnight, or use warm water to gently heat the cubes. I never microwave the food directly. It heats unevenly and creates hot spots that can burn a baby’s mouth.
Instead, I place the frozen cube in a glass bowl, then put that bowl into another bowl with warm water. It softens in minutes and stays safe.
If you use bags, press the air out before sealing. Less air means less freezer burn. Those baby food cubes cost time and energy—don’t let them go to waste.
Once thawed, use it within 24 hours. Don’t refreeze. That’s one of those rules I try hard to stick to, even when things get hectic.

Flavor Combos Your Baby Might Actually Love
Once your baby has tried a few single ingredients, you can start having a little fun with flavor. It doesn’t have to be complicated.
Here are some combos that blend well and taste great:
I keep things simple. Just two ingredients at first. Later, you can build on those base flavors.
You can also try adding in oats or quinoa for a little texture and iron. Cooked grains blend up well and help thicken things naturally.
For extra creaminess, add a bit of full-fat plain yogurt (after 6 months) or a small spoonful of nut butter (after pediatrician approval).
I’ve found that cinnamon or nutmeg (just a pinch) makes things smell amazing, which helps with acceptance.
Try to avoid too many fruits in one mix. You want your baby to enjoy veggies, too—not just the sweet stuff.
Keep a notebook or list in your phone. Track what they liked, what they didn’t, and what caused a weird reaction. It’ll save you guessing next time.
Foods You Should Avoid (At Least For Now)
There’s a lot of advice out there about what babies can or can’t eat. It gets overwhelming fast. Let’s break it down to the basics.
Here’s what I avoid in the first year:
- Honey (risk of botulism)
- Cow’s milk as a drink (okay in small amounts for cooking)
- Whole nuts (choking hazard)
- Added salt or sugar
- Highly processed meats
- Juice
- Undercooked eggs
- Shellfish
- Unpasteurized dairy or juices
Even for the homemade organic baby food approach, some foods just aren’t safe yet.
Choking hazards are a big concern. Grapes, chunks of raw veggies, or hard fruits should always be cut or steamed until soft.
If you’re introducing allergens like peanut, egg, or dairy, do it one at a time and watch closely. Talk to your pediatrician first. Every baby is different, and safety always wins.
Don’t feel pressure to try everything all at once. Go slow. Start with the basics, then build from there.
Your baby doesn’t need variety in the way adults do. They’re learning textures and tastes. Keep it simple. Keep it safe.
And don’t stress if they don’t love something right away. Repeated exposure is how taste develops. Just keep offering.
Final Thoughts
There’s something really special about making your own baby food. Not in a show-offy, perfect mom kind of way. More like a quiet confidence that comes from knowing what’s in your baby’s bowl. I’ve found that even when the rest of the day feels like a tornado, pulling a little tray of pureed sweet potatoes from the freezer feels like a win.
Homemade organic baby food doesn’t have to be hard. It’s just real food, pureed and portioned. You’re picking ingredients you actually feel good about. Maybe you’re blending bananas while still in your pajamas. It’s not always tidy. Sometimes it’s downright messy. But it’s yours. And that counts for something.
I’m not against jars or pouches. We all do what we have to do. But I like knowing I can whip something up that feels thoughtful and nourishing, even if it’s just mushed-up peas.
And let’s be honest—Pinterest has a way of making things look more complicated than they really are. You don’t need color-coded labels or handwoven freezer baskets. Just food. A spoon. A hungry little human.
If I could go back and tell my younger self anything, it’d be this: skip the stress, trust your gut, and batch the peas.
So if you’re thinking about giving it a go, do it. Try one food this week. Make a batch. Freeze a tray. That’s how it starts. That’s how it becomes routine.