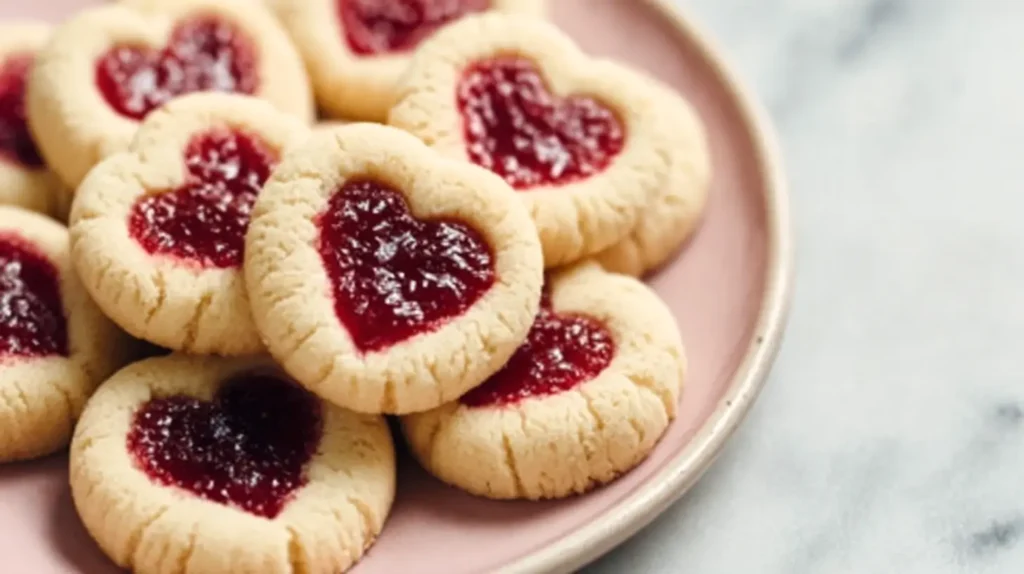
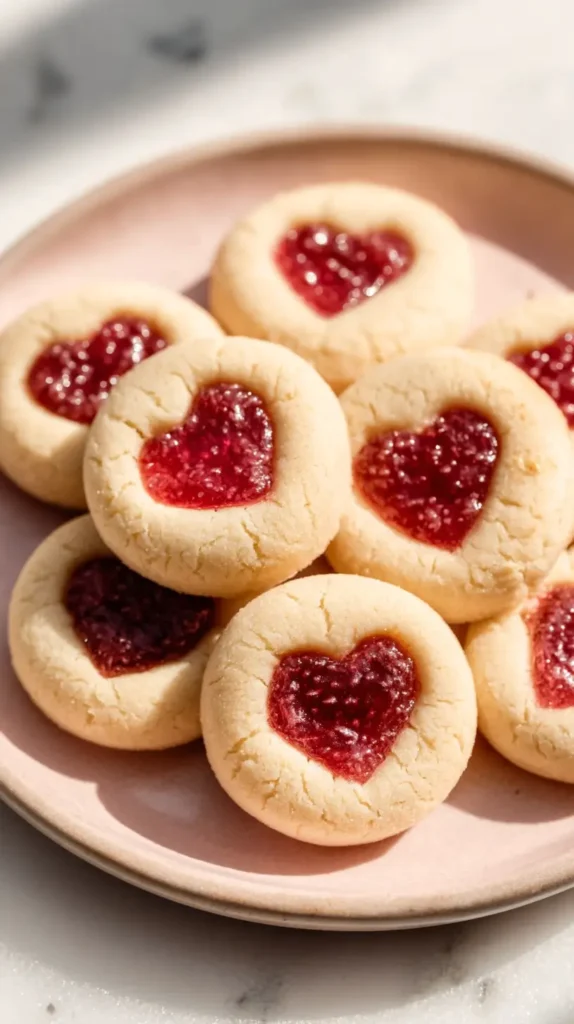
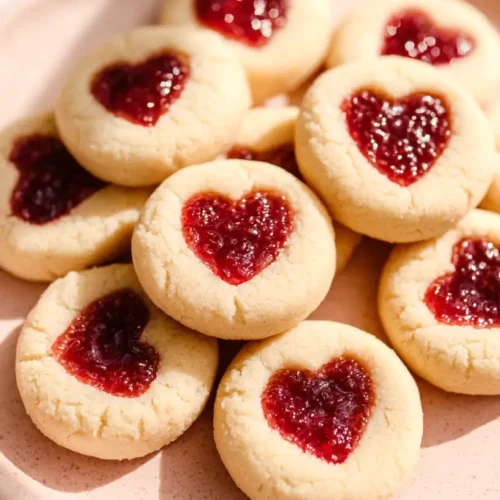
Valentine thumbprint cookies are one of those desserts that look thoughtful without requiring a whole emotional commitment. I like that energy. They sit right in that sweet spot between homemade and polished, which is exactly where I want to live in February. I always notice how red jam against a pale cookie just works. It’s simple. It’s classic. It doesn’t need glitter or sprinkles to make a point. And honestly, I respect a dessert that doesn’t need a backstory.
There’s something comforting about a cookie that doesn’t try to reinvent itself. No wild flavors. No dramatic layers. Just buttery dough and raspberry jam doing their thing. I’ve found that people trust desserts like this. They recognize them. They relax around them. That matters, especially when Valentine’s Day already comes with enough pressure.
Since I live in Orlando, I also care a lot about not overheating my kitchen. February here can be sneaky. One minute it feels mild, and the next you’re questioning every life choice. These bake quickly, cool fast, and don’t turn the house into a sauna. That alone makes them a winner.
This post is all about the real version. The dough that works. The jam that makes sense. The shaping that doesn’t make you want to scream. The full recipe. The little things that matter. No fluff. No drama. Just the kind of baking that feels doable and actually enjoyable.
A few links on this page are affiliate links, so if you click and buy, I might earn a small commission. It never costs you more, and it helps support the site. You can read my full disclosure if you’re into the fine print.
Why Valentine Thumbprint Cookies Always Belong On The Table
Valentine thumbprint cookies work because they don’t ask for attention. They earn it. That difference is important. Some desserts try to be impressive. These are just solid. The look is clean. The flavor is balanced. The size is reasonable. It’s a quiet confidence situation.
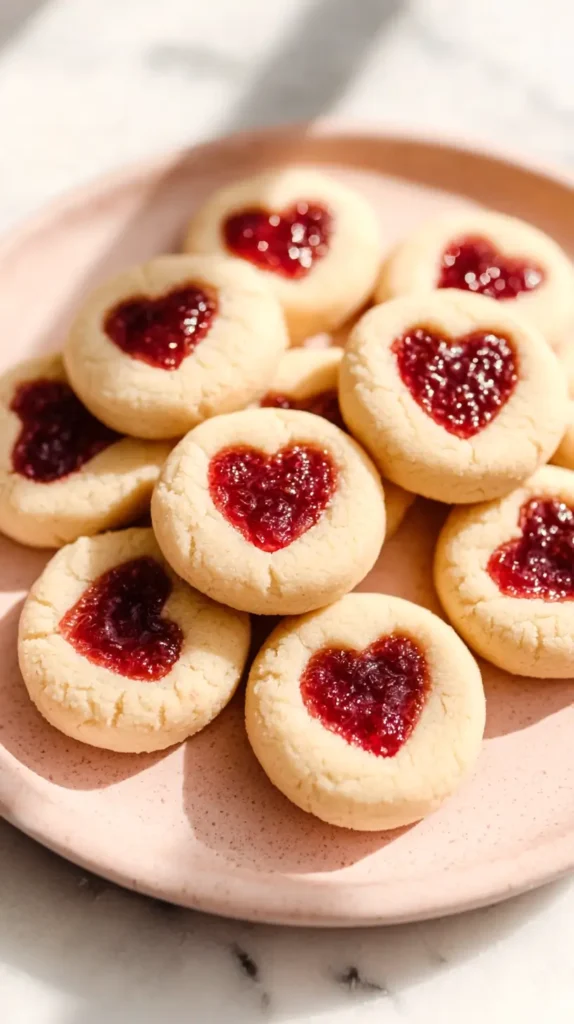
I always notice that people reach for these before the heavily frosted options. That visible jam center does a lot of quiet convincing. The look is familiar, which makes people relax. The color feels safe, which makes people commit. And the whole thing reads edible, not decorative. That matters more than most bakers want to admit. Nobody is standing around dreaming about biting into a cookie that looks like a craft project. These look like dessert, plain and simple.
Because the cookie base is buttery and soft, it doesn’t fight the jam. The raspberry brings a little tartness, which keeps everything from going flat. That balance is what makes people come back for another. It’s sweet, but not cloying. Rich, but not heavy. It doesn’t wear you out.
They work for every version of Valentine’s Day.
Random Tuesdays that deserve better than a granola bar
Kids’ parties where cupcakes are everywhere and chaos is guaranteed
Galentine brunches with matching outfits and very loud laughter
Date night dessert boards that need one easy but cute option
I’ve found that desserts like this lower the temperature in the room. The pressure drops. The hesitation disappears. Hands reach without a committee meeting. When nobody needs an explanation, you know the recipe is solid.
And visually, they do a lot with very little. Pale cookie. Red center. Clean edges. No mess. No chaos. That simple contrast always works, especially in February when everything else is trying so hard.

Getting The Dough Right Without Overthinking It
The dough is where everything starts, so I keep it simple and intentional. I use real butter, not margarine, because texture matters. Soft butter blends smoothly and gives you that tender crumb everyone wants. Cold butter creates problems. Melted butter creates other problems. Room temperature is the sweet spot.
Powdered sugar is the move here. It keeps the cookies soft without making them fragile. Granulated sugar adds structure, but it can also make things a little crisp. For this style, soft wins. Egg yolk adds richness without making the dough puffy. That detail matters. Nobody wants cake cookies in this situation.
Vanilla gives you warmth, salt keeps everything in line, and flour handles the structure. That’s the setup. Extras aren’t needed. Weird additions don’t improve it. Unnecessary steps just get in the way.
I’ve found that the dough should feel soft but not sticky. If it clings to your hands, it needs a little flour. If it cracks when you roll it, it needs a tiny splash of milk. Those small adjustments save you from frustration later.
Letting the dough rest for ten minutes helps. It relaxes the flour and makes shaping easier. It also gives you a second to clean up, which is underrated.
Things I always pay attention to here:
- Butter should be soft, not shiny or melted.
- Sugar should fully blend, not sit grainy.
- Dough should be smooth, not crumbly.
- The bowl should look clean when you’re done mixing.
Because when the dough behaves, everything else feels easier. Shaping is smoother. Baking is more even. The final texture is better. It’s worth getting this part right.
Shaping Valentine Thumbprint Cookies Without Losing Your Mind
Shaping Valentine thumbprint cookies is simple, but it rewards patience. I always roll the dough into smooth balls first. That step alone makes the finished cookies look cleaner. Rough balls lead to cracked edges. Smooth balls give you neat circles.
Once they’re rolled, I place them on the tray with space. These spread a little. Not much, but enough that crowding becomes an issue. About two inches apart works well.
For the indent, I use my thumb. Some people use a spoon. Some use the back of a measuring spoon. I like the control of my thumb. It’s quick. It’s natural. It doesn’t overthink the situation.
I press gently and lift straight up. Twisting causes cracks. Pressing too deep invites jam overflow. Shallow wells hold their shape better. That small detail saves you from sticky edges later.
If the dough starts feeling soft, I pause. Five minutes in the fridge fixes everything. Warm dough slumps. Chilled dough holds. That difference shows in the final look.
I always shape the entire tray before filling. It keeps things consistent. It also makes the process feel calmer. One task at a time.
Things that help here:
- Even pressure on each cookie
- Clean hands between rolls
- Chilled dough if your kitchen is warm
- A steady pace instead of rushing
I’ve found that when I slow down for this part, the cookies come out better. Not perfect. Just better. And better is the goal.
The Raspberry Jam Choice That Matters
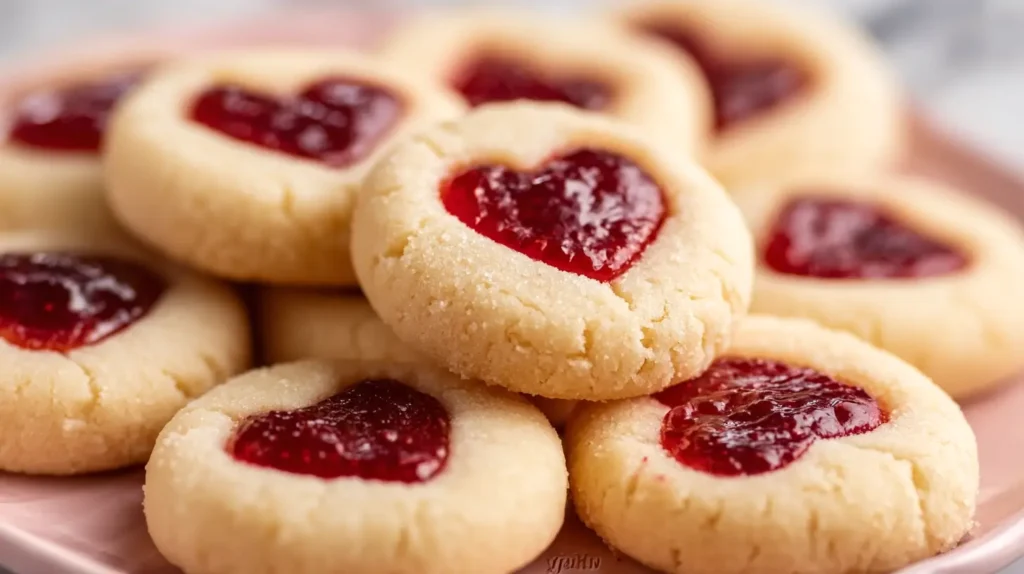
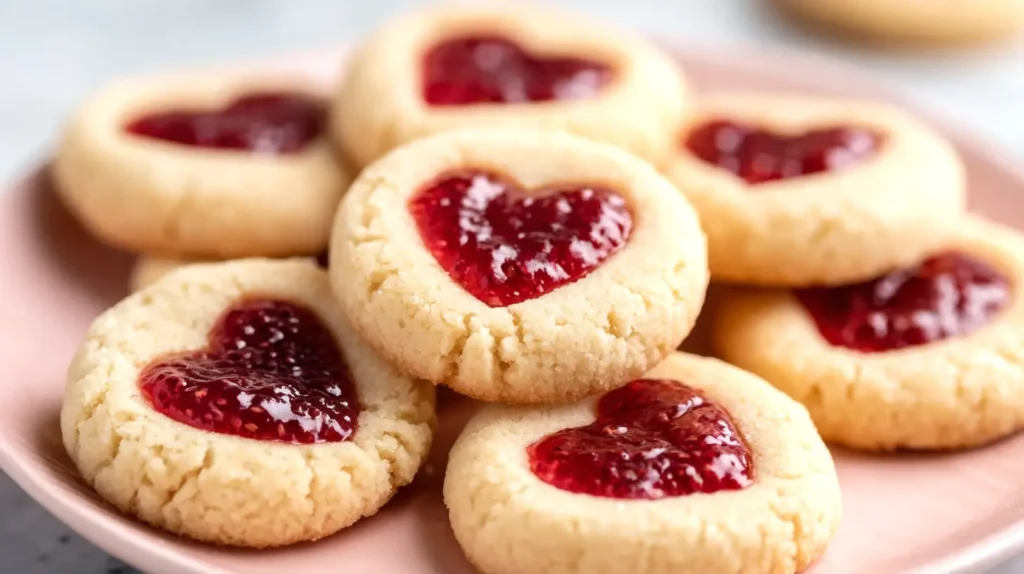
Raspberry jam is non-negotiable for me here. It brings color, contrast, and a little edge. Strawberry is fine, but it’s sweeter and softer. Apricot feels off-theme. Raspberry holds its own.
I always use seedless jam. Texture matters, and seeds don’t add anything helpful. Thick jam works best. Runny jam spreads and burns. I look for something with body. If it slowly falls off a spoon, it’s good. If it pours, skip it.
Before filling, I stir the jar. Jam separates in storage. Mixing it brings the fruit and gel back together. That gives you even color and flavor.
I use about half a teaspoon per cookie. Enough to fill the well without overflowing. Too much creates mess. Too little looks sad. Balance is everything.
If the jam sits high, I gently nudge it down with the spoon. That small move prevents bubbling over in the oven. It also keeps the edges clean.
I’ve found that taking an extra minute here saves ten minutes of cleanup later. Jam on the pan burns. Burnt jam smells. That’s not the vibe.
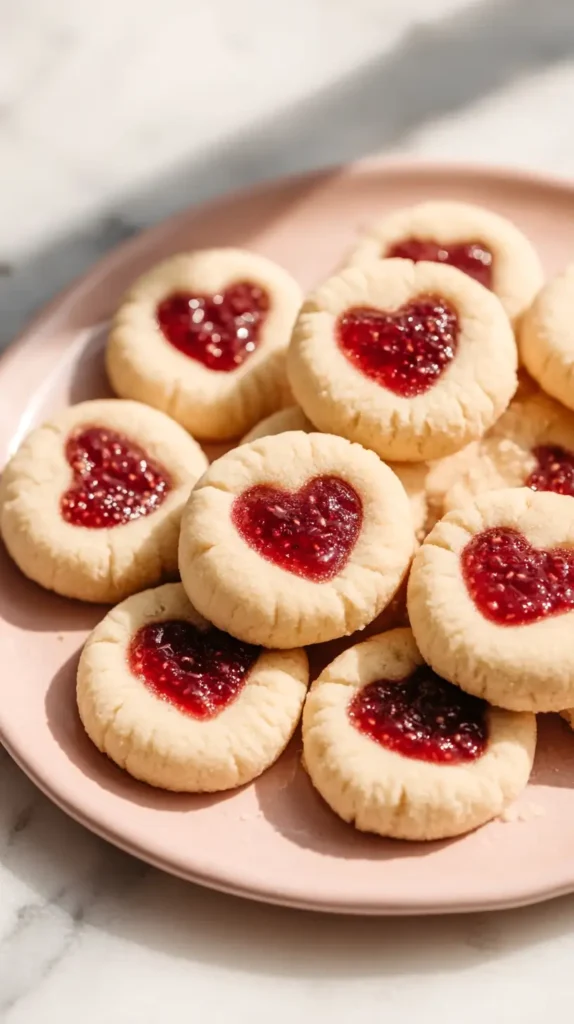
This is also the moment they start looking like Valentine’s Day on purpose. That red center does a lot of visual work. The color feels festive. The presentation feels intentional. And the whole thing suggests effort without looking try-hard.
The Full Valentine Thumbprint Cookies Recipe With Raspberry Jam
This is the part everyone actually wants, so let’s get into it.
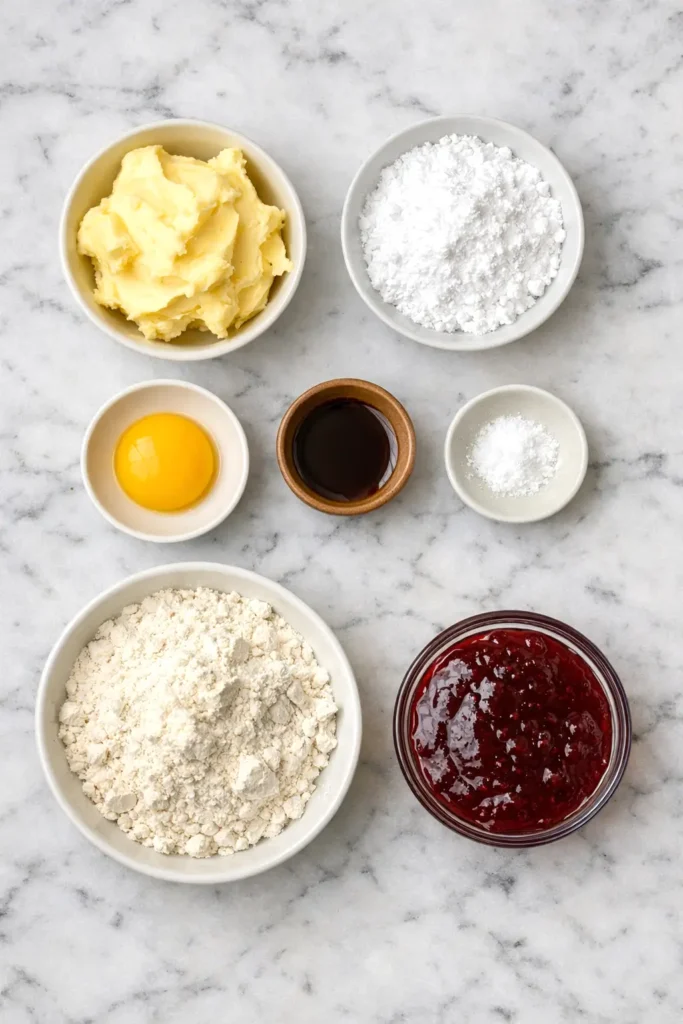
Ingredients
- 1 cup unsalted butter, softened
- ½ cup powdered sugar
- 1 large egg yolk
- 1 teaspoon vanilla extract
- ¼ teaspoon salt
- 2 cups all-purpose flour
- ½ cup seedless raspberry jam
Instructions
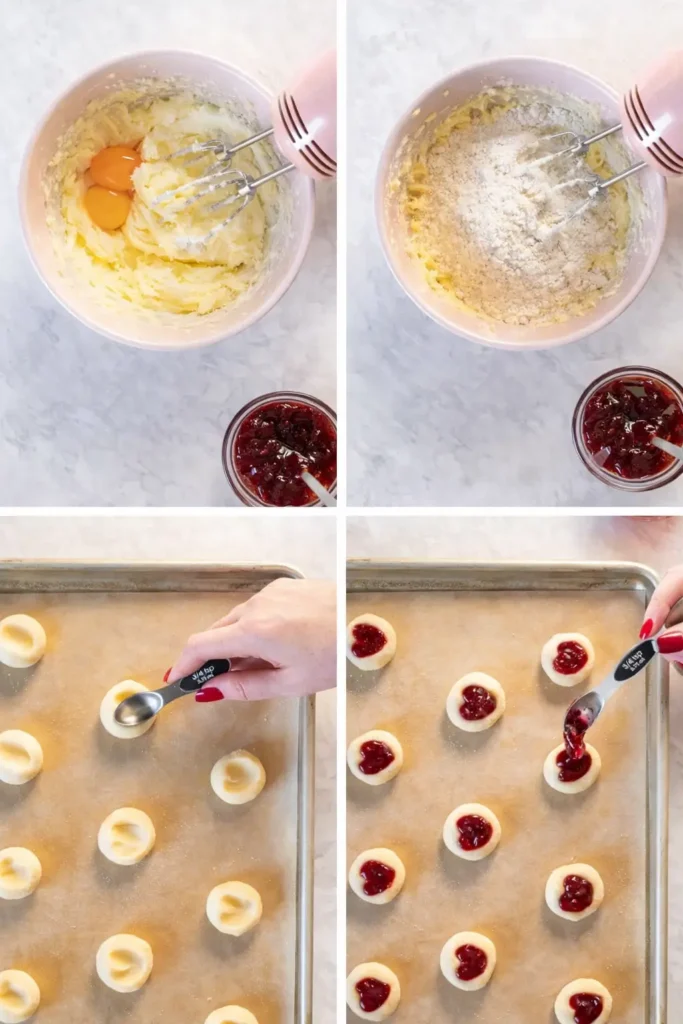
Preheat your oven to 350°F and line two baking sheets with parchment paper. In a large bowl, beat the softened butter and powdered sugar until smooth and creamy. Add the egg yolk and vanilla, then mix until fully combined. Sprinkle in the salt and gradually add the flour, mixing just until a soft dough forms.
Scoop the dough and roll it into 1-inch balls using your hands. Place each ball on the prepared baking sheets, leaving about two inches between each one. Gently press your thumb into the center of each ball to create a shallow well.
Stir the raspberry jam until smooth, then spoon about half a teaspoon into each indentation. Do not overfill.
Bake for 12–14 minutes, or until the edges are set and the bottoms are lightly golden. Remove from the oven and let the cookies cool on the pan for five minutes before transferring to a wire rack.
Allow the cookies to cool completely before serving or storing.
Helpful notes
- If the dough feels too soft, chill it for five minutes before shaping.
- If cracks form, gently pinch them back together.
- Use a small spoon for neat jam placement.
- Store in an airtight container for up to four days.
That’s it. No tricks. No weird steps. Just a solid, reliable recipe.
Little Tweaks That Make A Big Difference
Once you’ve made these a few times, you start noticing the small things. Those details add up.
I always use parchment. It prevents sticking and keeps the bottoms clean. I also rotate the pan halfway through baking. Ovens have moods. Rotation helps.
If you want a softer cookie, pull them at 12 minutes. If you want a slightly firmer edge, go to 14. Both work. It depends on your preference.
I’ve found that letting them cool on the pan first helps them set. Moving them too soon can cause breakage. Patience saves cookies.
If you want a subtle upgrade, you can:
- Roll the dough balls in sugar before shaping
- Add a tiny bit of almond extract to the dough
- Dust the cooled cookies with powdered sugar
- Use a piping bag for ultra-neat jam centers
None of that is required. All of it is optional. The base recipe stands on its own. These are just little ways to customize.
I always remind myself that baking doesn’t need to be complicated to be good. Simple recipes done well usually win. This is one of those.
How I Serve Valentine Thumbprint Cookies Without Overthinking It
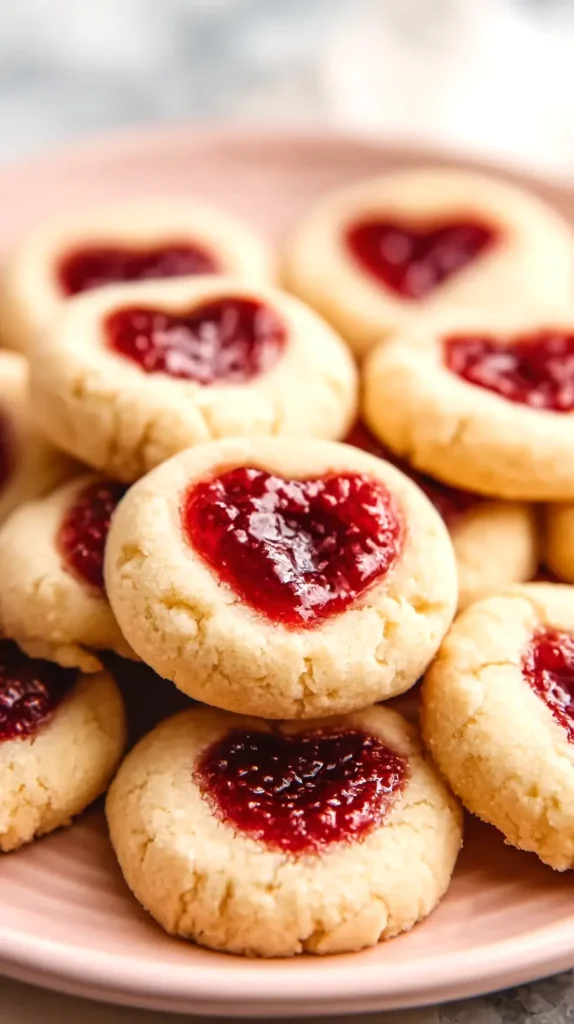
Presentation doesn’t need to be dramatic. I use a white plate or a simple tray. The red jam does the work. Adding greenery or pink napkins is enough.
For parties, I group them in circles. When I’m gifting, three go into a clear bag with a ribbon. At home, they land in a container on the counter and that’s the end of the story.
I’ve found that people appreciate accessible desserts. Nobody wants to decode how to eat something. Instructions feel unnecessary. Grabbing and going feels right.
These work well with:
They don’t compete. They complement. That’s a good quality.
And yes, they’re easy to transport. Smearing stays off the table. Collapsing isn’t part of the plan. The shape holds, and that matters when time is tight.

Valentine Thumbprint Cookies With Raspberry Jam
Ingredients
- 1 cup unsalted butter softened
- ½ cup powdered sugar
- 1 large egg yolk
- 1 teaspoon vanilla extract
- ¼ teaspoon salt
- 2 cups all-purpose flour
- ½ cup seedless raspberry jam
Instructions
- Preheat the oven to 350°F and line two baking sheets with parchment paper.
- Add the softened butter and powdered sugar to a large mixing bowl and beat until smooth and creamy.
- Add the egg yolk and vanilla extract and mix until fully combined.
- Add the salt and gradually mix in the flour until a soft dough forms.
- Scoop the dough and roll it into 1-inch balls using your hands.
- Place the dough balls on the prepared baking sheets, leaving about two inches between each one.
- Press your thumb gently into the center of each dough ball to create a shallow indentation.
- Stir the raspberry jam until smooth.
- Spoon about half a teaspoon of jam into the center of each cookie.
- Bake for 12 to 14 minutes until the edges are set and the bottoms are lightly golden.
- Remove the cookies from the oven and allow them to cool on the baking sheet for five minutes.
- Transfer the cookies to a wire rack and allow them to cool completely before serving or storing.
Last Few Thoughts
Valentine thumbprint cookies are one of those recipes I keep in rotation because they just work. They’re simple. They’re reliable. They look good without asking for attention. That’s my favorite combination.
I like that they don’t require a whole production. Special tools aren’t invited. A decorating station isn’t necessary. Stress doesn’t get a seat. You just mix, shape, fill, and bake, then move on with your life. That kind of simplicity is refreshing.
Since I live in Orlando, I also appreciate any dessert that doesn’t turn my kitchen into a sauna. These respect the climate. That alone earns loyalty.
I’ve found that people respond to familiar flavors done well. Raspberry and butter don’t need help. They just need balance. This recipe gives them that.
If you’re planning a party, a school event, a girls’ night, or a quiet evening at home, these slide right in. They don’t read childish. They don’t come off overdone. The whole thing just feels appropriate.
And if you’re the kind of person who saves ideas on Pinterest for later, this is one worth pinning. It’s practical. It’s repeatable. It doesn’t rely on trends.
At the end of the day, I like desserts that feel doable and thoughtful at the same time. These hit that mark. No drama. No performance. Just good baking that makes sense.