Making a delicious strawberry pie from scratch is easier than you think! With just a little prep and fresh, juicy strawberries, you can whip up a dessert that tastes like summer. Whether it’s for a special event or just because you’re craving something sweet, this recipe is sure to hit the spot.
Here’s what you’ll love about this strawberry pie:
- It’s made with fresh strawberries for that amazing, sweet flavor.
- The crust is buttery, flaky, and easy to make.
- The glossy filling looks as good as it tastes!
This guide will take you through each step, from making the crust to preparing the filling and getting that perfect chill so the pie is ready to enjoy. Don’t worry—it’s straightforward, even if you’ve never baked a pie before. You’ll feel like a pro by the time you’re done!
So grab those strawberries, roll up your sleeves, and let’s bake a pie that everyone will be raving about. Once you see how simple this recipe is, you’ll want to make it again and again. Ready to start? Let’s go!

This site includes affiliate links; you can check the disclosure for more details.
Why Fresh Strawberries Matter
The heart of any strawberry pie is, of course, the strawberries. Choosing fresh, ripe strawberries makes a world of difference in flavor and texture. Here’s what to look for when shopping:
- Bright red color from top to bottom.
- A sweet, fruity smell—this tells you they’re ripe.
- No soft spots, bruises, or mold.
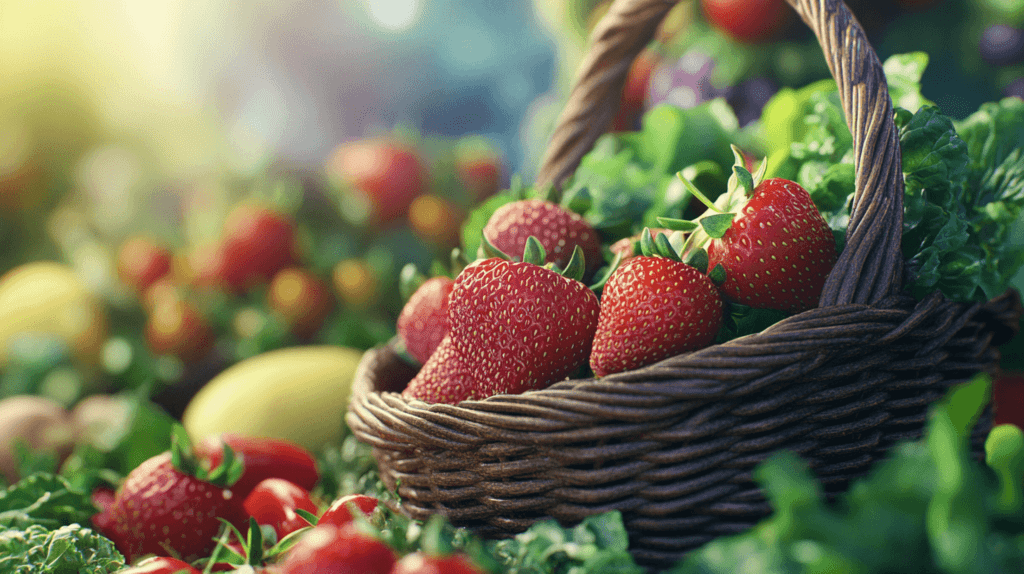
Frozen strawberries are convenient, but they’re often too watery for pie filling. Fresh berries hold their shape better and add that pop of sweetness you want in every slice.
Also, if you’re buying them in-season, try local farmers’ markets. The berries tend to be fresher, and you can often taste one before buying.
Ingredients You’ll Need
A good strawberry pie starts with simple, fresh ingredients. Nothing fancy or hard to find. Here’s what you’ll need:
- 4 cups fresh strawberries, hulled and sliced.
- 1 cup granulated sugar (adjust for sweetness).
- 3 tablespoons cornstarch (to thicken the filling).
- 1/4 cup water.
- 1 tablespoon lemon juice.
- 1 pre-baked pie crust (homemade or store-bought).
- Whipped cream for serving (optional).
These basic ingredients work together to create a pie filling that’s thick, glossy, and also perfectly sweet. The lemon juice adds just enough tartness to balance the sugar.

Making the Perfect Strawberry Filling
The filling is the star of the strawberry pie, so getting it right matters. Follow these steps:
- Prepare your strawberries. Rinse them thoroughly, pat them dry, and remove the green tops. Slice them into even pieces for a consistent texture.
- Mix the sugar and cornstarch. In a medium saucepan, combine the sugar and cornstarch. This ensures the filling thickens evenly without clumps.
- Cook the mixture. Add water and lemon juice, then cook over medium heat. Stir constantly until the mixture bubbles and thickens. This usually takes 5–7 minutes.
- Add the strawberries. Remove the saucepan from heat and gently fold in the sliced strawberries. Finally, let the mixture cool slightly before pouring it into your crust.
This process creates a glossy, thick filling that won’t run all over the plate when you slice your pie.
How to Make the Perfect Pie Crust from Scratch
A homemade pie crust can elevate your strawberry pie, adding a flaky, buttery texture that pairs beautifully with the fresh filling. While store-bought crusts are fine, making your own is simpler than it seems. Follow these step-by-step instructions for a crust that’s tender, golden, and absolutely worth the effort.
Ingredients for a 9-Inch Pie Crust:
- 1 1/4 cups all-purpose flour (spooned and leveled).
- 1/2 teaspoon salt.
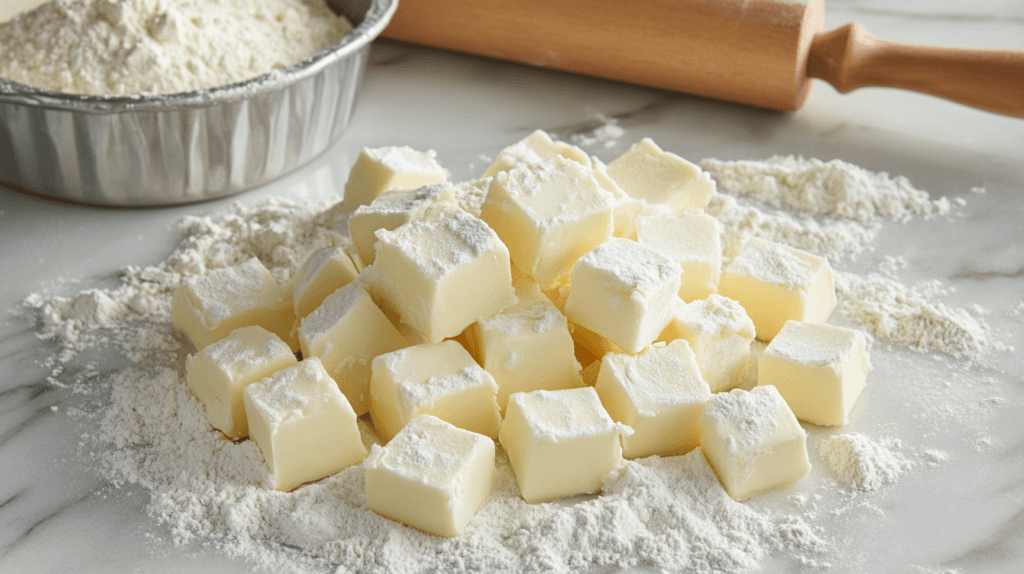
- 1/2 cup unsalted butter, very cold, cut into small cubes.
- 3-4 tablespoons ice water.
Step-by-Step Instructions:
- Prep your strawberry pie ingredients. Start by chilling your butter and water. Cold ingredients are key to a flaky crust. Put the butter in the freezer for 10 minutes and add a few ice cubes to a small bowl of water.
- Mix the dry ingredients. In a large bowl, whisk together the flour and salt. This ensures the salt is evenly distributed.
- Cut in the butter. Add the cold butter cubes to the flour mixture. Cut the butter into the flour using a pastry cutter or two knives until the mixture resembles coarse crumbs. You should still see pea-sized chunks of butter—this creates flakiness when baked.
- Add the water. Drizzle in 3 tablespoons of ice water and stir gently with a fork. If the dough seems too dry, add the last tablespoon, one teaspoon at a time. Stop when the dough just starts to come together. Overmixing will make the crust tough.
- Shape and chill the dough for your strawberry pie. Gather the dough into a ball, then flatten it into a disc about 1 inch thick. Wrap it tightly in plastic wrap and refrigerate for at least 30 minutes. Chilling helps the butter firm up and prevents shrinkage during baking.
- Roll out the dough. On a lightly floured surface, roll out the dough into a circle about 12 inches in diameter. Keep lifting and turning the dough to prevent sticking. If cracks form, patch them gently with your fingers.
- Transfer to the pie pan. Carefully roll the dough onto your rolling pin, then unroll it over a 9-inch pie pan. Press the dough lightly into the pan, ensuring there are no air pockets. Trim the edges, leaving about 1 inch of overhang. Then tuck the overhang under itself and crimp the edges using your fingers or a fork.
-
Blind bake the crust. Since the strawberry filling won’t be baked, this step is essential to ensure the crust is fully cooked and crisp.
- Preheat your oven to 375°F (190°C).
- Line the crust with parchment paper and fill it with pie weights, dried beans, or uncooked rice. These prevent the crust from puffing up during baking.
- Bake for 15 minutes.
- Remove the weights and parchment, then bake for another 10–12 minutes, or until the crust is golden brown and fully set.
- Cool the crust completely. Let the crust cool in the pan before adding the strawberry filling. Adding filling while the crust is warm can cause it to soften or become soggy.
Tips for Success:
- Don’t overwork the dough. Handle it as little as possible to keep it tender.
- Use cold tools. Chill your rolling pin or mixing bowl for even better results.
- Patch holes carefully. If the dough tears, press it back together instead of rerolling.
A homemade crust doesn’t just taste better—it also gives your strawberry pie a rustic, homemade charm that’s impossible to resist.

Assembling Your Strawberry Pie
Now that your crust is golden and your filling is thick and glossy, it’s time to bring everything together. Assembling the pie is simple, and this is the fun part where your work starts to look like the dessert of your dreams.
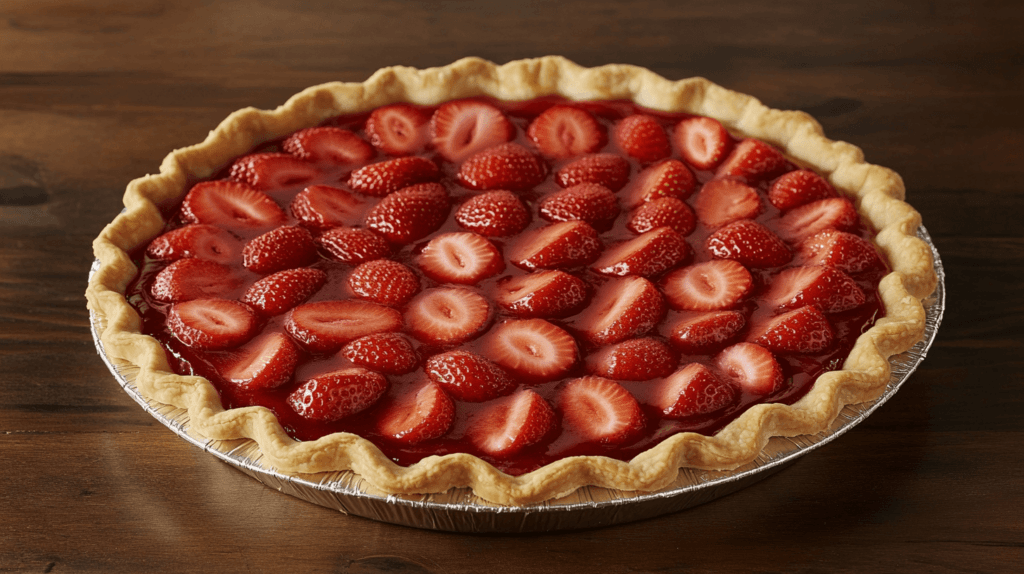
- Pour in the filling. Take the cooled strawberry filling and spoon it into your pre-baked crust. Use a spatula or the back of a spoon to spread it evenly all the way to the edges. It should look glossy and packed with delicious sliced strawberries.
- Let it cool. Once the pie is assembled, let it sit on the counter until it’s at room temperature. Rushing this step can cause condensation in the refrigerator, which can make the crust soggy.
- Chill for at least 2 hours. This part is key! Chilling the pie allows the filling to set properly. Two hours might feel like forever, but it’s worth the wait to get that perfect slice.
- Serve and enjoy. Serve your strawberry pie chilled for the best flavor. Add a dollop of whipped cream or a scoop of vanilla ice cream for an extra treat. The cool, fruity filling paired with the buttery crust is a match made in dessert heaven.
This step pulls everything together, creating a pie that’s as satisfying to look at as it is to eat. Trust me, you’ll be proud to serve it to family and friends—or keep it all to yourself.
Tips for a Show-Stopping Strawberry Pie
A few simple finishing touches can take your strawberry pie from good to absolutely unforgettable. These tips don’t require a lot of time, but they’ll make your dessert look like it came straight from a bakery.
- Brush the crust with egg wash. If you’re making a homemade crust, brushing it with egg wash before baking gives it a beautiful golden, glossy finish. To make an egg wash, beat one egg with a tablespoon of water, then use a pastry brush to apply it to the edges of your crust. It’s a small step that makes a big difference in presentation.
- Add fresh strawberries on top. Once your pie is chilled and set, decorate it with a few halved strawberries arranged in a circular pattern around the edge. This adds a polished, professional look and gives your guests a hint of what’s inside.
- Use a strawberry glaze. For that extra shine, warm 1/4 cup strawberry jam with a tablespoon of water until it’s smooth and easy to brush. Gently apply the glaze over the arranged strawberries or the filling itself. Not only does this add a glossy finish, but it also enhances the fresh strawberry flavor.
- Serve with style. Presentation matters! Slice your pie cleanly with a sharp knife, wiping it between cuts to keep each piece neat. Serve each slice on a simple white plate with a dollop of whipped cream or a small scoop of vanilla ice cream.
These simple steps elevate your strawberry pie, making it a feast for both the eyes and the taste buds. You don’t need fancy tools or professional skills—just a little creativity and care. With these tips, your pie will leave everyone asking for the recipe!
Storing Your Strawberry Pie
Leftovers? Lucky you! Storing your strawberry pie properly ensures it stays as fresh and delicious as possible. Here’s what you need to know:
- Refrigerate leftovers. Once you’ve served your pie, cover the remaining slices tightly with plastic wrap or aluminum foil. If you have a pie storage container, that works too. Keeping the pie covered prevents it from drying out or absorbing any unwanted flavors from the fridge.
- Eat within 2-3 days. Strawberry pie is best enjoyed fresh, and the filling will hold its glossy, thick texture for about two to three days in the refrigerator. While it’s tempting to stretch it longer, the crust may start to soften, and the strawberries can release more juice. But let’s be real—this pie rarely lasts that long!
- Avoid freezing the pie. Unlike some baked goods, this strawberry pie isn’t a great candidate for the freezer. The fresh strawberry filling, thickened with cornstarch, doesn’t hold up well to freezing and thawing. Once thawed, the filling can turn watery, and the crust may become soggy.
- Store slices smartly. If you’ve got just a few slices left, consider transferring them to an airtight container to save space and keep them extra secure in the fridge. It’s also easier to grab a quick slice this way!
Treat your leftover strawberry pie with care, and you’ll still get those same bright, sweet flavors when you go back for seconds (or thirds). Just remember, this dessert shines when it’s fresh, so savor it while it lasts!
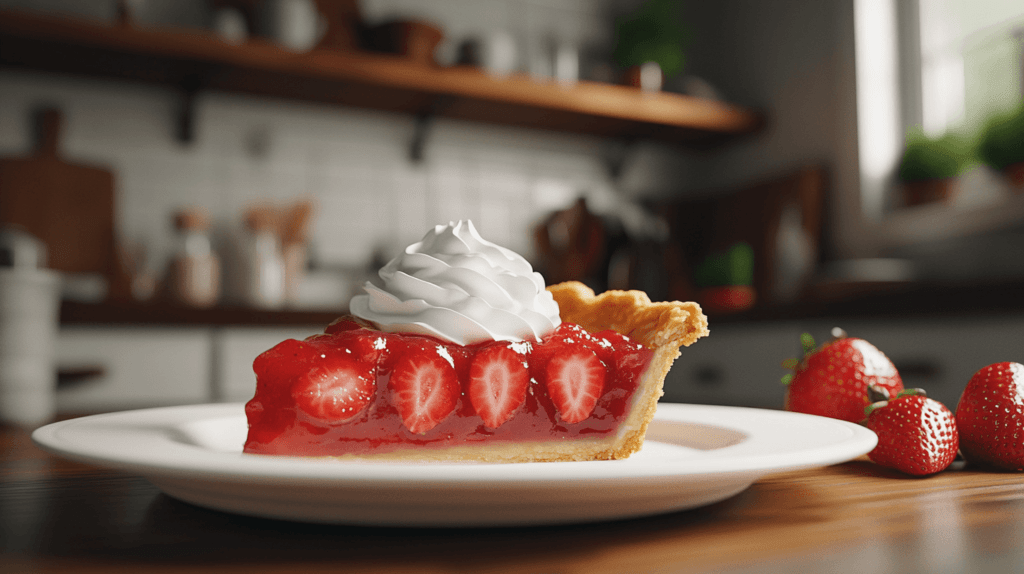
Fun Ways to Make Your Strawberry Pie Stand Out
Strawberry pie is delicious on its own, but a few little extras can turn it into a dessert everyone will rave about. These easy ideas will take each slice to the next level:
- Add a dreamy scoop of ice cream. Vanilla ice cream is a classic choice, but pairing the pie with strawberry or even lemon ice cream adds a fun twist. The creamy, cold scoop melts perfectly into the buttery crust and glossy filling.
- Drizzle some chocolate sauce. A warm drizzle of chocolate sauce over your slice feels like pure indulgence. It’s the perfect contrast to the sweet, fresh strawberries and gives the pie a luxurious feel.
- Dust it with powdered sugar. A light sprinkle of powdered sugar is simple but makes the pie look elegant. It’s like a little touch of sweetness that doesn’t overpower the fresh strawberry flavor.
- Keep it classic with whipped cream. A dollop of whipped cream adds a light, fluffy touch that perfectly complements the pie’s cool, fruity filling.
These small additions not only enhance the flavor but also make the pie look stunning for any occasion. Whether you’re serving it at a summer barbecue or enjoying it on a quiet evening, strawberry pie is a lighter option compared to heavier desserts like chocolate cake.
The best part? You can mix and match these serving ideas to suit your mood or your guests. No matter how you slice it (literally!), this pie is guaranteed to leave everyone smiling. Save these ideas for your next baking day, and get ready to impress!
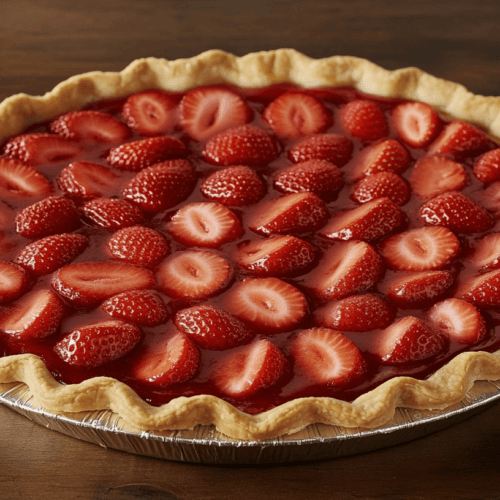
Simple Strawberry Pie
InsiderMama.comIngredients
Crust
- 1 1/4 cups all-purpose flour spooned and leveled
- 1/2 teaspoon salt
- 1/2 cup unsalted butter very cold, cut into small cubes
- 3-4 tablespoons ice water
Filling
- 4 cups fresh strawberries hulled and sliced
- 1 cup granulated sugar adjust for sweetness
- 3 tablespoons cornstarch
- 1/4 cup water
- 1 tablespoon lemon juice
- Whipped cream for serving optional
Instructions
Crust
- Chill the butter and water for at least 10 minutes.
- In a large bowl, whisk the flour and salt.
- Add cold butter cubes and cut into the flour using a pastry cutter until the mixture resembles coarse crumbs.
- Add 3 tablespoons ice water, stirring gently with a fork. Add more water, 1 teaspoon at a time, until dough comes together.
- Shape the dough into a ball, flatten it into a 1-inch thick disc, wrap in plastic wrap, and refrigerate for 30 minutes.
- Roll out the dough on a lightly floured surface into a 12-inch circle.
- Transfer dough to a 9-inch pie pan, pressing gently to remove air pockets. Trim and crimp the edges.
- Preheat oven to 375°F (190°C). Line the crust with parchment paper and fill with pie weights or dried beans.
- Bake for 15 minutes. Remove weights and parchment, then bake for another 10-12 minutes until golden brown.
- Cool crust completely before adding filling.
Filling
- Rinse and dry strawberries, hull them, and slice into even pieces.
- In a medium saucepan, combine sugar and cornstarch. Stir in water and lemon juice.
- Cook over medium heat, stirring constantly, until the mixture thickens and bubbles (about 5-7 minutes).
- Remove from heat and gently fold in strawberries. Let the mixture cool slightly.
- Pour the filling into the cooled crust and spread evenly.
- Refrigerate for at least 2 hours to set.
Final Thoughts
This strawberry pie is everything a great dessert should be—fresh, simple, and absolutely delicious. The natural sweetness of the strawberries shines through in every bite without being too heavy or overly sweet. The filling stays firm but soft, creating the perfect balance of texture in each slice.
Whether you’re serving it at a family dinner, bringing it to a summer barbecue, or sharing it during the holidays, this pie always earns compliments. It’s the kind of dessert that makes people ask for the recipe—and come back for seconds.
The best part? You don’t need fancy skills or complicated ingredients to pull it off. By using fresh strawberries, a flaky homemade crust, and these easy-to-follow steps, you’ll create a dessert that feels special with surprisingly little effort.
If you’re planning to save or share this recipe, don’t forget to pin it on Pinterest! It’s the perfect place to keep ideas handy for your next gathering or baking day. Plus, it’s always fun to share your delicious creations with others.
This strawberry pie is a crowd-pleaser you’ll want to make again and again. It’s simple, fresh, and filled with flavor that everyone will love. So, grab your apron and get baking—you’ve got a dessert worth sharing!

