I get a little extra when Halloween rolls around. Not in the “cover the yard in inflatable ghosts” way—although that’s fun, too—but in the smaller, everyday details. Like nails. There’s something about spooky Halloween nails that makes looking down at my hands and seeing tiny works of creepy art just make me smile. It’s like carrying a little bit of October around, even if I’m doing something as boring as checking email.
Spooky Halloween nails are such a fun way to tap into the season without going overboard. I’m obsessed with horror movies and anything scary, so why not show that with my nails, right?
This isn’t just about painting your nails black and calling it a day. Oh no. I’m talking about designs that feel clever, creepy, and totally wearable. Some are subtle, with just a whisper of spooky. Others are full-on haunted house energy. You can mix and match ideas, go bold on one nail, and keep the rest chill. Or commit to one eerie look from cuticle to tip.
The best part? You don’t need to be a pro or drop a ton of money at the salon. You can create so many of these at home with the right tools, patience, and maybe a podcast playing in the background. Of course, if you want to let a nail tech take over, you’ll have endless inspiration to show them.
We’ll talk about dark, moody colors that instantly read “Halloween,” designs with bats, spiders, ghosts, and bones, and ways to use glitter that somehow feels spooky instead of sweet. I’ll share ideas for short nails, long nails, and even the press-on route if you’re short on time. Think of this as your grab-and-go menu of creepy nail inspiration. Whether you want something cute, chilling, or somewhere in between, you’ll find something here that makes you think, “Yep, that’s the one.”
Some of the links on this site are affiliate links, which just means I may earn a small commission (at no extra cost to you) if you make a purchase. You can check out my full disclosure for all the details.
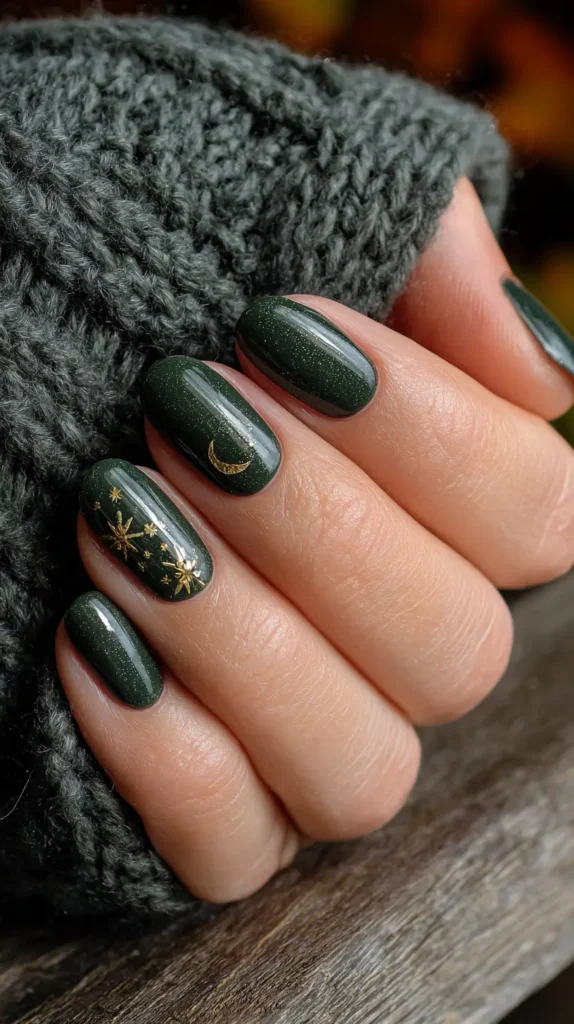
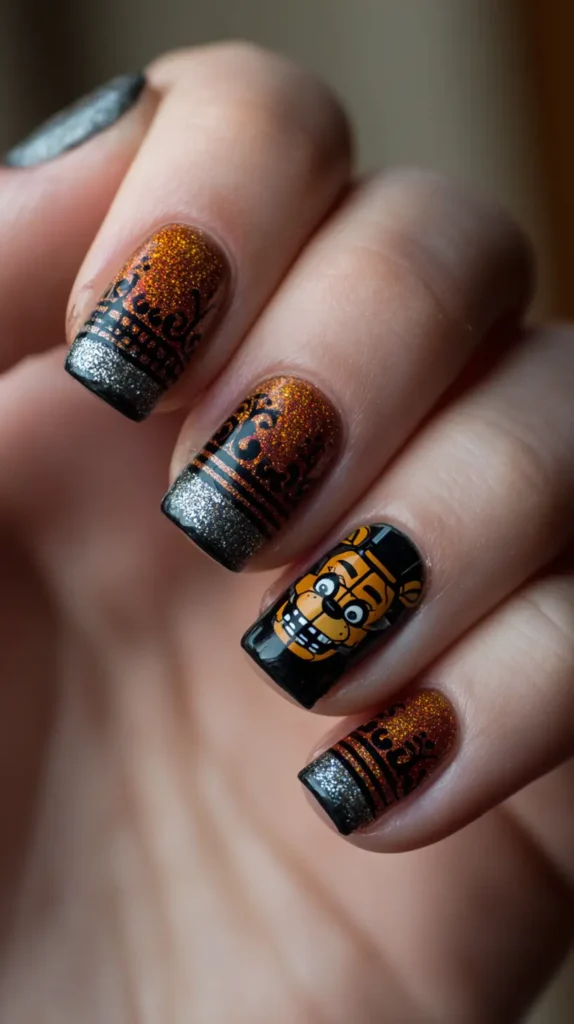
Dark, Moody, and Spooky Halloween Nail Shades
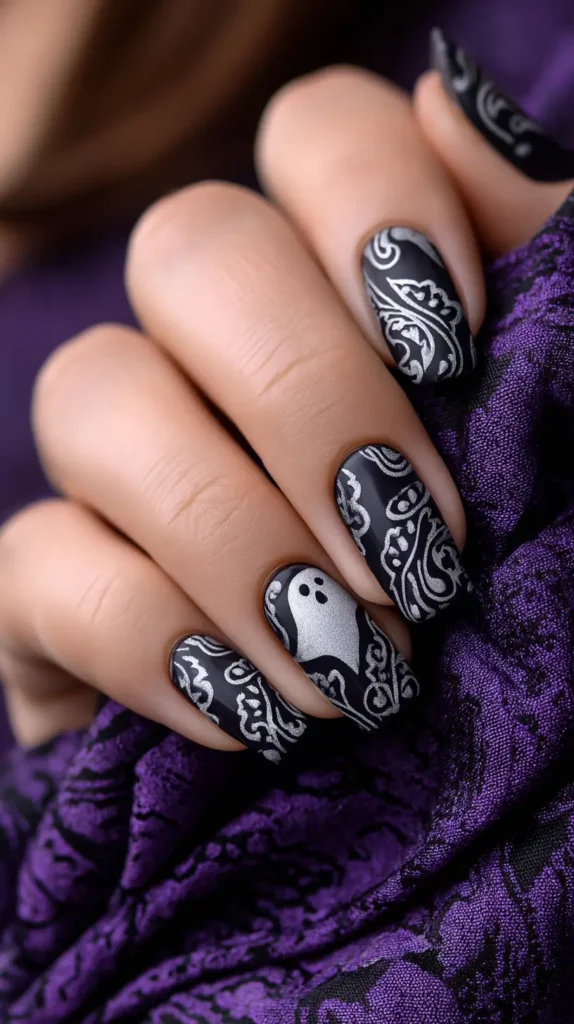
When it comes to a spooky nail look, color sets the mood right away. You can’t go wrong with the classics: deep blacks, blood reds, and smoky purples. They’re like the little black dress of Halloween manicures—timeless, versatile, and always flattering.
One thing I’ve noticed is that darker shades don’t have to be flat. You can choose polishes with shimmer, glitter, or even a slight holographic effect to make them catch the light. That’s the kind of detail that turns a basic manicure into something mesmerizing.
Some shades that work beautifully:
- Jet black with a glossy top coat for a high-drama look
- Blood-red crème for vampire vibes
- Deep forest green for witchy energy
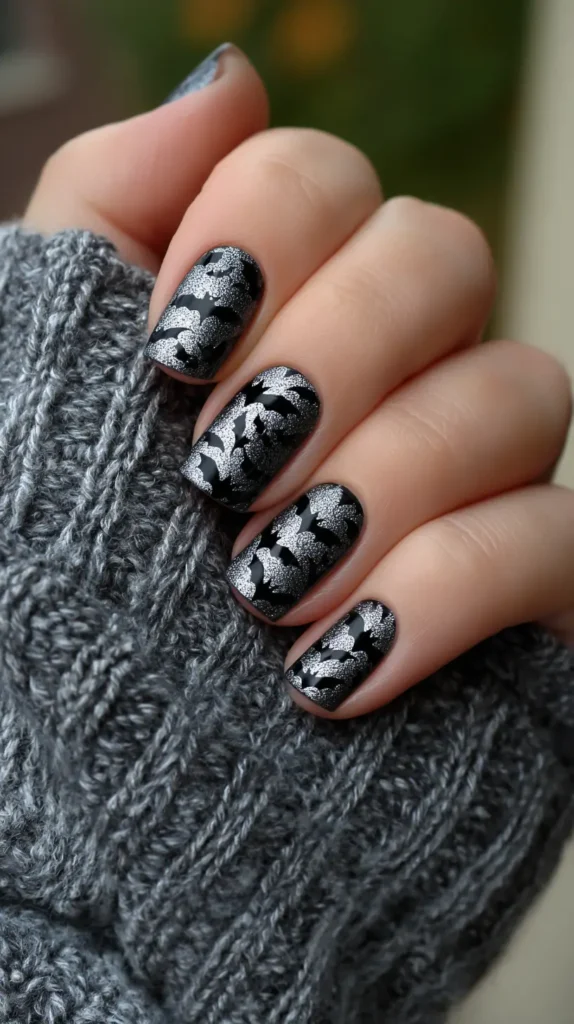
- Charcoal gray with micro-glitter for a stormy night feel
- Dark plum or eggplant purple with a jelly finish
You can also layer. A thin coat of black over metallic silver makes nails look like they’re glowing from underneath. A matte top coat over dark polish instantly changes the vibe, making it moodier.
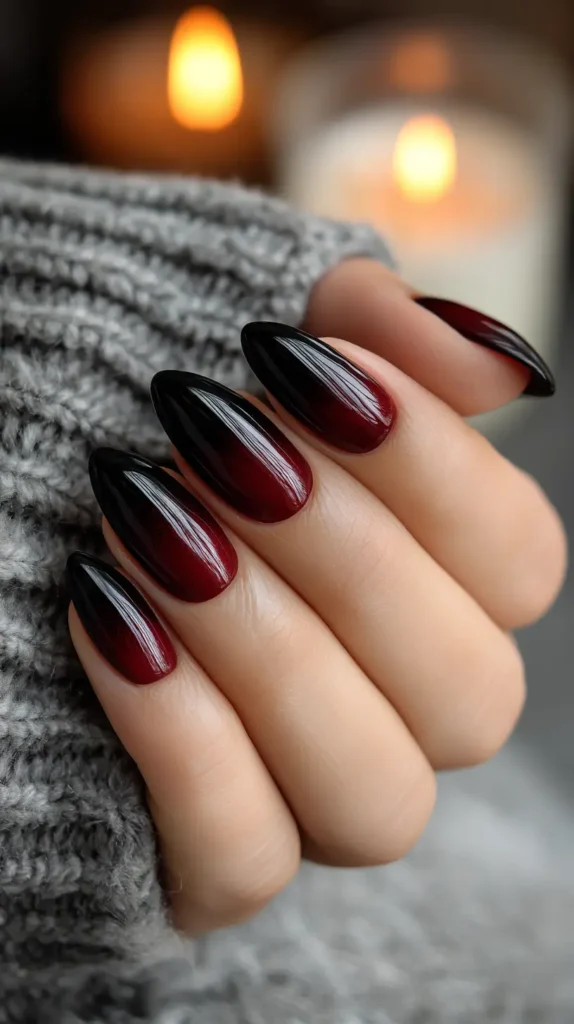
If you want to experiment without full commitment, try a gradient. Paint nails in ombré from black at the tips to deep crimson near the cuticle. Or reverse it for a twist. This kind of color play works for short or long nails and feels sophisticated yet seasonal.
Spooky Halloween nails don’t always need a design. Sometimes, the color is the design. If you pick the right shade, the mood is there without needing ghosts or cobwebs painted on top. It’s the perfect option if you want something understated but still undeniably in the Halloween spirit.
Cute but Creepy Ghost Designs
Ghost nails might sound like something out of a cartoon, but they can be surprisingly chic. The trick is in how you style them. A white ghost on a sheer nude base is subtle enough for everyday wear, but still festive.
Here’s where you can get creative. Try:
- Tiny ghost faces peeking out from the nail edges
- Minimalist ghost outlines in white or silver
- Gradient ghosts fading into a foggy gray background
- Matte white ghosts over a glossy black base
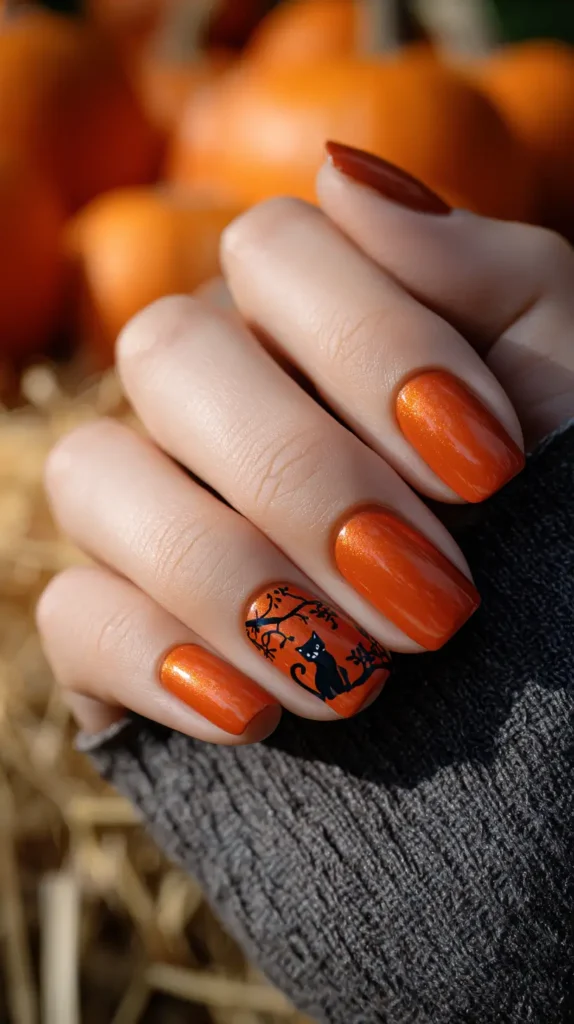
Ghost nails also work great for mix-and-match manicures. You can have one or two ghost accent nails and keep the rest solid black or orange. That way, you still get the Halloween theme without it feeling like a full-on costume.
If you’re into more playful vibes, give the ghosts expressions. Happy, surprised, even a little mischievous—it turns your nails into a mini ghost story. A dotting tool is your friend here for adding small, neat eyes and mouths.
One thing I’ve found is that ghost designs look fantastic on all nail shapes. Almond, square, stiletto—they all work. Short nails can rock this style just as well as long ones. In fact, the rounded shape of short nails sometimes makes the ghost design even cuter.
For a final touch, add a thin coat of fine glitter over the design. It gives the ghosts a “floating in the night” effect without making them overly sparkly. It’s a small detail, but it takes the whole look up a notch.

Storytelling Through Your Spooky Halloween Nails
One thing I’ve noticed about spooky Halloween nails is that most people treat each finger like its own little canvas. But what if the whole set told a story? Not just random designs scattered across ten nails, but a beginning, middle, and end—like a creepy little short film on your hands.
Picture this: your thumb is the opening scene—a full moon glowing behind crooked trees. Your index finger starts to introduce the “characters,” maybe a shadowy figure or a bat in flight. By the time you get to your middle and ring fingers, you’re in the action—tiny haunted houses, winding pathways, maybe a ghost drifting toward the door. Then your pinky wraps it up with the final shot, something dramatic like an empty grave or a single glowing jack-o’-lantern.
It’s different from just slapping a bat here, a pumpkin there. You’re creating something connected, where each nail makes the next one more interesting. When people look at your hand, they’ll follow the sequence without even realizing it, like they’re flipping through a Halloween picture book.
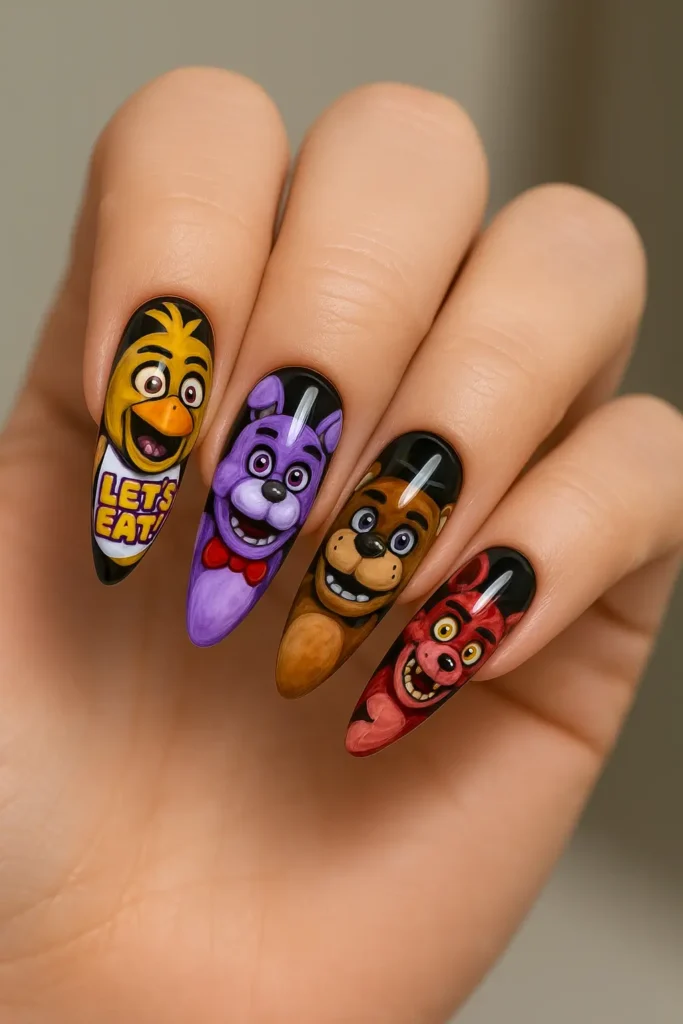
This approach works on any nail length, but it’s especially fun on longer shapes because you have more room for detail. And the beauty is, you can customize your “plot” however you want. Love classic horror? Go full Dracula. More into cute and cozy Halloween? Build your story around trick-or-treat night.
Not only does it make your manicure feel more intentional, but it’s also a conversation starter. People won’t just say, “I love your nails.” They’ll lean in, point, and ask, “Wait, what’s happening here?” And that’s when you know you’ve nailed it—pun completely intended.

Spider Web and Creepy Crawler Details
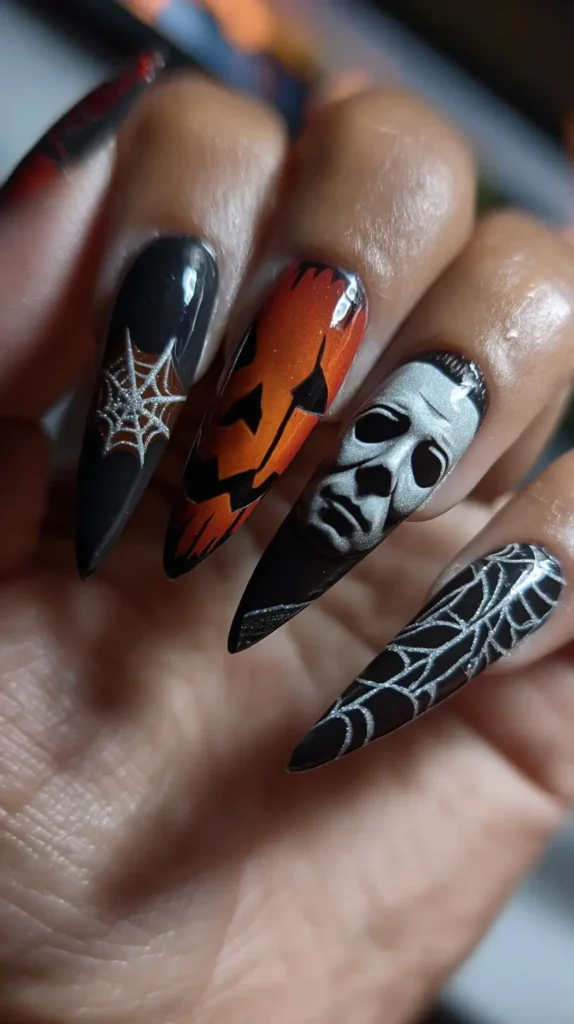
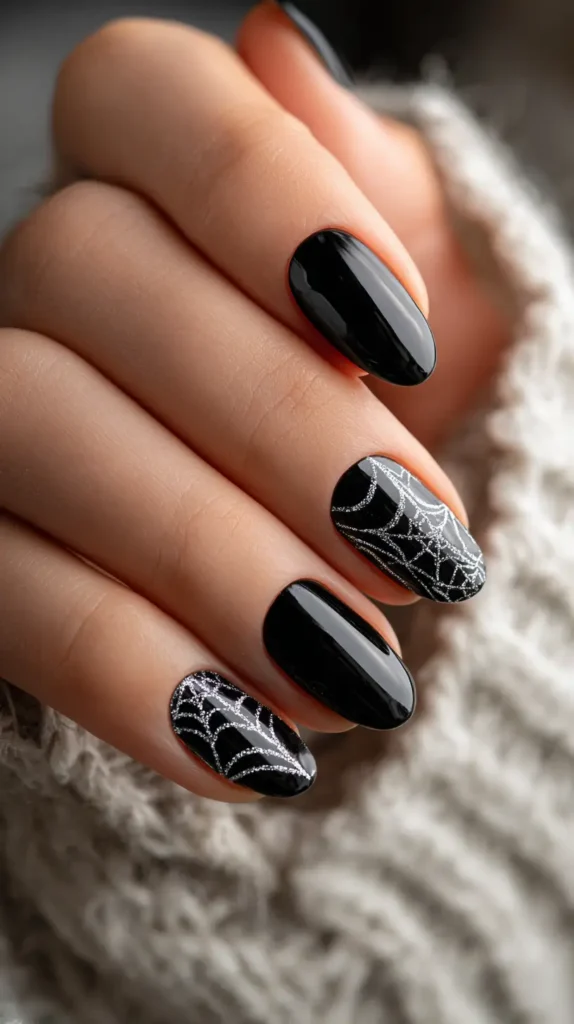
Spider webs are one of those Halloween icons that look incredible in nail art form. They’re graphic, a little eerie, and surprisingly easy to pull off once you get the hang of them.
Start with a dark base—black, deep purple, or even midnight blue. Then use a thin striping brush or nail art pen to create web lines in silver, white, or metallic gold. The contrast really makes the design pop.
Some ways to style spider web nails:
- Full web design on every nail for a dramatic look
- Accent nails with webs while keeping others solid
- Half-webs starting from one corner of the nail for an asymmetrical vibe
- Layering tiny spiders in the web for extra creep factor
If you want to go full-on spooky, add small rhinestones at the center of the webs to mimic dew drops. It’s just the right amount of shimmer to make people take a second look.
Creepy crawler designs don’t have to be limited to spiders. Think black ants, beetles, or even scorpions. A single tiny bug painted on a neutral nail can be surprisingly stylish—almost like a little secret only you know is there.
For a quick and easy version, nail stickers and stamps are a lifesaver. You can place them wherever you want, and they’re especially handy for getting symmetrical designs on both hands. Add a good top coat, and they’ll last through all your pumpkin-carving adventures.
Spider web nails are one of those designs that somehow manage to be both edgy and elegant. They’re perfect if you want spooky Halloween nails that feel grown-up but still playful enough to turn heads.
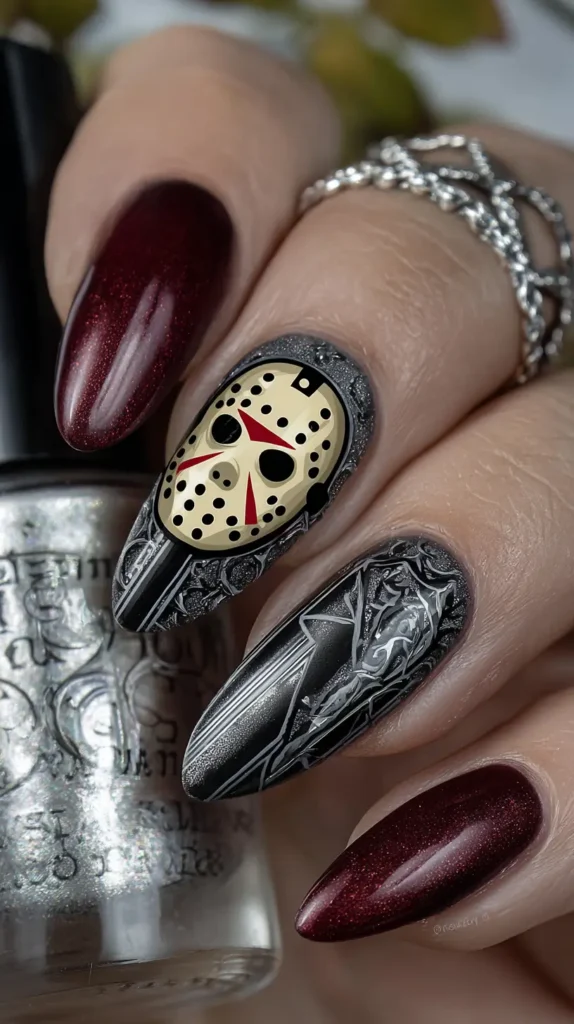
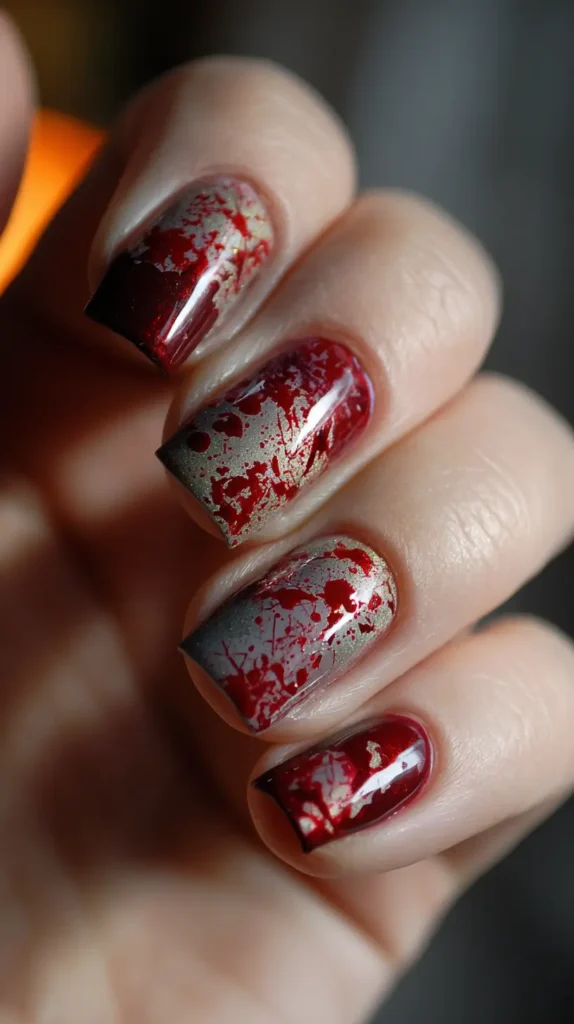
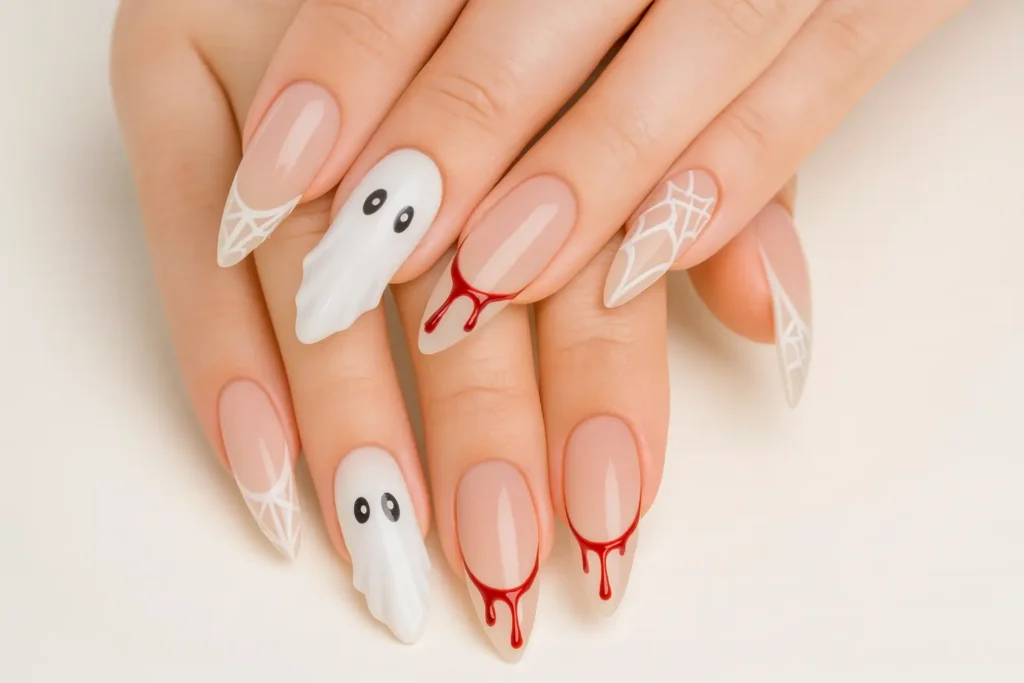
Blood Drip and Vampire-Inspired Looks
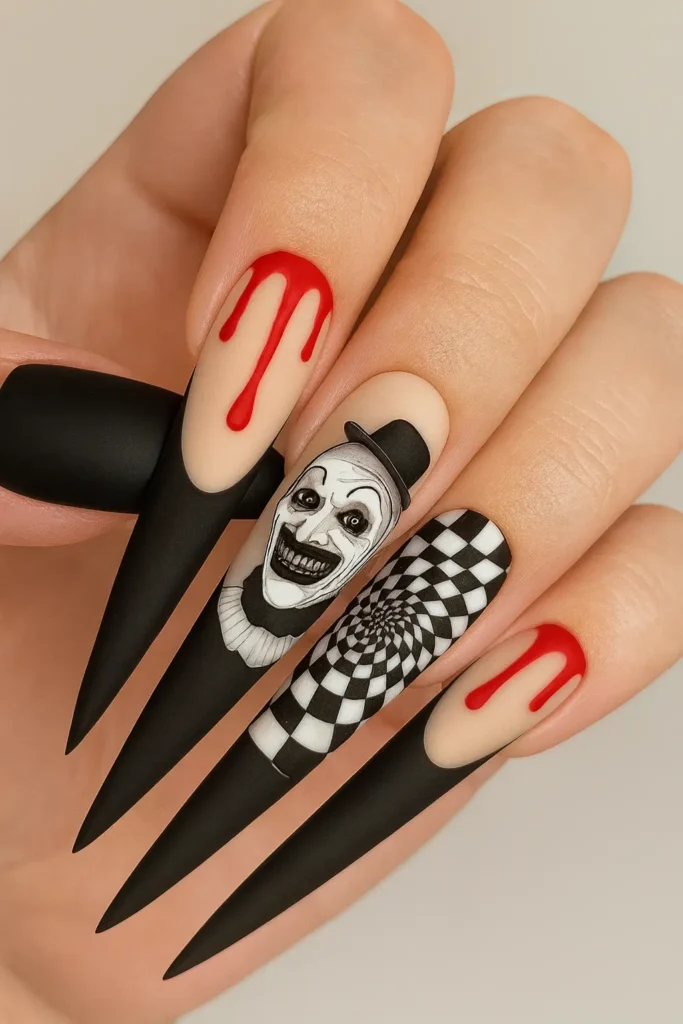
Nothing says “Halloween” quite like the classic blood drip design. It’s bold, a little shocking, and surprisingly easy to do yourself.
Start with a pale nude, bone white, or even sheer pink base. Then use a small brush to paint uneven red drips starting from the cuticle down toward the tip. The less perfect, the better—it makes it look more realistic.
Some ways to mix it up:
- Black base with red drips for a high-contrast, gothic feel
- Glitter red polish for a glam vampire twist
- Black drips over a white base for a haunted house vibe
- Gradient red to black drips for extra depth
For something more subtle, try just one or two blood drip accent nails and keep the rest solid. That way, you still get the spooky effect without it feeling overwhelming.
If you want to lean into the vampire theme, pair the drips with fanged-mouth nail art or tiny bat silhouettes. Matte top coats work beautifully here, giving the design a velvety, eerie finish.
Press-on nails are also a great option for this style. You can find pre-made blood drip designs that look hand-painted, saving you a ton of time. It’s also a nice backup if your freehand skills aren’t quite where you want them yet.
Blood drip nails are dramatic in the best way. They’re the kind of spooky Halloween nails that get noticed, whether you’re holding a pumpkin spice latte or a glass of red wine.
Glow-in-the-Dark and Neon Effects
If you want nails that make people do a double take, glow-in-the-dark polish is your secret weapon. It’s like your manicure comes alive after dark, which is perfect for Halloween.
You can go all-in with a full glow manicure, or just add glow details to a design. Imagine ghost eyes that light up in the dark or spider webs that glow under a blacklight. It’s a small thing, but it makes a big impact.
Some fun glow-in-the-dark ideas:
- Glow green skeleton hands
- Neon orange pumpkins with glowing faces
- Glow tips over a black base
- Stars and moon details that pop after dark
If you don’t want to commit to a full glow look, neon shades are another great option. Bright greens, electric purples, and hot pinks against black give a creepy-yet-fun vibe. It’s very “haunted rave” energy.
You can layer neon over white polish for extra brightness. This makes the colors pop even more, especially under UV light. Nail tape is great for creating sharp lines and geometric patterns with neon shades.
One thing to keep in mind is that glow-in-the-dark polish often looks best when charged under a light before heading out. A few seconds under your phone flashlight, and you’re ready to spook in style.
Glow nails aren’t just for parties. They add a playful, unexpected twist to everyday life. Even if you’re just watching a scary movie on the couch, seeing your nails light up never gets old.

Final Thoughts on Spooky Halloween Nails
After years of juggling family, work, and the chaos that October always seems to bring, I’ve learned that tiny traditions—like a new Halloween manicure—stick with me just as much as the big ones.
Here’s the thing—I think nails are one of the most underrated ways to celebrate a season. Clothes get the spotlight, but nails are like your personal little accessory that changes with your mood. And when it comes to spooky Halloween nails, the creativity is endless.
You can keep it simple with moody colors or go all-out with intricate designs. You can DIY at home with a few tools or bring ideas to your favorite nail tech. Either way, it’s about finding a design that makes you smile when you see it. Or, in the case of Halloween, maybe shiver a little.
I love that there’s something for everyone. If you’re into cute, you’ve got tiny ghosts and playful pumpkins. If you lean dramatic, there’s blood drips and gothic spider webs. And if you just want something that surprises people? Glow-in-the-dark nails are always a win.
Pinterest is full of inspiration if you need even more ideas. You can scroll for hours, saving looks that speak to you. Then mix and match until you land on the perfect combo.
And here’s a little secret—you don’t have to wait until October 31 to rock these. Halloween nails work all month long. The earlier you start, the longer you get to enjoy them. It’s like stretching out the holiday fun without adding another decoration to your house.
So go ahead. Grab that polish, those tiny brushes, maybe a handful of nail stickers. Whether you’re doing them tonight or booking a salon appointment, you’re about to have a manicure that’s more than just pretty—it’s perfectly, playfully, hauntingly you.