Sourdough bread used to seem like one of those baking projects only pros attempted. You know, the kind of bakers who casually toss around terms like “hydration ratios” while owning six different flours. But the truth? It’s not nearly as complicated as it looks. It just takes time, attention, and a plan that makes sense. That’s what I’m walking through here—how to make your own sourdough from start to finish without overcomplicating a thing.
You’ll start with the basics—making your own starter with just flour and water. Once it’s bubbling and ready, you’ll use it to bake a loaf that’s crisp on the outside, chewy on the inside, and full of that classic tangy flavor. No bread machine. No fancy gear. Just your hands, a bowl, and a little patience.
Living here in Orlando, the humidity actually helps my starter stay happy and active. It’s one of those small perks of Florida life that makes baking sourdough bread even more forgiving.
I’ll walk you through the ingredients, when to use them, and how to keep your starter alive for future bakes. Everything is broken down in simple, everyday language. No jargon. No guesswork. If you can stir, stretch, and wait, you can absolutely bake sourdough bread at home.
This guide keeps things friendly, approachable, and practical. Every section is straightforward, chatty, and packed with real-life tips that make the process easy to follow. You’ll find exact measurements, step-by-step instructions, and simple storage tips so your loaf stays fresh as long as possible.
Whether you’ve never baked before or just assumed sourdough was out of reach, this post is your go-to starting point. It’s about learning something that feels old-fashioned but completely doable in a modern kitchen. Once you bake that first loaf and hear the crackle of the crust as it cools, you’ll get why so many people fall in love with it. Let’s get your starter going and make something amazing right from your own kitchen counter.
This site includes affiliate links; please take a look at the disclosure for more details.
What You Need to Make a Sourdough Starter
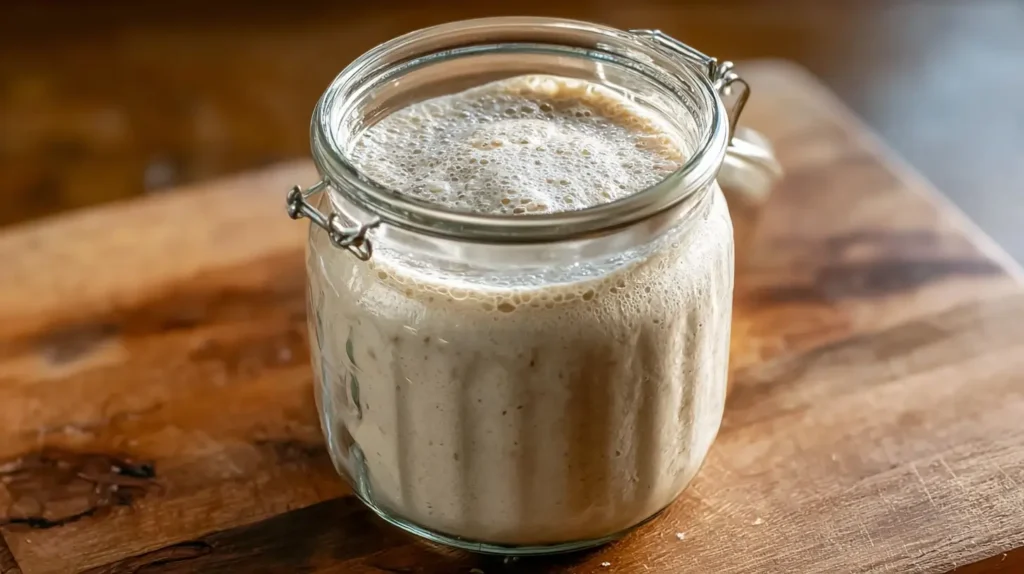
A sourdough starter is just flour and water. That’s it. Wild yeast lives on flour and in the air. When you mix flour and water together and leave it out, the yeast and bacteria naturally start to grow. After about a week of feeding it daily, it becomes bubbly and strong enough to bake with.
Here’s what you’ll need to get started:
- All-purpose or whole wheat flour (either one works)
- Filtered or bottled water (chlorine in tap water can slow things down)
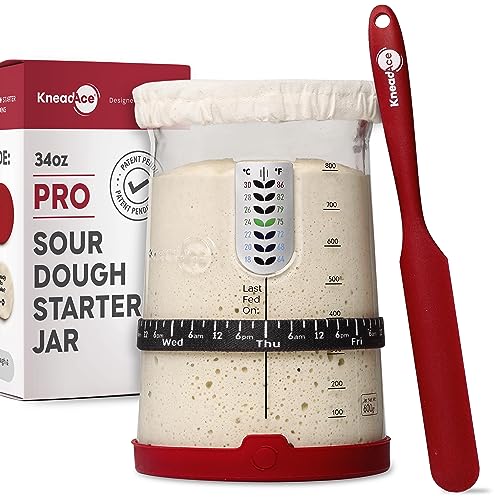
- A glass jar or container (clear is best so you can see the bubbles)
- A spoon or fork for stirring
- A kitchen scale or measuring cups
The daily routine for the first week is simple. You mix equal parts flour and water, let it sit, then feed it again each day. The process builds strength in the starter, helping it rise bread naturally.
Here’s a day-by-day breakdown to keep it easy:
- Day 1: Mix ½ cup flour and ¼ cup water in a jar. Stir well. Cover loosely. Let it sit on the counter.
- Day 2: You may or may not see bubbles. Discard half. Add fresh flour and water. Stir again.
- Days 3–7: Repeat the process daily. Feed it, stir it, cover it, and wait.
Tips for success:
- Keep it at room temp. Avoid spots that are too cold or hot.
- If it smells weird (like cheese or nail polish), it may need extra feedings.
- Once it consistently rises and falls, it’s ready.
You’ll know it’s ready when it doubles in size within 4 to 6 hours after a feeding. It should smell fresh and slightly tangy. That means it’s full of wild yeast and lactic acid bacteria. Once you’ve got that, you’re ready for sourdough bread.


Ingredients You Need for Sourdough Bread
Once your starter is active, it’s time to bake. You don’t need much for basic sourdough bread. It’s one of the simplest recipes out there. It just takes flour, water, salt, and your starter.
Here’s your ingredient list:
- 4 cups (500g) bread flour or all-purpose flour
- 1 ⅔ cups (375g) warm water
- 1 cup (200g) active sourdough starter
- 2 teaspoons (10g) salt
A few notes on the ingredients:
- Bread flour gives a slightly chewier texture. All-purpose works fine if that’s what you have.
- Make sure your starter is bubbly and recently fed. It should pass the “float test.” That means when you drop a small spoonful into water, it floats.
- Salt is important for flavor. Don’t skip it.
Optional tools (but not required):
- Mixing bowl
- Dough scraper or spatula
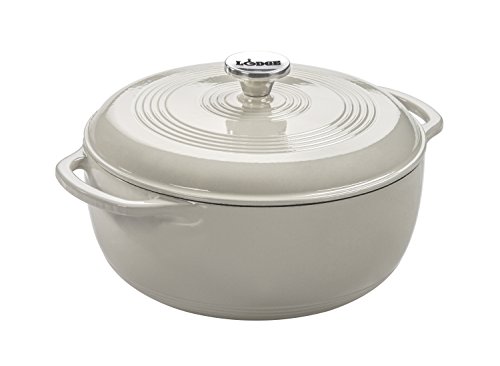
- Dutch oven or baking stone
- Kitchen towel or plastic wrap
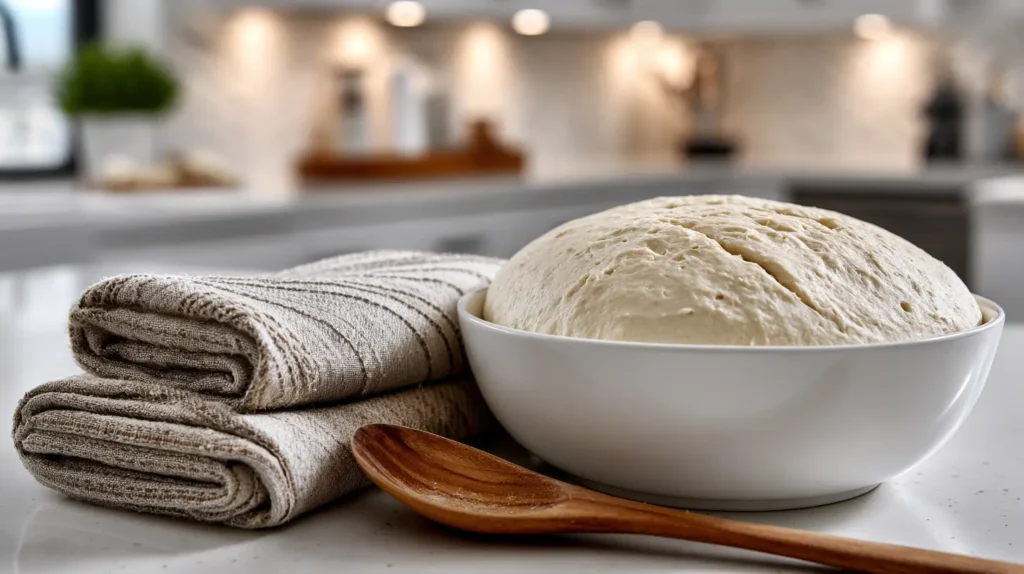
This recipe uses a no-knead method, which means you won’t be doing heavy mixing or arm workouts. The dough does most of the work on its own while it rests and rises. That’s what makes sourdough bread feel so relaxed to make.
You mix the ingredients, give the dough some stretch and folds over a few hours, and let it ferment overnight. The timing can sound fancy, but once you do it once, it clicks. I’ll walk you through the steps next.
The Overnight Sourdough Method
The biggest secret to great sourdough bread isn’t a fancy starter name or some hidden bakery technique—it’s sleep. Seriously. I stopped trying to race the clock and started letting my dough rest overnight. The result? A crustier loaf, a tangier bite, and a much happier baker. Instead of hovering around the kitchen, I mix the dough in the evening, tuck it into the fridge, and let time handle the magic while I sleep.
Cold fermentation slows everything down, which actually improves it. The flavor gets deeper. The texture becomes chewier, almost springy. And because the gluten relaxes overnight, the dough shapes more easily in the morning. You’ll also get that gorgeous, rustic crust that makes every slice feel bakery-level—without ever touching a timer after dinner.
Here’s the simple routine I follow now:
- Mix and knead before bed.
- Shape it, then cover it loosely and pop it in the fridge.
- In the morning, bake it straight from the fridge—no waiting for it to warm up.
The cold dough steams beautifully in the oven, which gives you that golden crackle and chewy center everyone loves. Plus, baking first thing means your kitchen smells amazing before breakfast.
If you live in a warm, humid place like Orlando, this trick is even more forgiving. The fridge helps control fermentation so your sourdough bread doesn’t overproof while you sleep. Instead of stressing over timing or temperature, you wake up to perfectly rested dough that’s ready to bake.
This method changed how I think about homemade bread. It’s hands-off, practical, and almost impossible to mess up. Once you try it, you’ll wonder why anyone stays up late waiting for dough to rise when it can be quietly perfecting itself overnight.

Step-by-Step Instructions for Making the Dough
Making sourdough bread takes time but not much effort. It’s slow baking, not hard baking. Let’s walk through the process in easy steps so it makes sense from start to finish.
1: Mix the dough
- In a large bowl, combine 4 cups flour and 1 ⅔ cups warm water.
- Mix until it looks like shaggy dough. Let it rest 30 minutes (this is called autolyse).
- Add 1 cup of sourdough starter and 2 teaspoons salt. Mix again until well combined.
2: Stretch and fold
- Every 30 minutes for 2 hours, do one set of stretch and folds.
- Grab the dough, stretch it upward, then fold it over itself.
- Turn the bowl a quarter turn and repeat. Do this 4 times per set.
3: Bulk rise
- Cover the bowl. Let the dough rise at room temp for 6–8 hours.
- It should double in size and look puffy with bubbles.
4: Shape the dough
- Gently turn dough out onto a floured surface.
- Tuck and shape it into a round or oval shape.
- Place it into a floured towel or proofing basket.
5: Final proof
- Cover and refrigerate overnight (8–12 hours).
6: Bake the bread
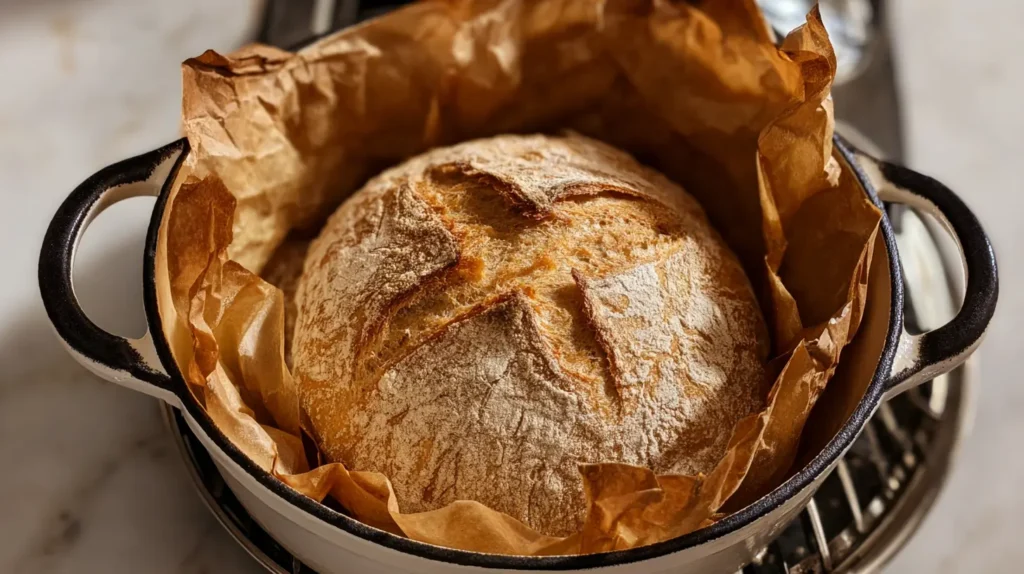
- Preheat oven to 450°F with a Dutch oven inside.
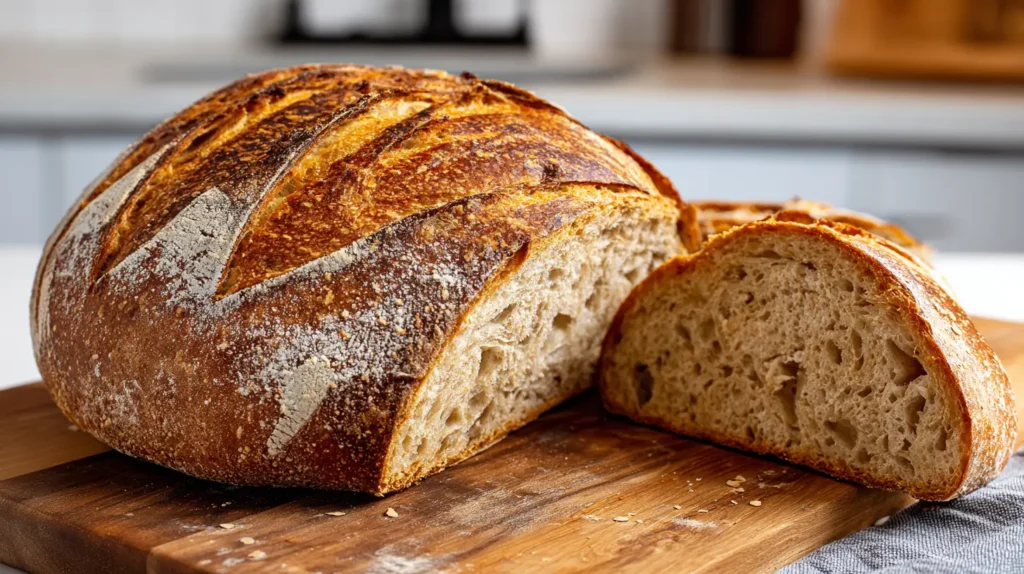
- Turn the dough onto parchment paper. Score the top with a sharp knife.
- Bake in the covered Dutch oven for 20 minutes. Remove lid and bake another 25 minutes.
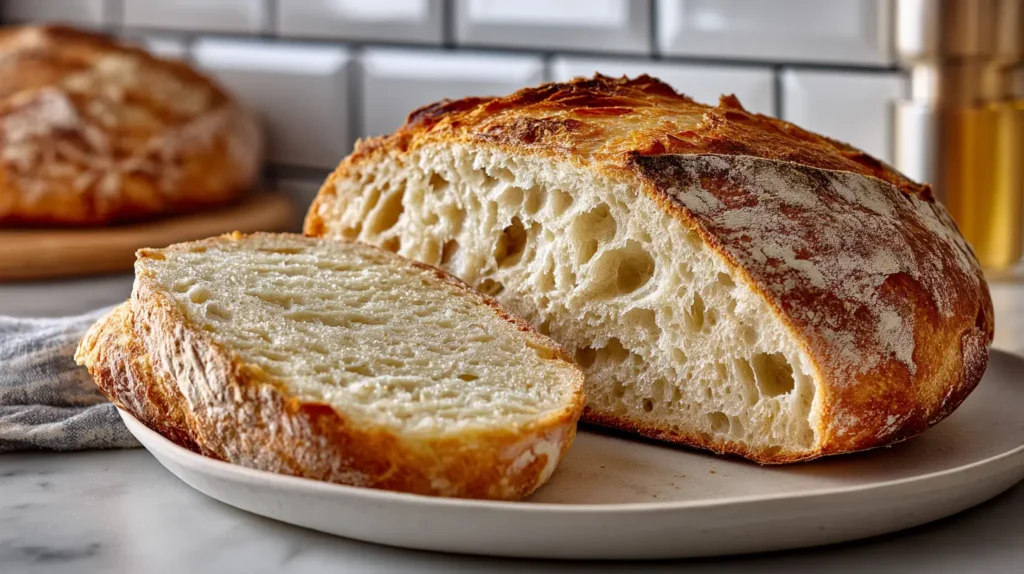
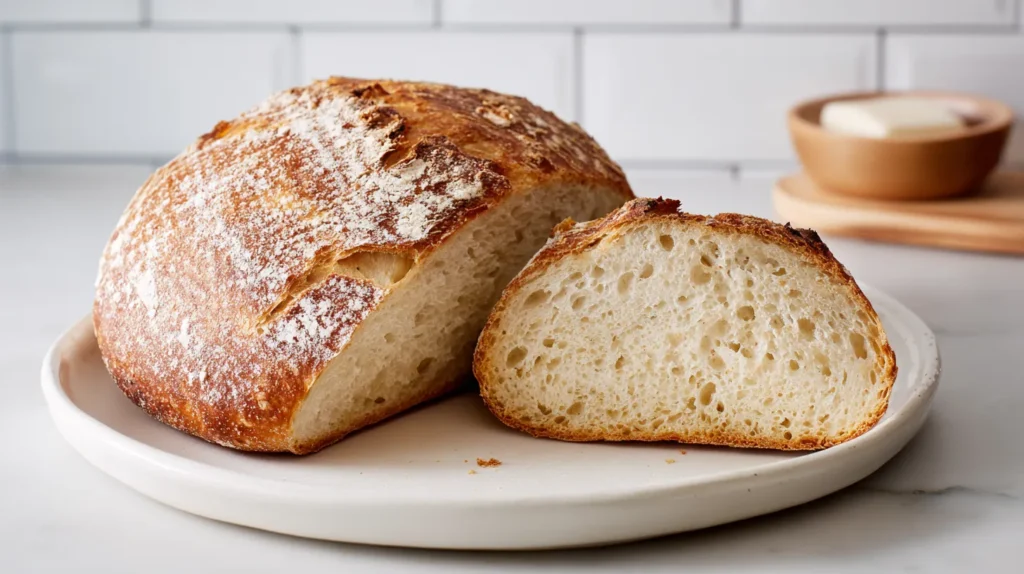
Let it cool fully before slicing. That’s how you get the chewy crust and soft inside that sourdough bread is known for.

Tips for Feeding and Maintaining Your Starter
Your starter is alive. You don’t have to baby it, but it does need some care. Keeping it healthy means you can bake sourdough bread anytime without starting over. Once your starter is active, here’s how to keep it going.
If you bake often (a few times a week), keep your starter at room temperature. Feed it once a day:
- Discard half
- Add ½ cup flour and ¼ cup water
- Stir, cover, and let sit on the counter
If you bake less often, store it in the fridge. Then feed it once a week:
- Take it out
- Let it come to room temperature
- Feed it like normal
- Let it bubble for a few hours before returning it to the fridge
Helpful tips:
- Always use clean utensils and containers.
- If you see liquid on top (called hooch), just pour it off or stir it in.
- If it turns pink, fuzzy, or smells rotten, throw it out and start fresh.
Keeping your starter on a regular feeding schedule keeps the yeast happy and strong. You don’t need to overthink it. It’s like a pet that doesn’t need a walk—just a scoop of food and some attention now and then.
Having a reliable starter is what makes sourdough bread baking feel easy instead of like a big deal. Once you get the hang of it, it feels totally natural!
Common Problems and How to Fix Them
Sourdough baking comes with a few hiccups. That’s normal. Don’t let it scare you. Every baker has had a flat loaf or sluggish starter at some point. Let’s review the common problems bakers face and how to fix them fast!
Problem: Starter isn’t bubbly
- Feed it more often
- Use warmer water
- Switch to whole wheat flour for a few days
Issue: Bread isn’t rising
- Make sure your starter passed the float test
- Check your room temp—it may be too cold
- Give the dough more time to rise
Problem: Bread is too sour
- Use starter at its peak, not after it’s fallen
- Reduce the ferment time slightly
Issue: Crust is too hard
- Try adding a pan of water to the oven for steam
- Wrap the loaf in a towel while cooling
Other troubleshooting tips:
- Don’t skip the rest times. Dough needs them.
- If the dough is sticky, wet your hands or use a bench scraper.
- If the loaf is flat, shaping may need a little more practice.
Remember, each loaf teaches you something. You’re not failing—you’re learning what works in your kitchen, with your starter, in your climate. The more you bake, the easier it gets.
No one starts as a sourdough pro. You build confidence by sticking with it, loaf by loaf. Sourdough bread is more forgiving than it seems, I promise.

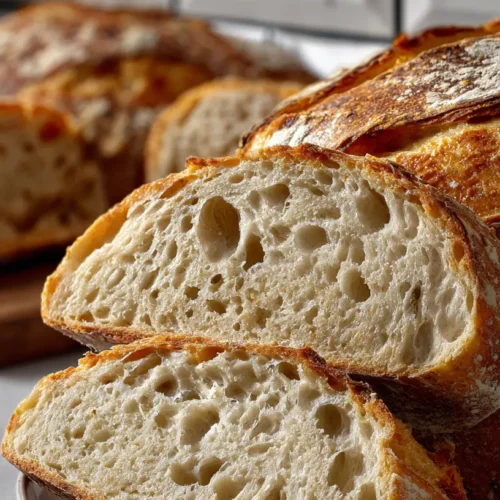
Stop Chasing Huge Holes in Sourdough Bread
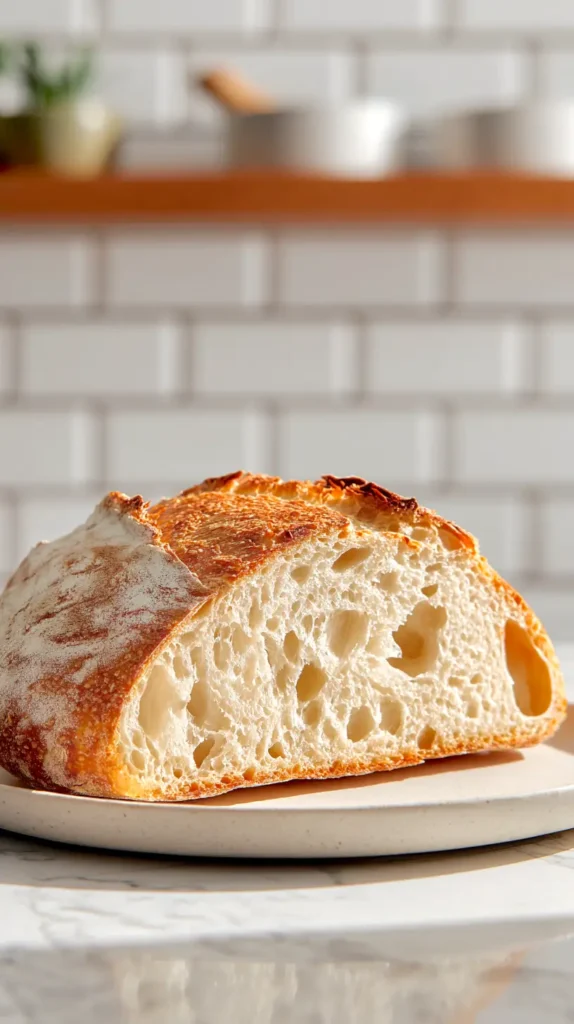
One thing I think gets weirdly overhyped in sourdough bread is the giant, dramatic crumb. It looks gorgeous on Instagram, sure, but it can make real-life bread kind of annoying. Butter slips through. Sandwich fillings tumble out. Toast turns fragile fast. I’ve found that most home bakers chase those big holes before deciding what the loaf needs to do. That’s backwards. A better goal is balanced crumb with enough lift to feel airy and enough structure for dinner. Pretty matters, obviously, but usefulness matters more when lunch is involved.
Here’s the part I almost never see people talk about. If you want a more practical loaf, change the water just a little before you change everything else. Many recipes push very wet dough because it looks artisan and dramatic. Meanwhile, slightly lowering hydration can make sourdough bread easier to shape, score, and slice at the table. Try pulling back two tablespoons of water from your usual loaf if your dough acts wild. Then watch what changes. Suddenly, scoring gets cleaner and the loaf stops spreading like a lazy pancake. The dough usually holds tension better, proofs with less drama, and bakes into slices that work all week.
That tiny shift can save flour, time, and a lot of unnecessary second-guessing. It also helps newer bakers read dough without wrestling a sticky mess for hours. I tend to notice people blame themselves when the real issue is too much water for their flour. Your loaf does not need to look like bakery theater to count as success. Good sourdough bread should suit your actual life. Really, the best slice is not the flashiest one. It’s the one that survives peanut butter.
Easy Sourdough Bread Variations to Try
Once you’ve got the hang of the basic sourdough bread recipe, it’s fun to change things up. A few small tweaks can give your loaf a whole new flavor or texture. You don’t need to overhaul the whole recipe—just mix in or swap a few ingredients.
Here are some simple and tasty ideas to try:
Add-ins (mix these into the dough after the first rest):
- ½ cup shredded cheddar and 1 tablespoon diced jalapeños for a spicy loaf
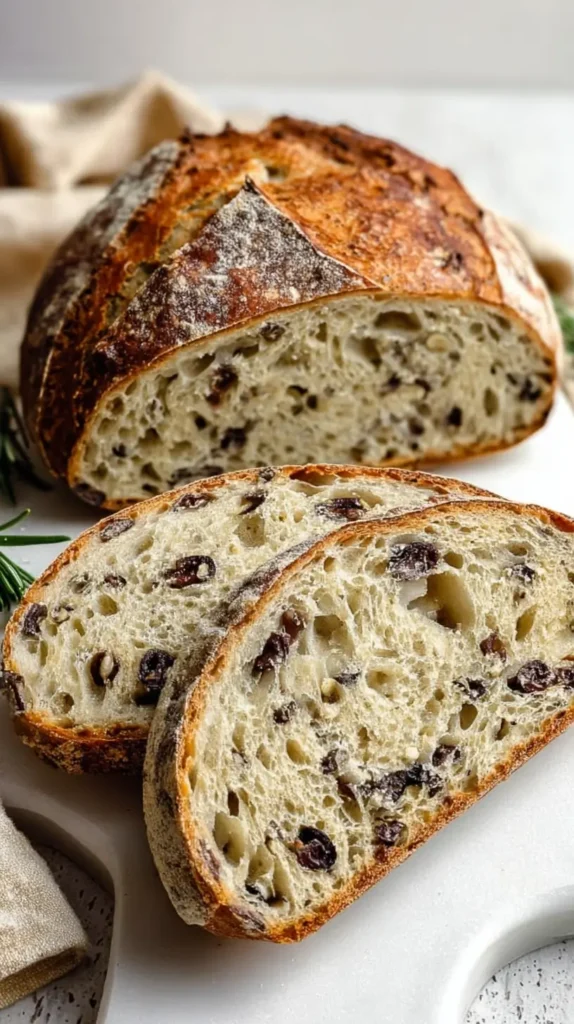
- ½ cup chopped walnuts and ½ cup dried cranberries for a sweet-savory combo
- 2 tablespoons fresh rosemary and ¼ cup chopped olives for an herby twist
- ¼ cup sunflower seeds or pumpkin seeds for a little crunch
Flour swaps (substitute part of the flour, not all):
- Replace 1 cup of bread flour with whole wheat flour for a nuttier flavor
- Try rye flour in place of ½ cup to get a heartier loaf
- Use spelt flour for a slightly sweet, soft result
Topping ideas (sprinkle on before baking):
- Sesame seeds or poppy seeds for a bakery-style finish
- Rolled oats for a rustic look
- Cornmeal on the bottom to prevent sticking and add texture
Tips when adding extras:
- Don’t overload the dough. Stick to 1 cup of mix-ins total.
- Fold them in gently during the stretch-and-fold process.
- Keep proofing and baking times the same as the base sourdough bread recipe.
These easy variations let you keep things fresh without learning a whole new method. I like having a go-to base dough and then playing around with flavors when I feel like it.
You can even look up ideas on Pinterest if you’re stuck for inspiration. There’s a world of sourdough bread out there—have fun with it.
Sourdough Bread
Ingredients
- 4 cups 500g bread flour or all-purpose flour
- 1⅔ cups 375g warm water
- 1 cup 200g active sourdough starter
- 2 teaspoons 10g salt
Instructions
- In a large mixing bowl, combine 4 cups of flour and 1⅔ cups of warm water.
- Stir until a shaggy dough forms, then let it rest for 30 minutes.
- After resting, add 1 cup of active sourdough starter and 2 teaspoons of salt.
- Mix well until everything is fully combined.
- Cover the bowl with a clean towel or plastic wrap.
- Let the dough sit at room temperature.
- Every 30 minutes for 2 hours, perform a set of stretch and folds.
- To stretch and fold, pull one side of the dough upward and fold it over itself.
- Turn the bowl a quarter turn and repeat three more times.
- After the final fold, cover the bowl again and let the dough rise for 6 to 8 hours.
- It should double in size and appear bubbly and puffy.
- Gently transfer the dough to a lightly floured surface.
- Shape it into a round or oval loaf by folding and tucking the edges underneath.
- Place the shaped dough seam-side up into a floured proofing basket or towel-lined bowl.
- Cover and refrigerate for 8 to 12 hours.
- The next day, place a Dutch oven into your oven and preheat to 450°F (232°C).
- Remove the dough from the fridge and turn it out onto parchment paper.
- Score the top of the dough with a sharp knife or razor blade.
- Carefully lower the dough into the hot Dutch oven using the parchment paper.
- Cover and bake for 20 minutes.
- Remove the lid and bake uncovered for another 25 minutes.
- Take the bread out of the Dutch oven and let it cool completely on a wire rack before slicing.

Final Thoughts on Sourdough Bread
Let’s go over what we covered in this sourdough bread post, just to wrap things up in a simple way.
First, we talked about making a sourdough starter from scratch:
- Flour and water are the only ingredients you need.
- Feed it daily for about a week.
- Watch for bubbles, growth, and that light tangy smell.
Then we moved into the sourdough bread recipe itself:
- Just four ingredients: flour, water, starter, and salt.
- No fancy gear. A bowl and spoon will do just fine.
- Mix, rest, stretch, rise, shape, chill, and bake.
Each step was broken down in plain terms so it’s not confusing. The steps are all doable even if you’ve never baked before. Patience is the real secret.
I also gave you some tips for keeping your starter alive:
- Feed it daily on the counter, or weekly in the fridge.
- Watch for signs it’s healthy and strong.
- Don’t panic if it smells odd once in a while—just feed it again.
And finally, we went through common baking issues:
- Flat bread? Could be weak starter or low temperature.
- Too sour? Shorten ferment time or use starter sooner.
- Hard crust? Add steam or cover the bread while it cools.
Sourdough bread takes time, but it’s not complicated. It’s more about rhythm than skill. Once you find your rhythm, it becomes a relaxing habit.
If you’re pinning sourdough recipes on Pinterest and feeling unsure, this is your step-by-step guide. Save it, try it, tweak it, and keep baking.
You don’t have to be a bread expert. You just have to start!