Are you looking to give your bathroom a fresh new look without breaking the bank? Painting your bathroom vanity cabinets can be a fun, rewarding project that transforms your space. Let’s get into the nitty-gritty of how to do it, what you’ll need, some color ideas and some helpful do’s and don’ts.
How to Paint Bathroom Vanity Cabinets: A Step-by-Step Guide
Step 1: Gather Your Supplies
Before you start, make sure you have everything you need. Here’s a list:
- Sandpaper (fine grit, helps in smoothing the surface)
- Primer (water-based if you’re using latex paint)
- Paint (semi-gloss or gloss finish works best in bathrooms; I have color scheme ideas below for you too)
- Paintbrushes and rollers (get a smooth finish with good-quality brushes and rollers)
- Painter’s tape (protects areas you don’t want to paint)
- Drop cloths or old newspapers (keep your floors clean)
- Screwdriver (for removing hardware)
Color Scheme Ideas
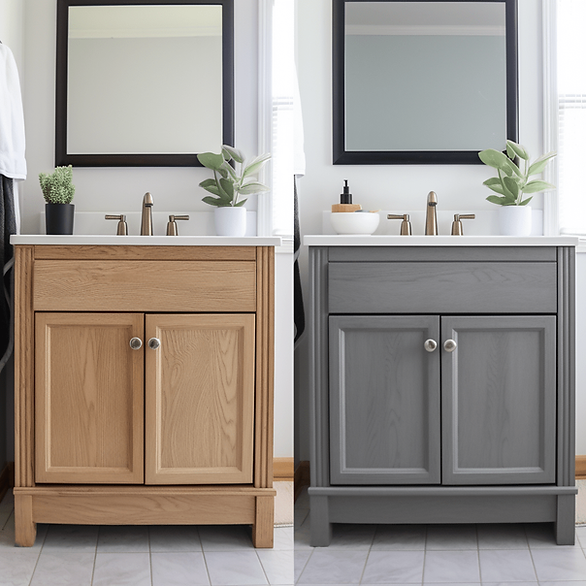
- Classic White: Brightens the space and gives a clean look.
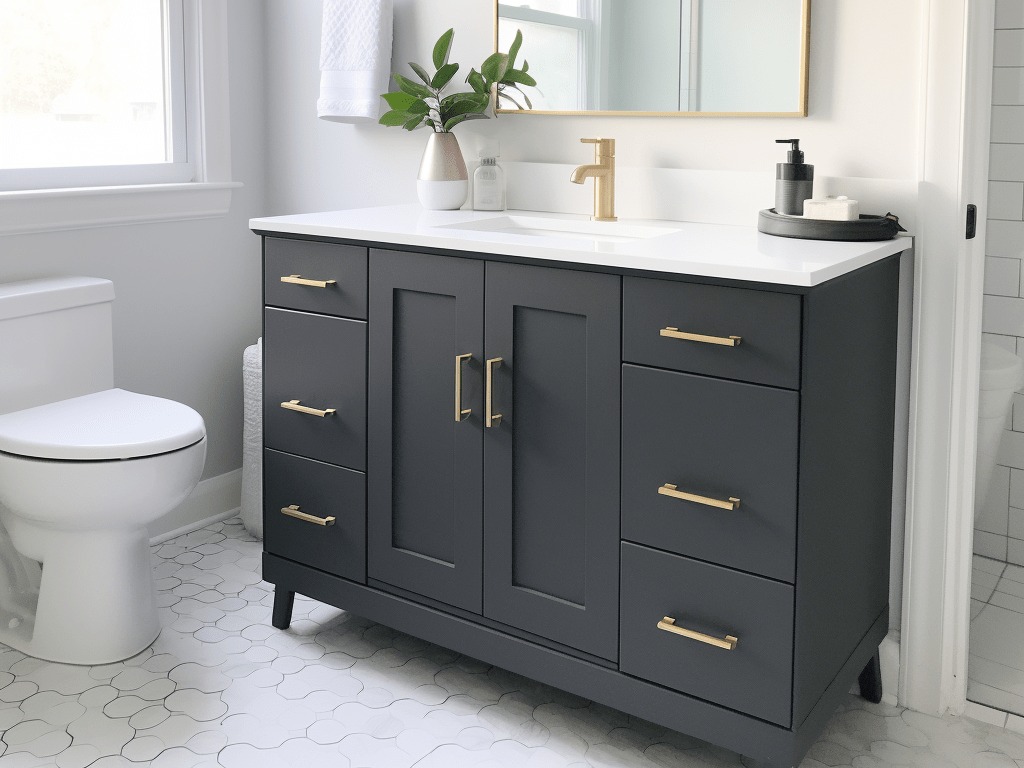
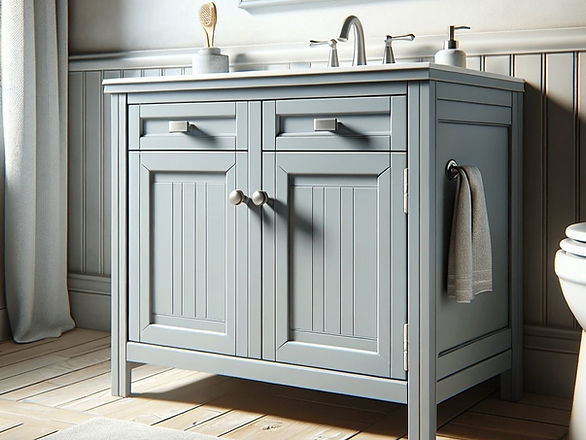
- Soft Grey: Offers a modern, chic look.
- Navy Blue: Brings depth and sophistication.
- Light Green or Blue: Creates a calming, spa-like feel.
When it comes to painting bathroom vanity cabinets, choosing the right color is important for achieving the look you desire. Here are some popular color choices from well-known paint brands, complete with their names and codes:
1. Sherwin-Williams
- Alabaster (SW 7008): A warm, soft white that’s great for a clean and classic look.
- Repose Gray (SW 7015): A modern, neutral gray that works well in various lighting conditions.
- Naval (SW 6244): A deep, rich navy blue for a bold and sophisticated statement.
2. Benjamin Moore
- Chantilly Lace (OC-65): A crisp, pure white, perfect for a bright and airy feel.
- Gray Owl (OC-52): A soft, light gray with warm undertones, ideal for a subtle, chic effect.
- Hale Navy (HC-154): A timeless, deep navy that adds elegance and depth.+
3. Behr
- Polar Bear (75): A bright and clean white, excellent for a fresh, minimalist look.
- Gentle Rain (790E-2): A soothing, mid-tone gray that provides a contemporary look.
- Sapphire Lace (P470-7): A vibrant, eye-catching blue for a pop of color.
4. Valspar
- Swiss Coffee (7002-16): A creamy, warm white for a cozy, inviting atmosphere.
- Gravity (4005-1B): A cool, versatile gray that pairs well with various decor styles.
- Deep Twilight Blue (4008-8C): A striking, dark blue, perfect for a dramatic flair.
5. Farrow & Ball
- Wimborne White (239): A just-right white with a slight yellow undertone for warmth.
- Pavilion Gray (242): A gentle gray that’s elegant and understated.
- Stiffkey Blue (281): A rich, inky blue, inspired by the Norfolk beach mud.
These colors are popular for their versatility and ability to complement a wide range of bathroom styles and designs. Remember, it’s always a good idea to test paint samples in your bathroom to see how they look under your lighting before making a final decision.
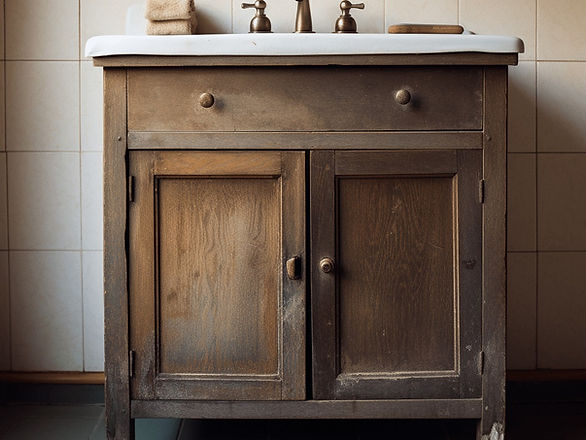
Step 2: Prep Your Cabinets
- Remove all hardware like knobs and handles using a screwdriver.
- Clean the cabinets thoroughly to remove any grease or dirt.
- Sand the surfaces lightly. This helps the primer stick better.
- Wipe down the cabinets to remove dust from sanding.
Step 3: Prime the Cabinets Before You Paint Your Bathroom Vanity Cabinets
Preparing for Priming:
- Ensure Cabinets Are Clean and Dry: After sanding, make sure there’s no leftover dust or moisture on the cabinets. A tack cloth can be handy for picking up fine dust particles.
- Set Up Your Workspace: Use drop cloths or old newspapers to protect your floors and countertops. If you can remove the cabinet doors to work on them separately, that’s even better.
- Protect Areas You Don’t Want to Paint: Apply painter’s tape carefully around the edges where the cabinets meet the walls, countertop, or backsplash.
Applying the Primer:
- Choose the Right Primer: A water-based primer is recommended if you’re using latex paint. For oil-based paints, an oil-based primer is better. If your cabinets have a dark stain or varnish, a stain-blocking primer can be beneficial.
- Use the Right Tools: For most cabinets, a small roller can give you a smooth finish, while a brush can help you get into corners and detailed areas. Use a high-quality brush to avoid bristle marks.
- Apply Primer Evenly: Start with a thin layer of primer. It’s not about coverage but about creating a surface that your paint can stick to. Ensure even strokes, and avoid leaving drips.
- Let It Dry: Follow the manufacturer’s instructions for drying time. Usually, this is a minimum of one hour, but it could be longer, especially in high humidity conditions.
- Sand Lightly After Priming (If Needed): Once the primer is dry, feel the surface. If it feels a bit rough, a quick, light sanding with very fine-grit sandpaper can help. This step is optional but can help achieve a super-smooth finish. Wipe away the dust with a tack cloth or a slightly damp rag after sanding.
- Optional Second Coat: In some cases, particularly when covering dark colors or stains, a second coat of primer might be necessary. If so, repeat the priming process and allow it to dry completely.
Taking your time with priming can make a big difference in the final look and durability of your paint job. Patience is key here, as a well-prepped and primed surface will lead to a professional-looking finish on your bathroom vanity cabinets.
Step 4: Paint Your Bathroom Vanity Cabinets
Preparation (reminders to make sure that you followed the steps above) :
- Choose the Right Paint: Opt for semi-gloss or gloss paint, as they are more durable and resistant to moisture, which is essential for a bathroom environment. Make sure the paint is compatible with the primer you’ve used.
- Ensure the Primer is Completely Dry: Before you start painting, the primer needs to be fully dry. This could take anywhere from a few hours to overnight, depending on the product and environmental conditions.
- Mix the Paint Thoroughly: If the paint has been sitting for a while, it needs to be stirred properly to ensure consistency.
Painting Process for Bathroom Vanity Cabinets:
- Start with the Edges and Details: Using a high-quality brush, begin by painting the edges and detailed areas of the cabinets. This allows for more precise control in these trickier spots.
- Use a Roller for Flat Surfaces: After the edges, use a small foam roller to paint the larger, flat surfaces of the cabinets. Rollers help achieve a more uniform and smooth finish without brush marks.
- Apply Thin Coats: It’s better to apply multiple thin coats of paint rather than one thick coat. Thin coats dry faster and are less likely to drip or look uneven.
- Let Each Coat Dry: Allow the paint to dry completely between coats. This can take anywhere from 4-6 hours, but refer to the paint can for specific instructions. Don’t rush this part; drying is as important as the painting itself.
- Sand Lightly Between Coats (Optional): For an ultra-smooth finish, you can lightly sand the cabinets between coats using fine-grit sandpaper (like 220-grit). This step is optional but can help eliminate any brush strokes or roller marks. Remember to wipe off the dust before applying the next coat.
- Apply a Second Coat: Once the first coat is completely dry, apply a second coat following the same process. This ensures full coverage and a richer color.
- Check for Drips or Imperfections: After each coat, look over the cabinets for any drips or imperfections. Smooth these out promptly with your brush or roller.
Finishing Up:
- Let the Paint Cure: After the final coat, give the cabinets plenty of time to cure. While they might be dry to the touch in a few hours, the paint will need longer to harden fully. This can take a few days, so be gentle with the cabinets during this time.
- Avoid Closing Doors Completely: If you can, leave the cabinet doors slightly open for the first day or two after painting to prevent them from sticking.
Where to Let Cabinets Dry
- Well-Ventilated Area: Choose a spot with good air circulation to speed up the drying process and reduce paint fumes. Opening windows or using fans can help.
- Controlled Environment: Avoid areas with extreme temperatures or high humidity, as these can affect how the paint dries. A room temperature setting is ideal.
- Safe from Dust and Debris: Paint can pick up dust and other particles while it’s drying. Find a clean, low-traffic area to reduce the risk of this happening.
- Flat Surface: Lay cabinet doors flat while they dry to prevent drips and ensure an even coat. If you have to paint them while they’re hanging, check for drips and smooth them out promptly.

Step 5: Reassemble
- Once the paint is dry, reattach the hardware.
- Remove any painter’s tape.
Do’s and Don’ts When Painting Your Bathroom Vanity Cabinets
Do:
- Ventilate your space well.
- Take your time with each step.
- Use semi-gloss or gloss paint for moisture resistance.
Don’t:
- Skip sanding and priming, as it affects the paint’s durability.
- Rush the drying process.
- Forget to protect your floor and countertops.
Final Thoughts on Painting Your Bathroom Vanity Cabinets
Transforming your bathroom vanity cabinets with a fresh coat of paint is a fantastic way to update your bathroom’s look without a major renovation. By following the detailed steps outlined in this guide – from gathering your supplies, and preparing and priming the cabinets, to the careful process of painting and letting them dry – you can achieve a professional-looking finish that brightens up your bathroom.
The key to a successful paint job lies in patience and attention to detail. Take your time with each step, from preparing the surface to applying the paint, and you’ll be rewarded with a smooth, durable finish. And don’t forget to have fun with color choices! Whether you opt for a classic white, a chic gray, or a bold navy, the right color can completely transform the look and feel of your bathroom.
So, roll up your sleeves, grab your paintbrush, and get ready to give your bathroom vanity a stunning makeover. With a bit of effort and creativity, you can create a space that feels brand new.