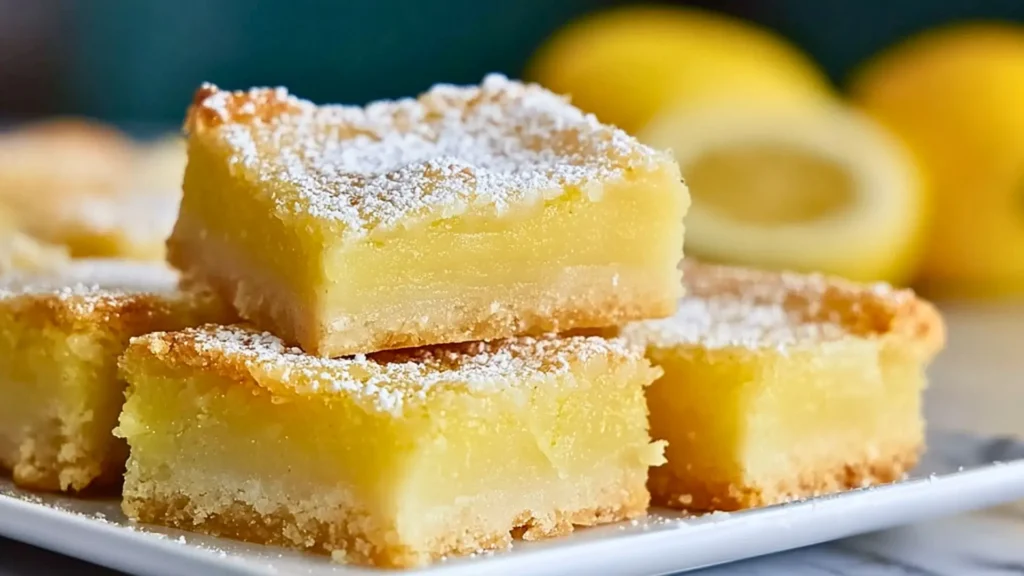
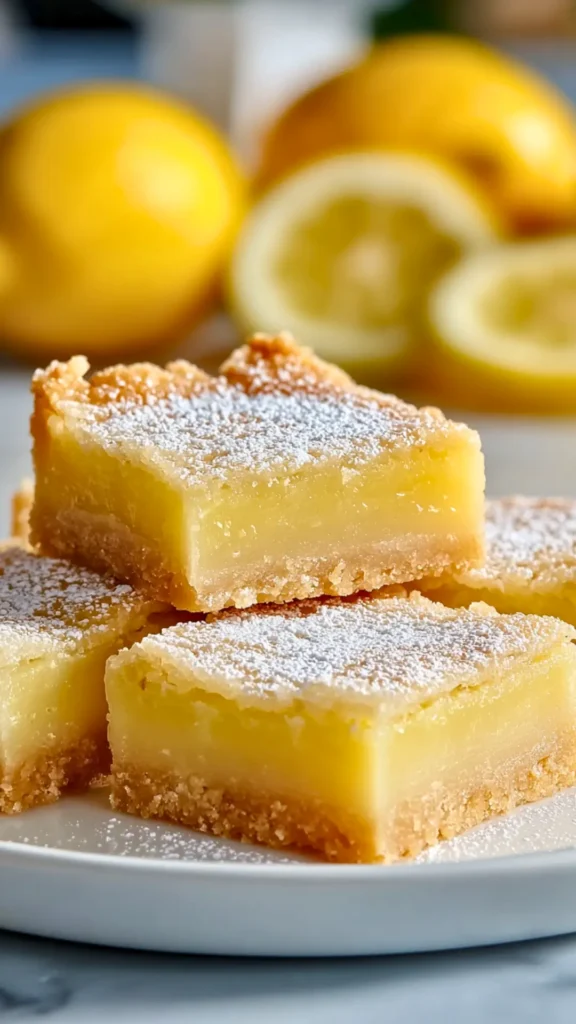
Let’s just say it—lemon bars are one of those treats that always seem to bring a little sunshine to the table. Even if the skies outside are gray, that bright citrus flavor feels like a happy little lift. I love recipes that don’t ask for much but still turn out special, and lemon bars hit that sweet spot.
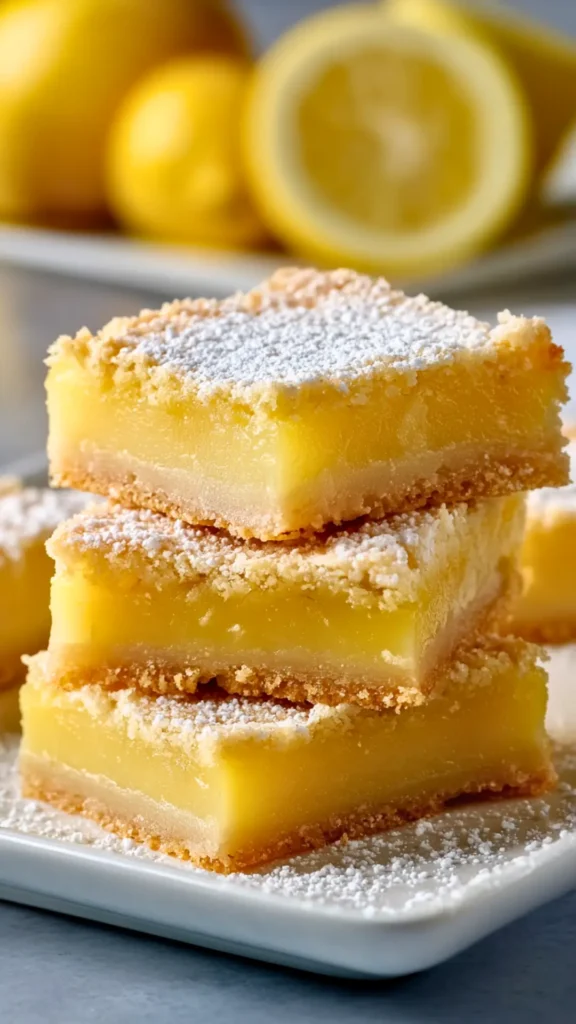
The great thing about lemon bars is they use simple ingredients. Nothing fancy, nothing hard to find. You probably have most of it in your kitchen already. But even with such basic things, they feel like something you’d buy at a nice bakery. They look good, taste great, and make people think you spent way more time on them than you really did.
This post breaks it all down for you. I’ll walk you through the full recipe for lemon bars, step-by-step. You’ll get the full list of ingredients, the best way to bake them, and easy tips to make them turn out just right. If you’ve never made these before, no stress. I’ll keep things simple, because baking doesn’t have to be complicated to be good.
We’ll also go over ways to get the crust just right, how to tell when the lemon filling is baked through, and what not to do (so you don’t end up with a soggy mess). Whether you’re baking for your family, a party, or just for yourself, lemon bars always seem to disappear fast. So let’s get into it, and I’ll show you how to make the best ones.
This site includes affiliate links; please take a look at the disclosure for more details.
Ingredients You’ll Need
These lemon bars don’t use anything fancy. That’s what I like about them. Most of the ingredients are things you probably already have at home. You don’t need a mixer or anything special. Just a bowl, a spoon, and a little time.
Here’s what you’ll need for the crust:
- 1 cup (2 sticks) of unsalted butter, softened
- 1/2 cup granulated sugar
- 2 cups all-purpose flour
- 1/4 teaspoon salt
And here’s what you’ll need for the lemon filling:
- 1 and 1/2 cups granulated sugar
- 1/4 cup all-purpose flour
- 4 large eggs
- 2/3 cup freshly squeezed lemon juice (about 3–4 lemons)
- Optional: powdered sugar for dusting
A few tips before you start:
- Use real lemons. Bottled lemon juice just doesn’t taste the same.
- Make sure the butter is soft but not melted.
- If you like extra tang, you can add a teaspoon of lemon zest to the filling.
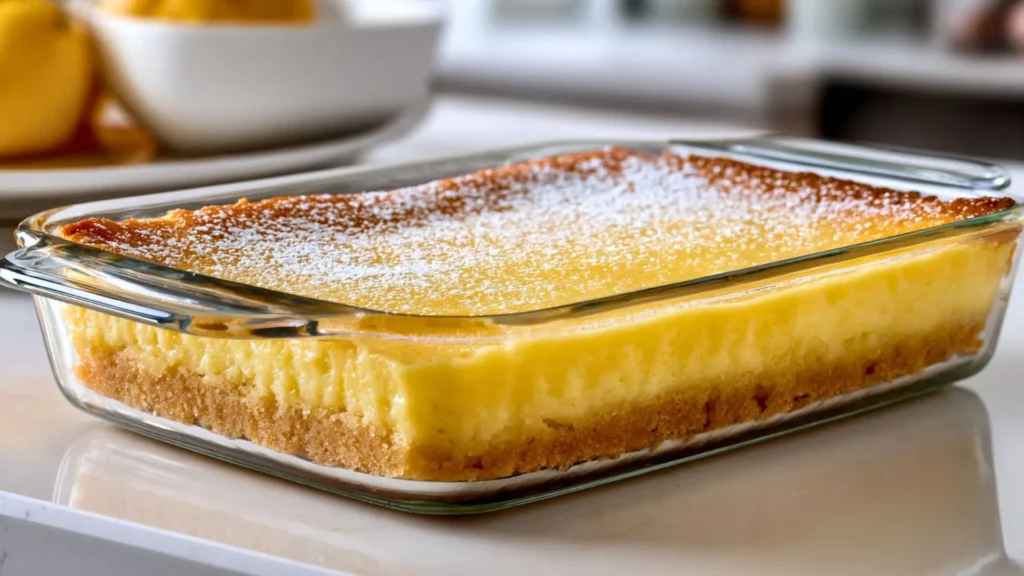
You’ll bake the crust first, then pour on the lemon filling and bake again. It’s a two-step process, but still super easy. This recipe fits in a 9×13-inch pan, which gives you a nice batch of squares. They cut well, hold up on a plate, and store easily.
Step-By-Step Instructions For Perfect Lemon Bars
Now that you’ve got your ingredients ready, let’s walk through the steps. This part is easy if you just take it slow and follow along.
Step 1: Prep the pan and oven
- Preheat your oven to 350°F
- Line a 9×13-inch baking dish with parchment paper or foil
- Leave a little hanging over the sides for easy removal
Step 2: Make the crust
- Mix the softened butter and sugar until creamy
- Stir in the flour and salt until crumbly
- Press this mixture firmly into your pan
- Make sure it’s even and reaches all corners
Step 3: Bake the crust
- Bake for 18–20 minutes until the edges are golden
- Let it cool slightly while you make the filling
Step 4: Make the lemon filling
- Whisk sugar and flour in a clean bowl
- Add eggs and lemon juice
- Whisk until smooth
- Add lemon zest if using
Step 5: Pour and bake
- Pour lemon mixture over the warm crust
- Bake 20–25 minutes until the filling is set
Step 6: Cool and dust
- Let the bars cool completely
- Dust with powdered sugar
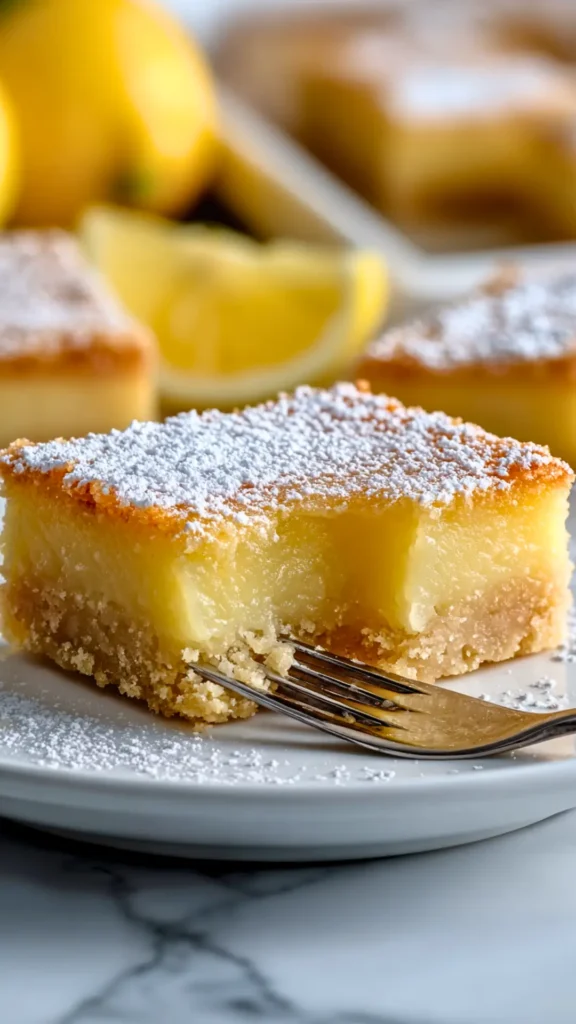
- Slice with a clean, sharp knife
Lemon bars are easiest to cut once chilled. Keep them in the fridge to help them set.

Tips To Get The Crust Just Right
The crust is what holds everything together. It should be buttery and firm but not too thick. Getting it right matters more than people think.
Start with softened butter. Not melted, not cold. It should spread easily with a spoon or spatula. Mix it with sugar until smooth, then add the flour and salt.
Don’t rush pressing the dough into the pan. Here’s what helps:
- Use the back of a spoon to flatten evenly
- Press firmly into corners so it bakes evenly
- Chill for 10 minutes before baking if your kitchen is warm
A few extra pointers:
- The crust should look pale but slightly golden on the edges
- Don’t overbake or it will dry out
- No baking powder needed—this crust doesn’t need lift
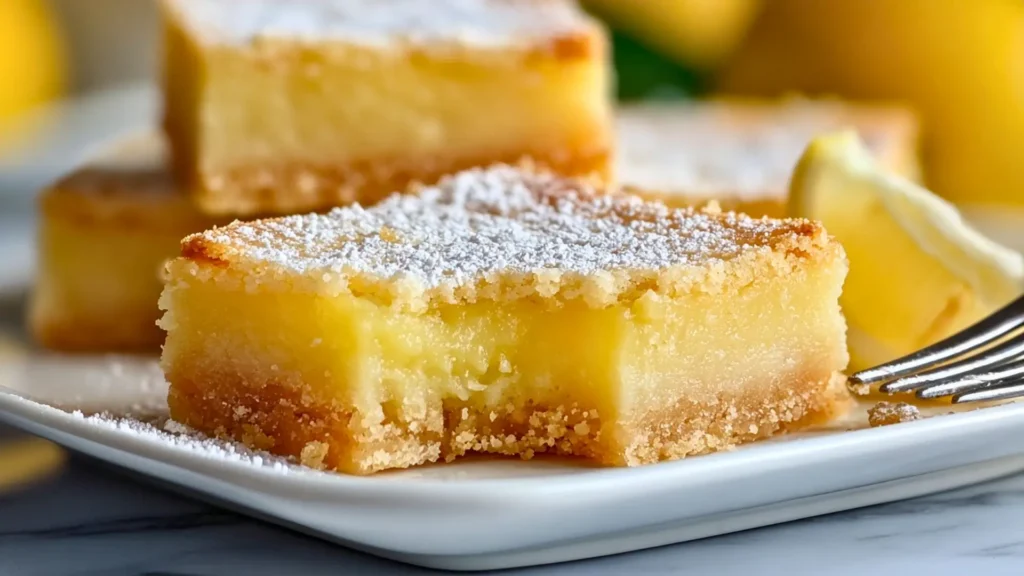
This crust balances the soft, tangy filling. It needs to hold up but not overpower. Once baked, let it cool just a bit before adding the lemon filling. That way, it doesn’t soak in too much and stays crisp underneath.
When in doubt, aim for golden edges and a firm touch in the middle. If it crumbles too much when sliced, it was probably underbaked. If it’s hard as a rock, it baked too long. Find that sweet spot and your lemon bars will come out just right.
How To Know When Lemon Bars Are Done
Getting the timing right makes a big difference. You don’t want them undercooked and runny, but you also don’t want them dry or cracked.
Here’s how I check:
- Gently jiggle the pan. If the center moves, it’s not ready
- The top should look matte, not shiny
- Edges may puff slightly—that’s okay
- A toothpick should come out with moist crumbs, not liquid
Some helpful baking tips:
- Don’t walk away. Keep an eye on the oven
- Start checking at 20 minutes
- Every oven is different, so trust your eyes more than the timer
- If it jiggles like Jello, bake a little longer
Let the lemon bars cool completely in the pan. This helps them firm up. Trying to cut them while warm will get messy. Chilling helps the texture and the flavor, too. That tangy citrus really shines after some time in the fridge.
If you end up overbaking a little, they’ll still taste good. Just maybe skip the powdered sugar on top if it cracked too much. Little imperfections don’t ruin the taste.
How To Cut, Store, And Serve Lemon Bars
Once cooled, your lemon bars are ready to be sliced. Clean edges make a big difference, especially if you’re serving them to guests.
Use a sharp knife. Wipe the blade between cuts. If the top is sticky, dip your knife in warm water.
A few tips for storage:
- Store in the fridge in an airtight container
- Keep them fresh up to 5 days
- Don’t stack them without a layer of wax paper in between
Freezer tips:
- Wrap each square in plastic
- Then place in a freezer-safe container
- They keep well for about 2 months
- Thaw in the fridge before serving
Serving ideas:
- Sprinkle powdered sugar right before serving
- Add fresh berries for a pop of color
- A mint leaf makes it look fancy with no effort
- Serve chilled or room temp—both work fine
For gatherings, cut them smaller. Bite-size lemon bars are easier to grab and less messy. For lunches or snacks, wrap individual squares in parchment so they stay neat.
They go with tea, coffee, or lemonade. Honestly, they fit just about any time. That balance of sweet and tart just works.

Ways To Customize Lemon Bars
If you love the classic but want something new, lemon bars are easy to switch up. Small changes go a long way.
Try one of these ideas:
- Add coconut to the crust for a tropical feel
- Stir lemon zest into the filling for extra tang
- Drop a few fresh berries into the lemon mix
- Make a lemon glaze instead of powdered sugar
- Add finely chopped nuts to the crust
Other fun swaps:
- Use Meyer lemons if you can find them—they’re milder and floral
- Mix in a little lime juice for a twist
- Add a pinch of cardamom or ginger for warmth
Gluten-free option:
- Use a one-to-one gluten-free flour blend in the crust
- Everything else can stay the same
Keep the structure the same and you can change the flavor all you want. These ideas give the bars a new spin without adding stress. Sometimes a tiny tweak turns a simple recipe into something special.
Common Mistakes To Avoid When Making Lemon Bars
Lemon bars are simple, but that doesn’t mean they’re foolproof. A few small mistakes can leave you with soggy bottoms, runny filling, or bland flavor. The good news? These problems are easy to avoid once you know what to look for.
Here are some of the most common issues:
- Undercooked filling: The center should not jiggle. If it does, bake a few more minutes.
- Crust too soft: You must bake the crust before adding the filling. That step gives it structure.
- Filling soaks into the crust: Pour the lemon mix onto a hot crust, not cold. It helps set the base.
- Powdered sugar disappears: Wait until the bars are completely cool before dusting.
- Sticking to the pan: Always use parchment or foil with an overhang. It makes removal easy.
Some mistakes come from ingredients, not technique. These are just as common:
- Bottled lemon juice doesn’t taste right. It’s sharp but flat. Always use fresh lemons.
- Cold eggs don’t mix well. Let them sit out for 10 minutes first.
- Warm bars fall apart. Chill before cutting for clean slices.
Other easy tips that help:
- Don’t overmix the filling. Whisk it just until smooth.
- Don’t skip sifting powdered sugar if you want a smooth top.
- Don’t use a dark metal pan. It bakes the crust too fast.
Lemon bars aren’t hard. But skipping little steps makes a big difference. Follow these tips, and you’ll get even layers, a creamy filling, and a crust that holds up. The goal is flavor, texture, and that pretty, powdered finish. And with a little care, you’ll get all three every time.
When To Make Lemon Bars And Why They Always Work
Lemon bars are one of those desserts that fit just about every situation. They’re light, pretty, and easy to love. Whether you’re planning a big party or just need something sweet to share, these bars make sense almost every time.
Here’s when lemon bars are a perfect fit:
- Spring and summer gatherings: They feel fresh, bright, and sunny
- Brunches or baby showers: They cut clean and look beautiful on a tray
- Holiday cookie swaps: A zesty break from chocolate and peppermint
- School events: Kids and grownups both like the sweet-tart balance
- Bake sales: They stand out and hold up well on the table
- Picnics: Keep them chilled and they’ll travel just fine
There’s something nostalgic about them, too. Lemon bars feel like the kind of dessert your aunt or grandma might make. But they still feel current. They aren’t trendy, and that’s actually a good thing. You can make them today, next month, or five years from now—and they’ll still feel right.
People also like how they aren’t too heavy. After a big meal, you don’t always want cake or pie. Lemon bars give you a sweet bite without the weight. They’re soft but not gooey, firm but not dry.
They also make great gifts. Just pop a few in a cute box, add parchment, and you’ve got something thoughtful. No fuss. No stress.
Lemon bars are flexible, dependable, and always welcome. That’s why they’ve stayed popular for so long. When you want something that works and still feels special, lemon bars check every box.
Lemon Bars
Ingredients
Crust
- 1 cup 2 sticks unsalted butter, softened
- 1/2 cup granulated sugar
- 2 cups all-purpose flour
- 1/4 teaspoon salt
Lemon filling
- 1 and 1/2 cups granulated sugar
- 1/4 cup all-purpose flour
- 4 large eggs
- 2/3 cup freshly squeezed lemon juice about 3–4 lemons
- Optional: powdered sugar for dusting
Instructions
- Preheat the oven to 350°F.
- Line a 9×13-inch baking dish with parchment paper or foil, leaving an overhang on the sides.
- In a medium bowl, mix the softened butter and sugar until creamy and smooth.
- Add the flour and salt, and stir until the mixture becomes crumbly.
- Press the crust mixture evenly into the prepared pan, making sure to reach all corners.
- Bake the crust for 18 to 20 minutes, or until the edges are lightly golden.
- Remove from the oven and let it cool slightly while preparing the filling.
- In a clean bowl, whisk together the sugar and flour until combined.
- Add the eggs and lemon juice, and whisk until the mixture is completely smooth.
- Pour the lemon mixture over the warm, partially baked crust.
- Return the pan to the oven and bake for 20 to 25 minutes, or until the filling is set and no longer jiggles.
- Remove from the oven and allow the lemon bars to cool completely in the pan.
- Once cooled, lift the bars out using the parchment overhang and transfer to a cutting board.
- Dust the top with powdered sugar, if using.
- Slice into 16 even squares and serve chilled or at room temperature.
- Store leftovers in an airtight container in the refrigerator for up to 5 days.
Final Thoughts
We went through every step of how to make great lemon bars. You’ve now got the recipe, the ingredients, and the baking tips to make it work every time.
Let’s go over what you learned:
- What you need: simple ingredients like flour, butter, sugar, eggs, and fresh lemon juice
- How to make the crust firm, even, and buttery
- How to mix and bake the filling so it’s just set but still soft
- What to look for to avoid overbaking or underbaking
- How to cut, chill, and store the bars for later
You also saw:
- Fun ideas to change things up
- Storage tips for fridge and freezer
- Pretty ways to serve them for parties or snacks
If you love saving your favorite recipes on Pinterest, this is one to pin. Lemon bars are the kind of dessert that works for any season. They’re bright, sweet, and always a crowd favorite.
Whether you’re baking for a get-together or just something to enjoy at home, lemon bars are a solid go-to. Now that you’ve got the full recipe and some extra tricks, you can bake them with confidence and share the sunshine.