I have a soft spot for snacks that look playful but act serious. That’s why homemade gummy bears keep wandering into my kitchen thoughts. They’re cheerful, colorful, and oddly practical. You get candy vibes without mystery ingredients. You also get control, which feels powerful for something shaped like a tiny bear. I’ve found that projects like this land right between fun and useful. They don’t demand baking confidence or fancy tools. Instead, they just ask for curiosity and a pot. (Honestly, I respect that.)
Most days, I crave recipes that don’t lecture me. I want ideas that sound like a friend leaning in and whispering, “Try this.” That’s exactly where homemade gummy bears land for me. They feel nostalgic without acting juvenile. At the same time, they stay flexible, which matters on busy weeks. You can keep them simple or dress them up. Some days, I go juice-forward or lightly sweet. Other times, I pretend they’re for kids while doing a casual taste test myself. No judgment here.
Living in Orlando means heat lingers like an uninvited guest. Because of that, no-bake treats earn immediate bonus points. Gummy candy doesn’t heat the oven or test my patience. It also survives warm kitchens better than chocolate, which matters most days. That alone makes this idea worth keeping close.
This post isn’t a lecture or a candy manifesto. Instead, it’s me talking through what actually matters. I’ll share ingredients, ratios, molds, and smart variations. I’ll also flag the little things that save frustration. Think of this as friendly guidance, not rules shouted from a recipe card.
A few links on this page are affiliate links, so if you click and buy, I might earn a small commission. It never costs you more, and it helps support the site. You can read my full disclosure if you’re into the fine print.
Why Homemade Gummy Bears Just Make Sense
Some recipes immediately justify themselves. Homemade gummy bears do that with zero small talk. They use few ingredients and reward patience, not perfection. I tend to notice that recipes like this get repeated, not bookmarked forever. That alone earns trust.
At their core, these candies rely on fruit juice, gelatin, and a sweetener. That’s it. There’s no long label or surprise dye. Because of that, you can adjust flavor and sweetness without breaking anything. It’s forgiving, which is rare in candy.
Here’s why they quietly work for real life:
- They scale easily for small or big batches.
- They store well without turning weird.
- They double as snacks or treats.
- They feel special without being precious.
Also, the texture stays consistent when you respect ratios. I’ve found that people overthink gummy texture. In reality, balance does the heavy lifting. Too little gelatin leads to syrupy sadness. Too much creates chewy regret. The sweet spot exists, though, and it’s reliable.
When you make homemade gummy bears, you also dodge the sticky mystery of store brands. You know what’s inside. You also know why they set properly. That clarity matters, especially when snacks feel constant.
Emotionally, these gummies scratch a nostalgic itch. They remind me of corner-store candy runs. Yet, they feel grown-up in execution. That combination feels oddly satisfying.
Plus, let’s be honest. Anything shaped like a bear gets extra grace. Even imperfect batches look intentional. That’s rare and delightful.
The Best Ingredient Trio For Homemade Gummy Bears
Every good recipe has a core cast. For homemade gummy bears, the cast stays small and well-behaved. You don’t need fillers or stabilizers. You just need quality basics and restraint.
The essential trio looks like this:
- Fruit juice with real flavor
- High-quality gelatin
- A simple sweetener
Juice does the heavy lifting for flavor. I’ve found that 100 percent juice works best. Blends with apple juice behave predictably. Citrus juices taste bright but need care. Pineapple and papaya contain enzymes that fight gelatin. Heat solves that problem, thankfully.
Gelatin deserves respect here. Use unflavored, high-quality gelatin powder. Cheaper options still work, but texture improves with better brands. Bloom strength matters more than brand names, though. Consistency loves precision.
Sweeteners come last, which feels right. Honey, maple syrup, or simple sugar all work. I tend to prefer mild sweetness that supports the juice. Over-sweet gummies taste flat, not joyful.
Balance matters more than creativity at this stage. When making homemade gummy bears, keep ratios steady before experimenting. That way, texture stays reliable.
A typical ratio looks like this:
- One cup of juice
- Two to three tablespoons gelatin
- Two tablespoons sweetener
That range allows adjustment without chaos. I’ve found that three tablespoons create firmer bears. Two tablespoons lean softer and more jiggly. Both work, depending on preference.
Because ingredients stay minimal, quality shines. There’s nowhere to hide mistakes. Thankfully, it’s still forgiving.
Getting The Texture Right Without Overthinking
Texture anxiety ruins many gummy dreams. However, it doesn’t need to. Homemade gummy bears reward calm steps and gentle heat. That’s it.
Start by blooming the gelatin. Sprinkle it over cool juice. Let it sit quietly. This step matters more than speed. Blooming allows gelatin to hydrate evenly. Skipping it causes grainy results later.
After blooming, heat the mixture gently. Stir slowly and avoid boiling. Boiling weakens gelatin’s structure. Think warm bath, not hot tub. When everything dissolves, you’re done.
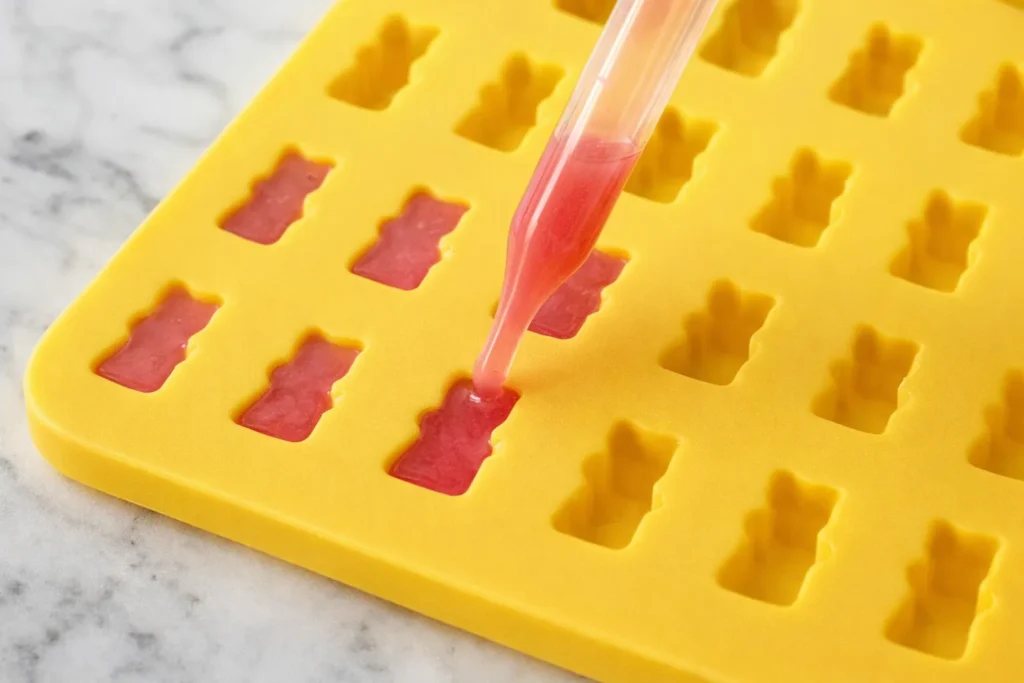
At this point, patience pays off. Pour carefully into molds. Don’t rush or splash. Air bubbles create visual chaos. A small squeeze bottle helps, but a spoon works too.
Once poured, chill the molds. Refrigeration sets gummies evenly. Countertop cooling works slower and risks sagging. I’ve found that two hours creates reliable results.
When unmolding, be gentle. Silicone molds release easily. Tugging aggressively stretches shapes. A light push from underneath works best.
If texture misses the mark, adjust next time. Add more gelatin for firmness. Reduce slightly for softness. Because homemade gummy bears use simple ratios, fixes stay obvious.
Texture improves after resting overnight, too. That extra time firms the edges and improves chew. If patience exists, wait.
Also, don’t panic if the first batch isn’t perfect. Candy-making improves quickly. Each round teaches something small and useful.

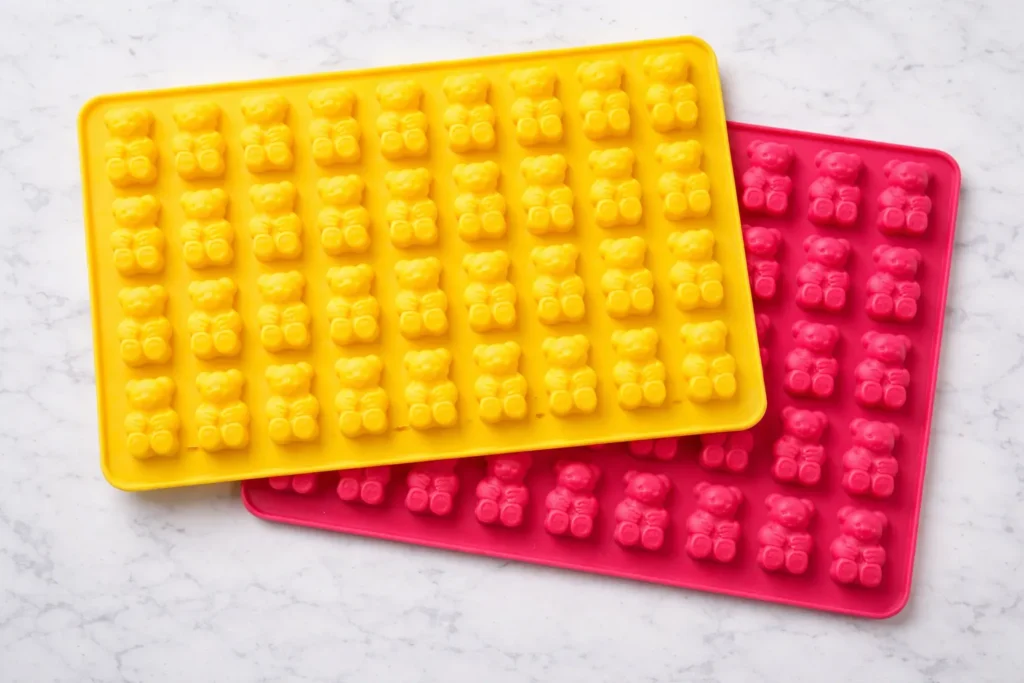
Choosing And Using A Silicone Mold That Works for Homemade Gummy Bears
Silicone molds make gummy life easier. They release cleanly and clean up fast. However, not all molds behave equally.
Look for molds with defined shapes and flexible walls. Thin silicone tears and warps. Thicker molds hold shape better. Bears with rounded edges release easier than sharp details.
Size matters too. Smaller molds set faster and chew nicer. Oversized bears feel awkward. I tend to prefer classic small bears for balance.
Here’s what helps when choosing molds:
- Food-grade silicone
- Medium thickness
- Shallow cavities
- Stable backing
Cleaning matters more than expected. Residue clings to silicone stubbornly. Wash thoroughly and dry fully. Lingering oil affects set quality.
When pouring homemade gummy bears, place molds on a tray. Moving filled molds alone invites spills. A tray saves sanity.
Also, don’t overfill cavities. Flat bottoms unmold better. Overflow creates ragged edges. Clean edges look intentional, even when casual.
Storage of molds matters too. Stack gently and avoid folding. Creases become permanent annoyances.
Once I find a mold I love, I don’t mess around. Familiarity speeds things up and cuts the guesswork. Gummy-making runs smoother that way.
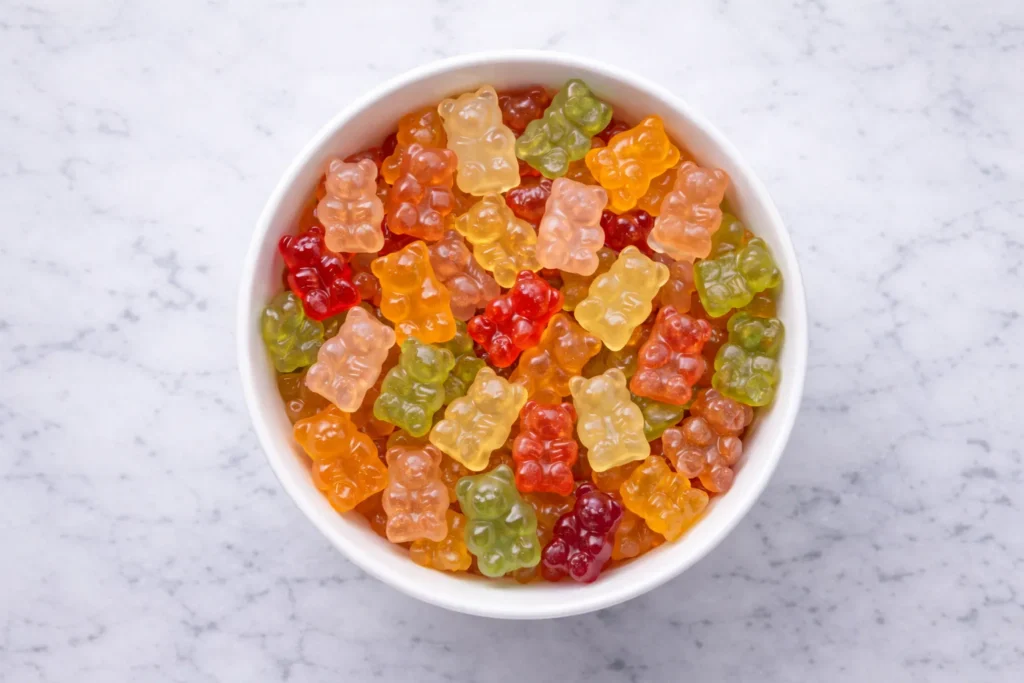
Flavor Variations That Stay Balanced
Flavor experimentation feels tempting and dangerous. Thankfully, homemade gummy bears handle tweaks well. The key is moderation.
Single-flavor juices work best initially. Grape, cherry, apple, and orange behave predictably. Blends add complexity later.
For extra depth, add citrus zest sparingly. A pinch brightens flavor without overpowering. Herbs like mint work too, though restraint helps.
You can also mix juices. Apple pairs well with almost everything. It softens sharper flavors and improves texture.
Consider these gentle variations:
- Apple-cherry with honey
- Orange-mango with maple syrup
- Berry blend with lemon zest
- Grape with vanilla extract
Extracts work cautiously. One or two drops suffice. Too much tastes artificial fast.
Avoid adding alcohol or carbonation. Both disrupt gelatin structure. Save those ideas for other projects.
When making homemade gummy bears with variations, change one element at a time. That way, results stay readable.
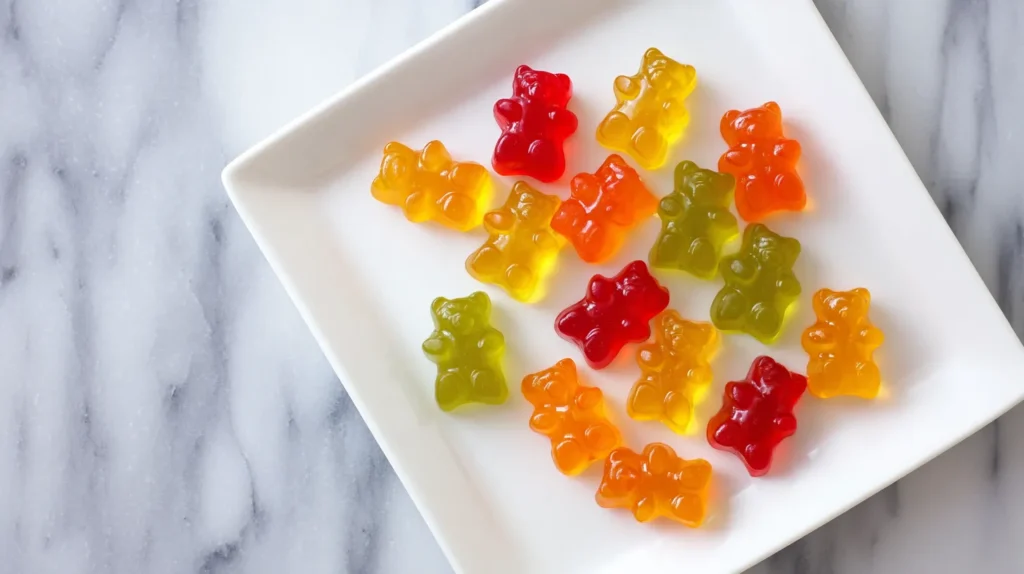
Color changes happen naturally through juice choice. Avoid food coloring unless necessary. Natural hues look better anyway.
Flavor balance improves after chilling. Sharp notes mellow slightly. Because of that, don’t judge warm mixtures harshly.
Taste as you go, but trust the process. Cold gummies taste different than warm liquid. That patience matters.
Sweetness Adjustments Without Ruining Texture
Sweetness feels personal. Some prefer subtle. Others want candy-shop levels. Homemade gummy bears allow both, within reason.
Sweeteners affect texture slightly. Honey adds softness. Sugar creates firmer chew. Maple syrup lands in between.
Start light and adjust upward. You can’t remove sweetness later. Because gelatin sets firmly, sweetness lingers more than expected.
I’ve found that less sweet gummies highlight fruit flavor better. They also avoid that sticky mouth-coating sensation.
Here are smart sweetness tips:
- Add sweetener after heating juice
- Stir fully before pouring
- Taste cooled mixture, not hot
- Adjust in small increments
Stevia and monk fruit work, but require testing. They sweeten intensely and change flavor perception. If using them, reduce dramatically.
Avoid corn syrup unless intentionally copying commercial texture. It adds chew but dulls flavor.
When I make homemade gummy bears for mixed ages, I keep the sweetness in the middle. That balance keeps everyone happy.
Sweetness also intensifies after chilling. Keep that in mind before adding more.
If a batch ends too sweet, pair with tart flavors next time. Lemon balances sweetness beautifully.
Storage, Shelf Life, And Realistic Expectations
Once they set, I treat gummies like small but serious business. Homemade gummy bears behave best when I store them with intention. I’ve found that airtight containers solve most problems early. Refrigeration keeps everything steady and predictable. Room temperature can work briefly, although only in cooler homes. Otherwise, things turn sticky fast. (Ask me how I know.)
Humidity causes the biggest trouble. Moist air sneaks in and changes texture quickly. Because of that, dry storage matters more than people expect. I tend to add a silica packet if I plan ahead. Still, I don’t push my luck. Candy likes boundaries, and so do I.
Most batches last about one week in the fridge. They can last longer, although texture slowly shifts. Chew firms up a bit. Edges dry slightly. Bounce relaxes. I usually notice texture changes before flavor loss. Nothing tastes spoiled, just different. That part matters.
Freezing works better than it sounds! I’ve frozen gummies and thawed them without regret. They hold their shape and stay snackable. Texture turns slightly firmer, but still pleasant. For longer storage, that option feels reliable. I just let them thaw fully before judging. (Cold gummies lie.)
I avoid stacking fresh gummies tightly. Pressure causes sticking and strange shapes. Instead, I give them breathing room. Sometimes I use parchment layers. That tiny step saves frustration later.
I also never rinse gummies. Water ruins surfaces instantly. If I see a light dusting, I ignore it. That’s dehydration, not failure. Candy does odd things sometimes.
Real talk, storage advice assumes these stick around longer than five minutes. Homemade gummy bears invite casual snacking. They disappear faster than planned. I prefer smaller batches more often. Fresh gummies taste better and stay exciting. Hoarding candy never improves the mood!
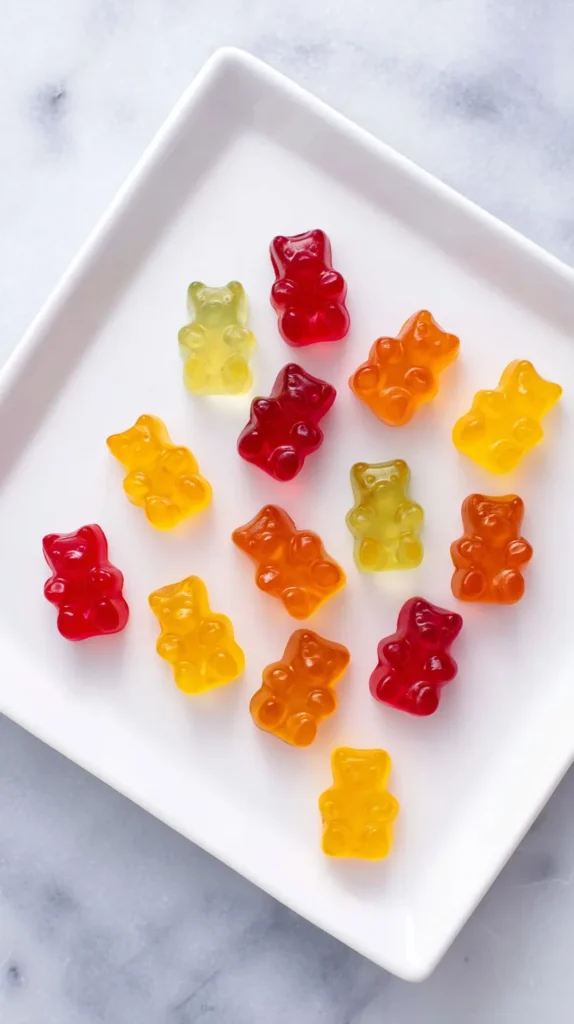
Homemade Gummy Bears
Ingredients
- 1 cup 100 percent fruit juice
- 3 tablespoons unflavored gelatin powder
- 2 tablespoons honey
Instructions
- Pour the fruit juice into a small saucepan and sprinkle the gelatin evenly over the surface.
- Let the mixture sit undisturbed for 5 minutes to allow the gelatin to bloom.
- Place the saucepan over low heat and gently warm the mixture while stirring slowly.
- Continue stirring until the gelatin fully dissolves and the liquid looks smooth, about 3 to 5 minutes.
- Remove the saucepan from heat and stir in the honey until fully combined.
- Carefully pour the mixture into silicone gummy bear molds, filling each cavity evenly.
- Transfer the filled molds to the refrigerator.
- Chill for at least 2 hours, or until the gummies are fully set.
- Gently remove the gummy bears from the molds before serving or storing.

Last Few Yummy Gummy Thoughts
Some recipes earn repeat status quietly. Homemade gummy bears fall into that category for me. They don’t shout for attention. Instead, they wait patiently until needed. That reliability matters.
I like that they straddle fun and function. They satisfy sweet cravings without drama. They also adapt easily to preferences and schedules. That flexibility feels like a gift.
Living in Orlando means snacks need heat tolerance. Gummies handle that better than many treats. They also feel lighter than baked desserts during warm months.
I’ve found that projects like this remind me why I enjoy cooking. They’re playful without pressure. They also invite creativity without chaos.
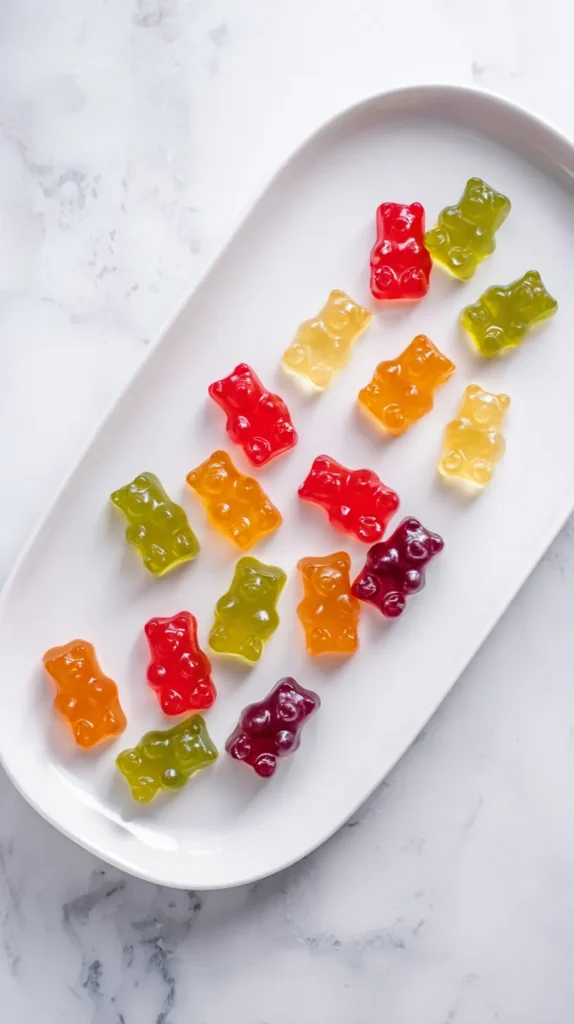
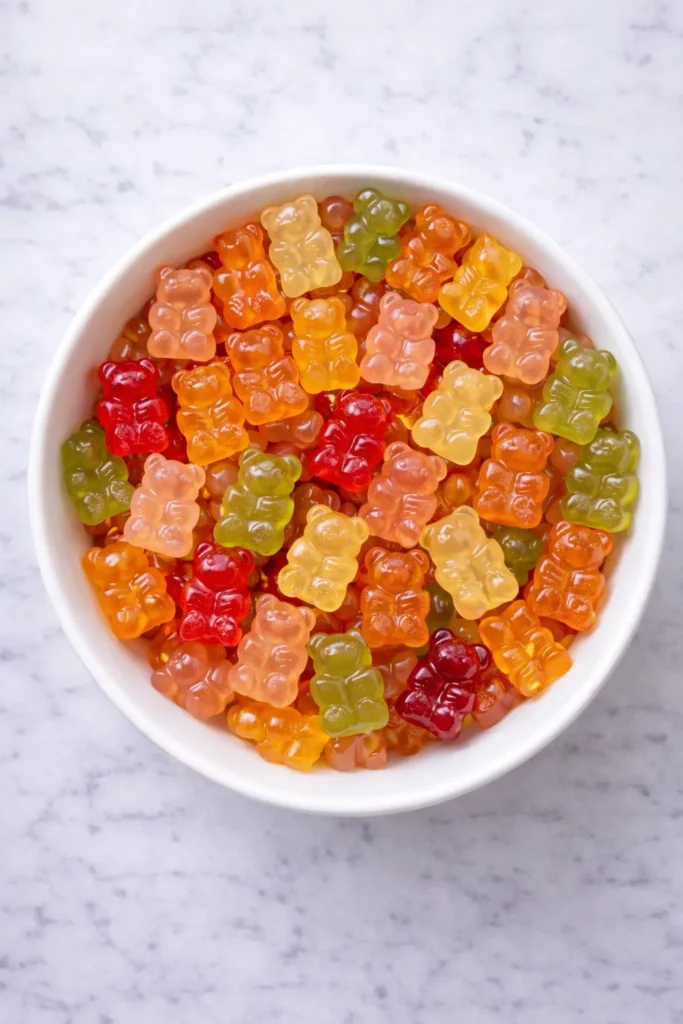
Share your recipes online; they look gorgeous in photos! Pinterest loves colorful, simple visuals. That’s worth noting.
Most importantly, these gummies encourage curiosity. They invite tweaks and retries. They reward patience without punishing mistakes.
So, if candy-making ever felt intimidating, this is your gentle entry. Homemade gummy bears don’t demand perfection. They just ask for attention and restraint.
That feels like a fair trade.