Getting into the Halloween spirit doesn’t have to stop at costumes and decorations. A great way to embrace the spooky season is by trying out some Halloween nail designs. Whether you’re dressing up for a party, handing out candy to trick-or-treaters, or just getting festive at home, Halloween-themed nails are an easy way to show off your style.
Even if you’re new to doing your nails at home, you can still create cute designs without feeling overwhelmed. Plus, the variety of ideas makes it easy to find something that suits your vibe—whether you prefer something subtle or bold.

This site includes affiliate links; you can check the disclosure for more details.
Simple Halloween Nail Designs That Anyone Can Do
When it comes to Halloween nail designs, you don’t need to be a professional to make your nails stand out. Here are a few ideas that are simple but still give off that festive vibe.
-
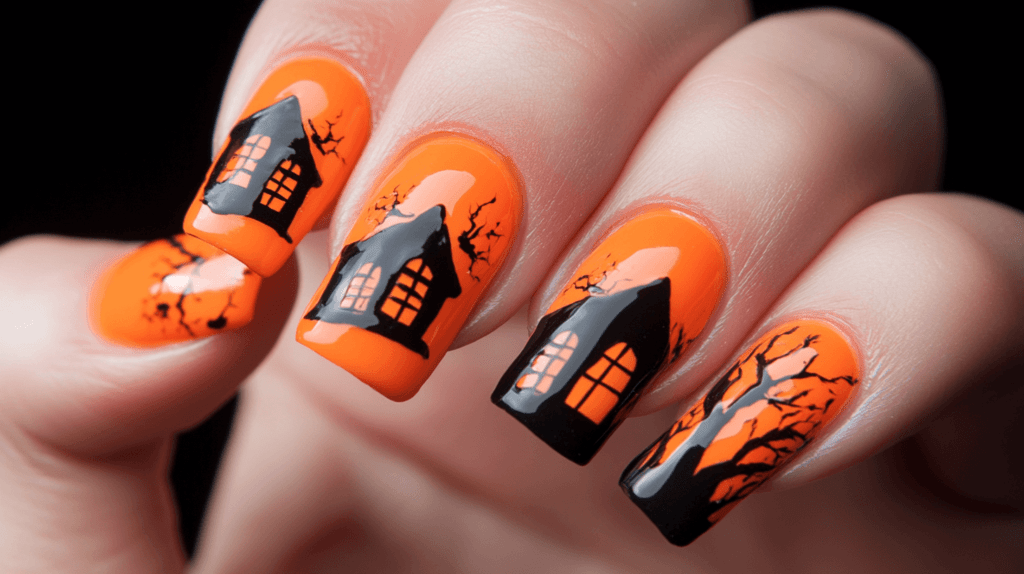
Classic Black and Orange Combo
Start with a base of orange on some nails and black on others. If you’re feeling adventurous, add a white accent nail for contrast. This color combination screams Halloween and looks fun without being complicated. -
Pumpkin Patch Nails
For a cute pumpkin patch look, paint your nails with a green base. Then, use a small brush or a toothpick to create tiny pumpkins using orange polish. Add a little brown or green for the stems, and you’ve got a cute, simple design. -
Spider Web Nails
Paint your nails a solid color (black, white, or purple work well for this). Once dry, use a fine brush or a toothpick to draw small white spider webs on each nail. This look is classic and works whether you’re wearing a costume or just dressing casually.

The Best Halloween Nail Colors
Choosing the right colors for your Halloween nail designs can make a big difference. Certain shades just scream Halloween and will help bring your designs to life.
- Black: The go-to for almost any Halloween look. It’s mysterious and works with just about any other color.
- Orange: Bright and festive, orange is essential for a true Halloween look.
- White: This adds contrast and works great for designs like ghosts or spider webs.
- Purple: Adds a fun twist without being too traditional. It pairs perfectly with black.
- Green: Think of witches and slime. Green adds a spooky, playful vibe.
- Red: For a more sinister look, red is great for vampire-inspired designs or blood-dripping effects.
By sticking to these colors, you can mix and match to create a variety of looks, even if you’re just using simple techniques like stripes, dots, or accent nails.

Adding Fun Details
Sometimes, it’s the little details that can take a basic design and make it pop. You don’t need to be an artist to add some Halloween charm to your nails. Here are some small details you can include in your designs.
-
Ghosts
Ghost nails are super easy and fun. Start with a white base on your nail, and then use black polish to make small eyes and a mouth. This design looks great as an accent nail alongside solid black or orange nails. -
Blood Drips
For a spooky, vampire-inspired look, try adding some blood drips. Start with a solid red or black base, and then use red polish to make small drips from the tip of your nails. You can even add a touch of white to make the drips look more realistic. -
Glitter and Sparkle
Glitter adds a magical touch to any design. You can use black or orange glitter polish to add some sparkle to your nails. This works especially well on accent nails or as a top coat over more detailed designs.

Tools That Make Halloween Nail Art Easier
If you’re wondering how to get those tiny details just right, it helps to have a few basic tools. These tools are easy to find and will make it a lot easier to create your Halloween nail designs.
-
Toothpicks or Thin Brushes
These are perfect for drawing small details like spider webs, pumpkins, or ghosts. You don’t need anything fancy—a simple toothpick will do the trick. -
Dotting Tool
A dotting tool is great for making polka dots, eyes, or other circular shapes on your nails. If you don’t have a dotting tool, a bobby pin or the end of a toothpick works just as well. -
Nail Stickers or Decals
If drawing tiny details isn’t your thing, nail stickers are a lifesaver. There are tons of Halloween-themed stickers you can find online or in stores, and they’re super easy to apply. Just peel and stick!
Glow in the Dark
Glow-in-the-dark nails are a great way to take your Halloween look to the next level. The best part? You can make them as simple or as detailed as you want.
To get this look, you’ll need glow-in-the-dark nail polish. These polishes are available in various colors, but the most common are green, yellow, or blue. You can use them for a full set of glowing nails or as accents.
Here are a couple of ways to incorporate glow-in-the-dark polish into your Halloween nail designs:
-
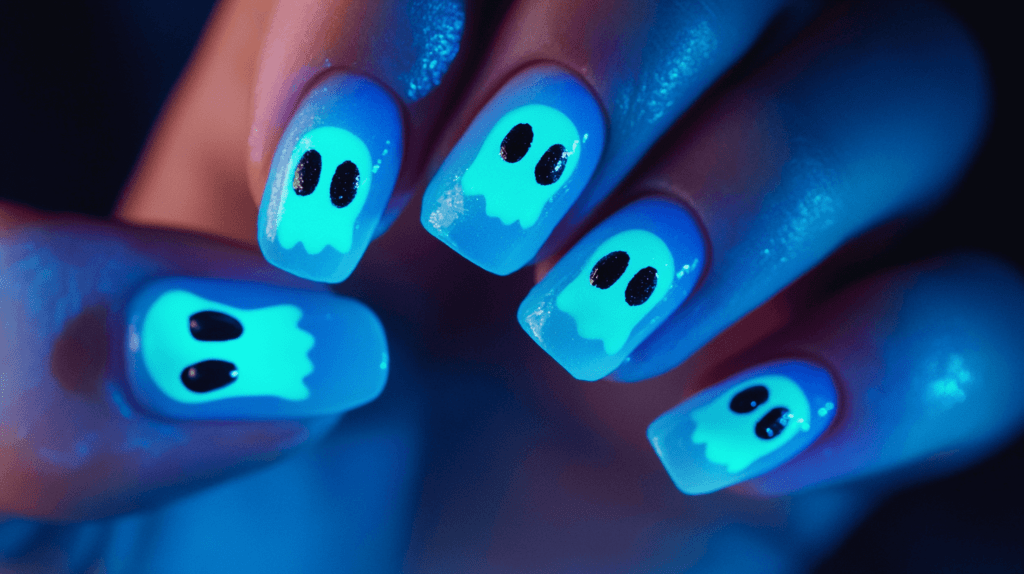
Glow-in-the-Dark Ghosts
Paint your nails with glow-in-the-dark polish, and then use black polish to add ghost faces. The glow will make them pop in the dark, making your nails stand out at night. -
Spooky Glow Tips
For a subtler look, paint your nails a solid color, like black or purple, and then add glow-in-the-dark tips. It’s like a spooky twist on the classic French manicure.

Keeping It Classy with Minimalist Halloween Nail Designs
If you prefer a more understated look, you don’t have to go over the top with your Halloween nails. A minimalist approach can still be festive while staying chic.
-
Single Black Stripe
A single black stripe on an orange or nude nail creates a simple yet elegant design. This look works for any occasion, even if you aren’t dressing up for Halloween. -
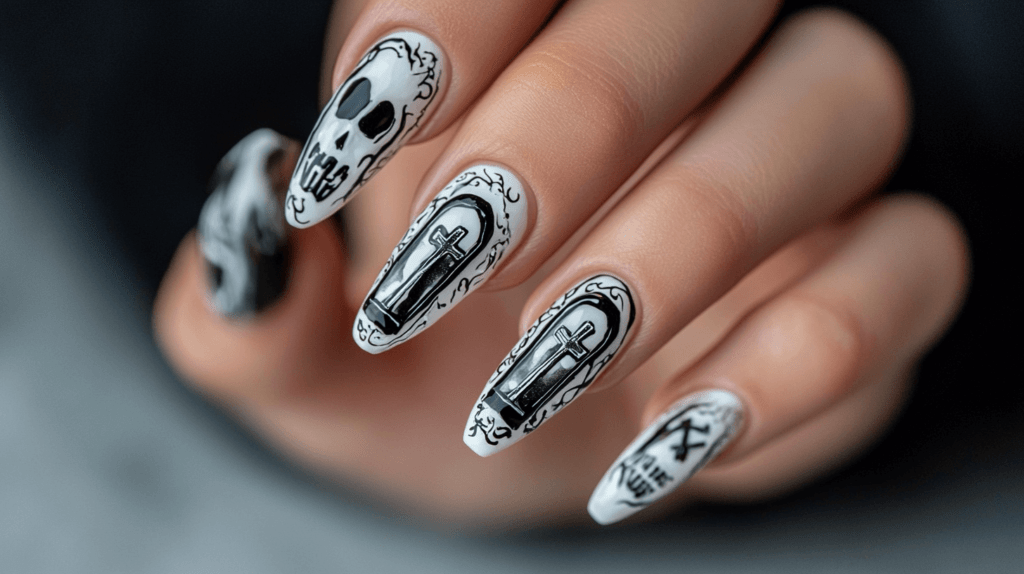
Matte Black
Matte black nails are a classy way to stay in the Halloween spirit without being too flashy. You can add a glossy black accent nail or some small details like a skull or moon to keep it fun. -
Tiny Bats or Stars
Using a fine brush or toothpick, you can create tiny bats or stars on nude or light-colored nails. These designs are subtle but still have that Halloween vibe.
How to Keep Your Nails Looking Fresh
Once you’ve created your Halloween nail designs, the last thing you want is for them to chip or wear off too soon. Here are a few tips to keep your nails looking fresh all season long.
-
Use a Good Base Coat
A good base coat will not only help protect your nails from staining, but it also helps your polish last longer. It provides a smooth surface for your nail designs. -
Apply Thin Layers
When painting your nails, apply thin layers of polish. Thick layers take longer to dry and are more likely to smudge or chip. Thin layers give you a smooth, even finish. -
Seal with a Top Coat
A top coat will seal in your design and add extra shine. Look for a top coat that offers chip protection, especially if you want your nails to last through Halloween parties or trick-or-treating. -
Avoid Hot Water
Hot water can cause your polish to soften and chip. Try to wear gloves when doing dishes or limit your exposure to hot water for a few days after painting your nails.

Halloween Nail Design Ideas for Kids
If you’re doing Halloween nails for your kids, there are plenty of fun and easy designs they’ll love. Plus, since kids’ nails are smaller, you don’t need to worry about getting too detailed. Here are some kid-friendly Halloween nail ideas that are quick and simple.
-
Candy Corn Nails
Paint each nail with stripes of yellow, orange, and white to create a candy corn effect. It’s a fun, easy design that kids will love. -
Glow-in-the-Dark Eyes
Use glow-in-the-dark polish as a base, and then add small black dots for eyes. When the lights go out, their nails will glow like spooky eyes! -
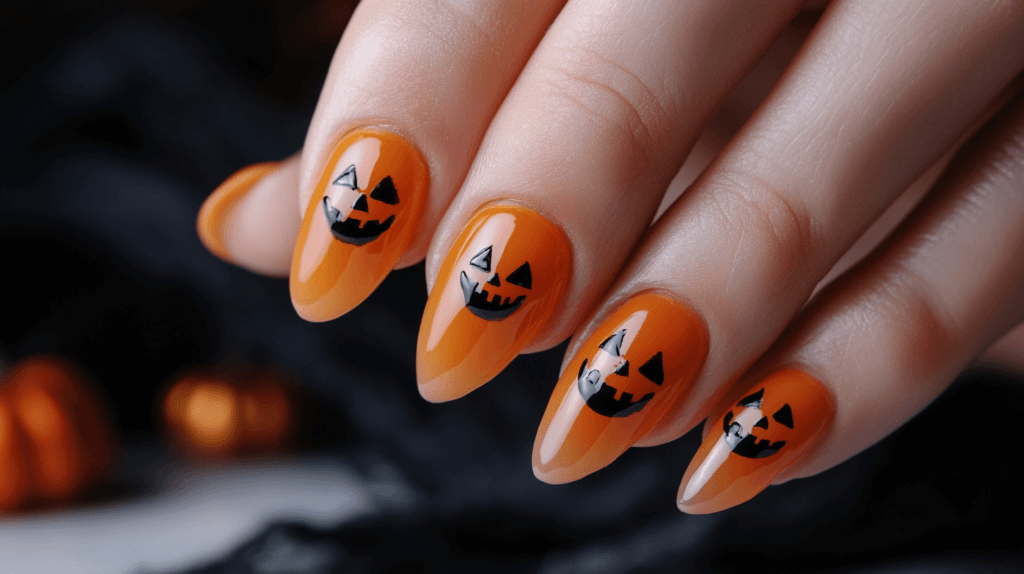
Jack-O’-Lantern Faces
Start with an orange base, and then use black polish to draw simple Jack O’Lantern faces. The design is easy to do and always a hit with kids.


Final Thoughts on Halloween Nail Designs
Halloween nail designs are a great way to celebrate the season and show off your creativity. Whether you’re into bold, spooky looks or prefer something simple and understated, there’s a Halloween nail design for everyone. Just remember to have fun with it. Nail art doesn’t need to be perfect to look great, and the process can be just as enjoyable as the final result.
As long as you keep it simple, use the right tools, and protect your nails with a good base and top coat, your Halloween nail designs will last long enough to get through all your festivities. Whether you’re dressing up or just feeling festive, your nails can be the perfect Halloween accessory.