Gluten free apple crisp has become one of my go-to recipe suggestions for fall and beyond. It checks so many boxes! It’s simple. It’s cozy. And it’s great for anyone needing a dessert without gluten. You don’t have to follow a special diet to enjoy it either. This is one of those recipes that surprises you in the best way. You won’t miss the regular flour, not one bit.
In this post, I’m walking you through everything you need to make a good gluten free apple crisp. And when I say good, I mean the kind that gets people asking for seconds. We’ll talk about the best apples to use, the right type of oats, and what kind of gluten free flours actually work best. You’ll also get tips for making it ahead, storing leftovers, and little tweaks to switch up the flavor.
This isn’t just about baking, though. I’m also sharing ideas for how to serve it. Whether it’s a holiday, a potluck, or just a Tuesday night, this dessert fits right in. It’s low effort, big flavor, and feels homemade even when you don’t have a lot of time.
If you’re looking for a cozy recipe that’s allergy-friendly and easy to make, you’re in the right place. No complicated steps. No weird ingredients. Just real food, real simple.
And yes, this is the kind of thing you’ll want to save to your Pinterest board. It’s a keeper.
Let’s get into how to make this gluten free apple crisp the right way. I’ll break it all down, so you can feel confident baking it for your family or next get-together.
This site includes affiliate links; you can check the disclosure for more details.
What You Need to Make Gluten Free Apple Crisp
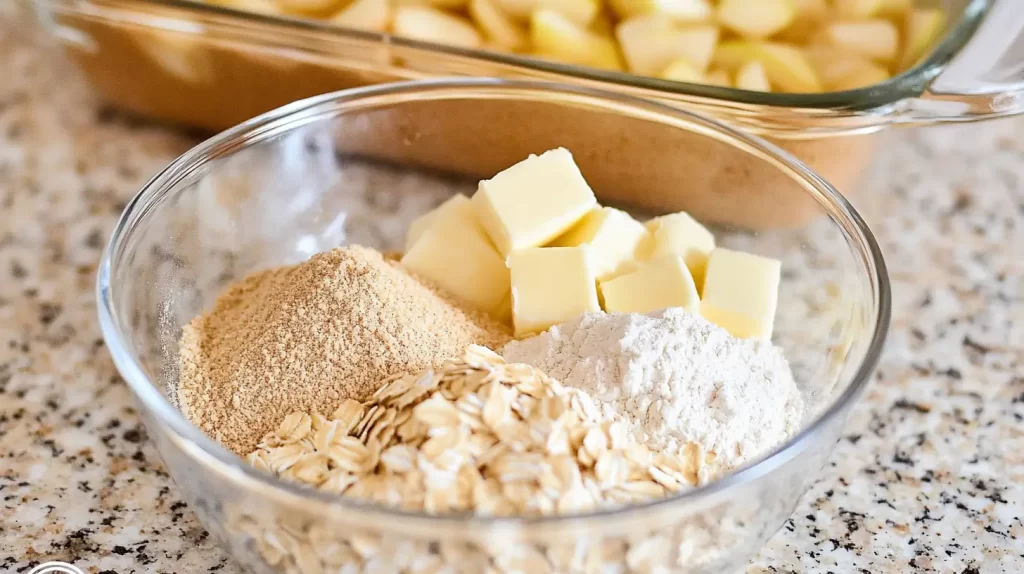
Before you preheat the oven, let’s talk ingredients. The good thing is, this recipe doesn’t call for anything fancy.
You’ll need:
- Fresh apples
- Lemon juice
- Brown sugar
- Gluten free flour
- Gluten free oats
- Cinnamon
- Nutmeg
- Butter (or dairy-free option)
- Salt
- Vanilla extract
The star of this dessert is obviously the apples. I like to use a mix of sweet and tart ones. You get a better flavor that way. Think Honeycrisp with a little Granny Smith.
Next is the topping. That’s where the crisp part comes in. You want the oats to get a little toasty and golden. Make sure you buy certified gluten free oats. Not all oats are safe for people avoiding gluten.
Let’s talk flour. There are a lot of gluten free flours out there, but you want one that bakes well. I’ve had the best luck with oat flour or a one-to-one gluten free blend. Almond flour works too, but it changes the texture a bit.
Don’t forget the lemon juice. It keeps the apples from browning and adds a little brightness. And if you’re feeling fancy, a splash of vanilla in the filling is worth it.
A pinch of salt helps balance all the sweetness. Butter brings it all together. If you don’t do dairy, coconut oil or a dairy-free butter works fine.
Once you have everything prepped, it comes together fast. Mix the apples with sugar and spices. Add the crisp topping. Bake it up. That’s it.
Simple, warm, and perfect for any season.

The Best Apples for This Recipe
Not all apples are the same, especially when you’re baking them. Some turn to mush. Others stay too firm. The key is to mix a few types.
Here are the best options:
- Granny Smith – tart and firm
- Honeycrisp – sweet and crisp
- Braeburn – slightly tart with great texture
- Jonagold – sweet-tart and juicy
- Fuji – mild and firm
If you only have one kind, go with Granny Smith. They hold their shape and balance the sweet topping really well.
Here’s why mixing helps:
- Tart apples cut through the sugar
- Sweet apples add natural flavor
- Some bake faster, some slower
- You get better texture and taste
Always peel your apples before baking. The skin doesn’t soften much in the oven, and it can ruin the smooth bite.
Slice them thin but not too thin. About a quarter inch works best. Too thick and they won’t cook. Too thin and they get mushy.
Once sliced, toss them with lemon juice. It keeps them from browning and brings out the apple flavor.
Then sprinkle on the cinnamon, nutmeg, and sugar. You can use brown or coconut sugar, depending on what you have.
This step takes just a few minutes. But it’s what gives your gluten free apple crisp its cozy flavor.
And trust me, people will notice when it tastes just right.

How to Make the Crisp Topping Actually Crisp
The topping is where people go wrong. You want it golden, crunchy, and a little chewy in the best way.
Here’s how to get it right:
- Use cold butter, not melted
- Mix with your hands or a pastry cutter
- Don’t overwork it
- Use rolled oats, not instant
- Make sure your flour is gluten free
- Add a tiny pinch of salt
Cold butter is key. It melts slowly as it bakes, which creates that classic crumbly texture. If you use melted butter, the topping just gets soft.
You’ll want your oats to be whole and hearty. Instant oats will disappear into mush. Rolled oats stay firm and give you that nice bite.
Brown sugar adds depth and color. If you’re avoiding refined sugar, maple sugar works great too.
Some people add chopped nuts for crunch. Pecans or walnuts are perfect. If you’re nut-free, just leave them out.
To make the topping:
- Mix flour, oats, sugar, and salt
- Cut in the cold butter until crumbly
- Sprinkle it evenly over the apples
That’s it. No need to pack it down. It should sit loosely over the fruit.
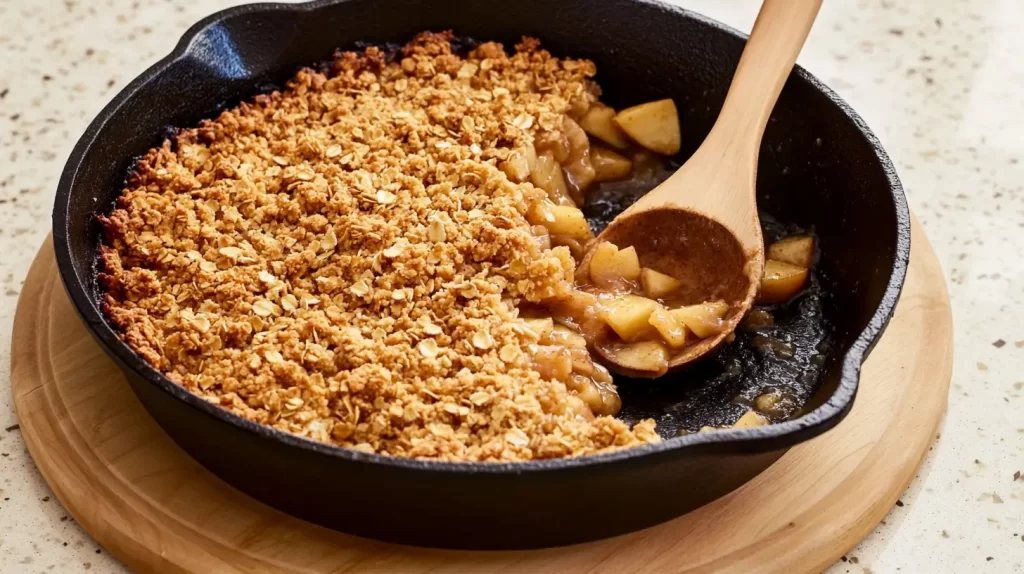
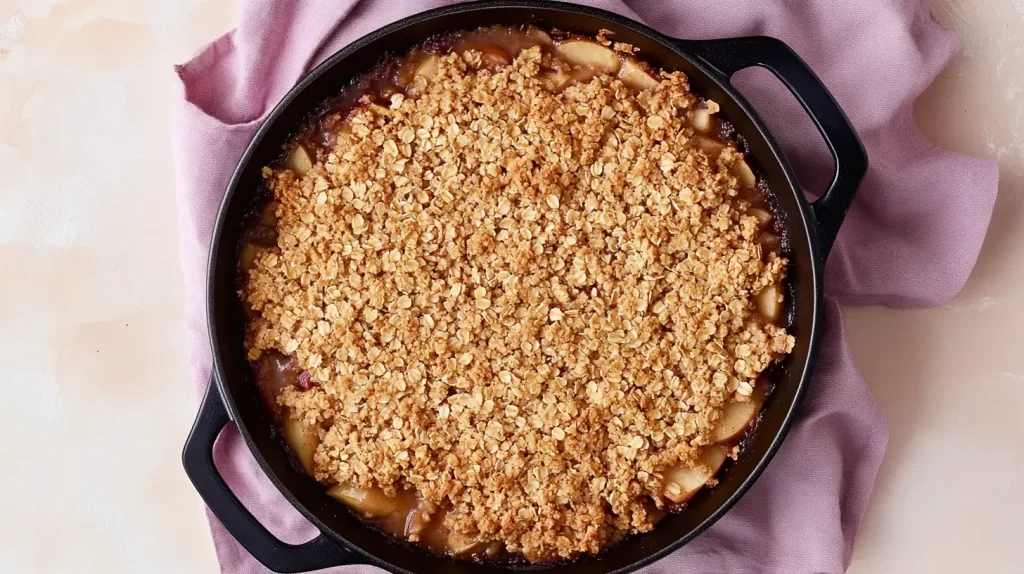
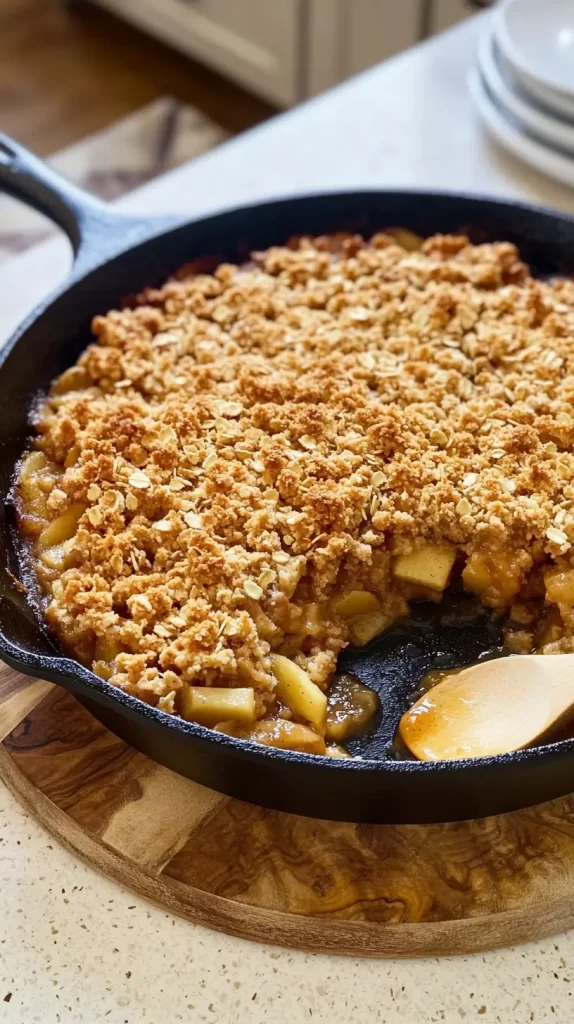
During baking, it toasts up beautifully. The top gets golden. The edges bubble. The smell? Unreal.
This part makes or breaks your gluten free apple crisp. But once you get it right, you’ll never want it any other way.
Baking Tips for Perfect Results Every Time
This dessert isn’t fussy, but a few simple tips can make a big difference.
Start with the right pan:
- 8×8 or 9×9 glass or ceramic
- Avoid metal pans—they cook too fast
- Grease the bottom lightly with butter
Preheat your oven to 350°F. Don’t skip this. A hot oven helps the crisp cook evenly.
Arrange the apples in an even layer. Don’t stack them too high or spread them too thin. Aim for about two inches deep.
Sprinkle the topping over the apples. Cover all the fruit. You don’t want any peeking through.
Bake for 40 to 45 minutes. You’ll know it’s done when:
- The topping is golden brown
- The apples are soft when poked
- You see bubbling around the edges
Let it cool for 10 to 15 minutes. The filling will thicken as it rests. Plus, no one wants a burning mouthful of fruit.
You can serve it warm or at room temp. Both work. If you’re saving it for later, cover and store in the fridge.
It reheats well in the oven or microwave. Pop it in at 300°F for 10 minutes. Or just microwave it for 30 seconds.
Simple steps. Great results.
Easy Gluten Free Apple Crisp Recipe
This gluten free apple crisp recipe is simple, cozy, and always a crowd-pleaser. It uses everyday ingredients, takes very little effort, and bakes up golden and warm. Whether it’s for a holiday dessert or a weeknight treat, this one works every time.
Ingredients
For the apple filling:
- 6 cups peeled and sliced apples (mix of tart and sweet)
- 1 tablespoon lemon juice
- 2 teaspoons cinnamon
- ¼ teaspoon nutmeg
- ¼ cup brown sugar
- 1 teaspoon vanilla extract
- Pinch of salt
For the crisp topping:
- ¾ cup certified gluten free rolled oats
- ½ cup gluten free flour (oat, almond, or 1:1 blend)
- ⅓ cup brown sugar
- ¼ teaspoon salt
- ½ teaspoon cinnamon
- ½ cup cold butter, diced
Instructions
- Preheat your oven to 350°F.
- Lightly grease an 8×8 baking dish with butter or oil.
- In a large bowl, toss the sliced apples with lemon juice, cinnamon, nutmeg, sugar, vanilla, and salt.
- Pour the apple mixture into the baking dish and spread it out evenly.
- In another bowl, mix the oats, gluten free flour, brown sugar, salt, and cinnamon.
- Add the cold butter and use your hands or a pastry cutter to blend until crumbly.
- Sprinkle the topping evenly over the apples.
- Bake for 40 to 45 minutes, or until the top is golden and the edges are bubbling.
- Let it cool for 10 to 15 minutes before serving.
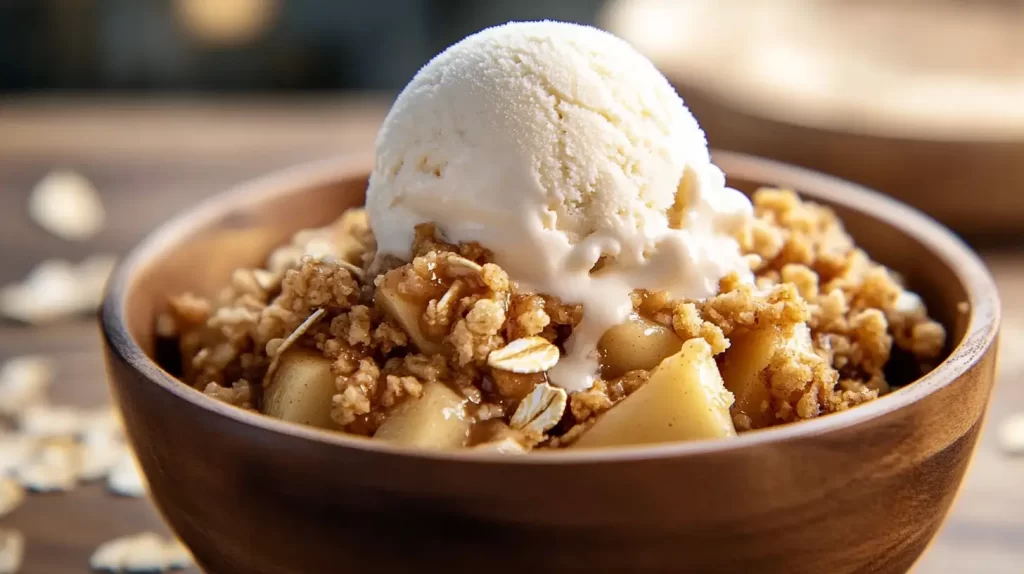
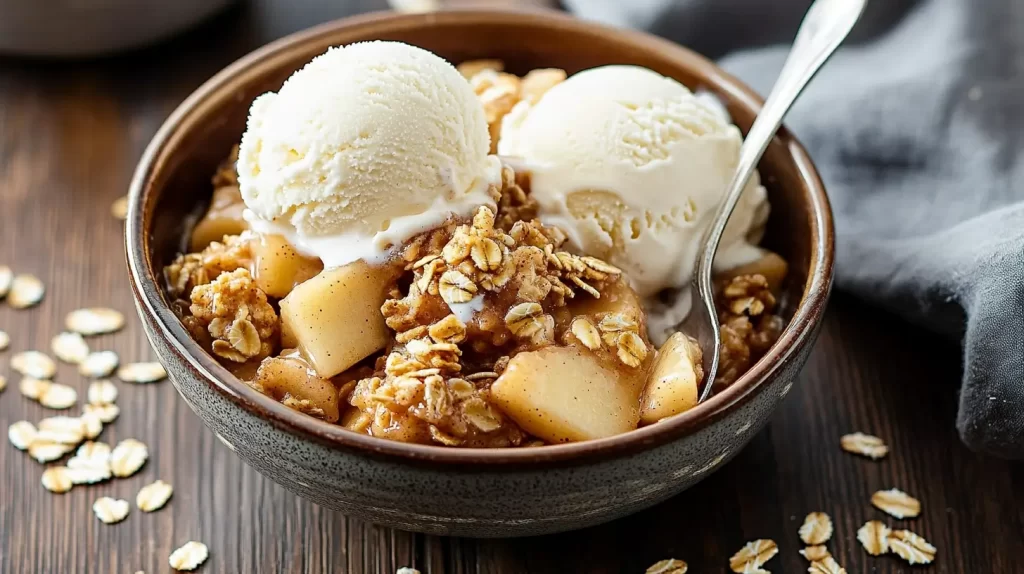
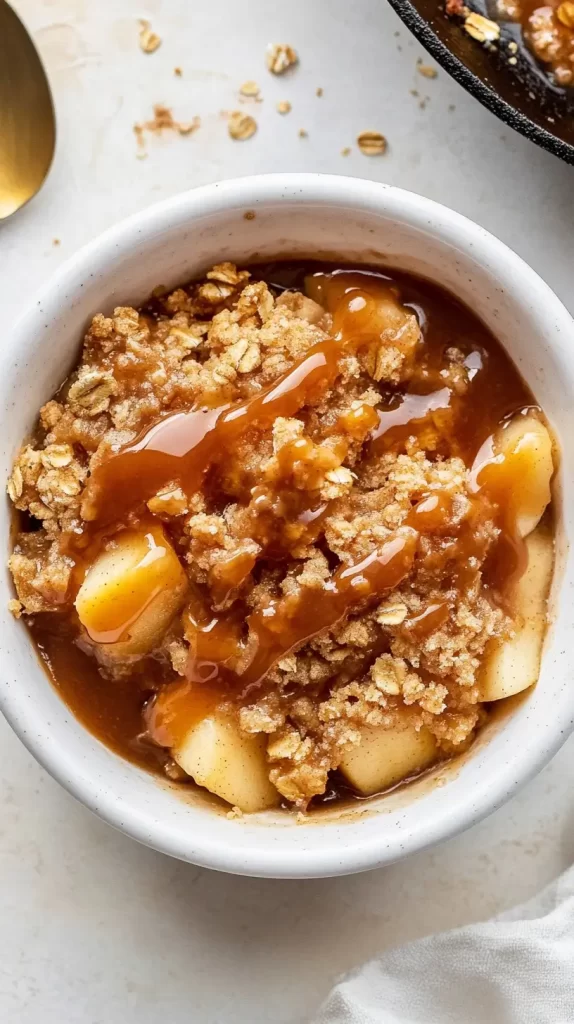
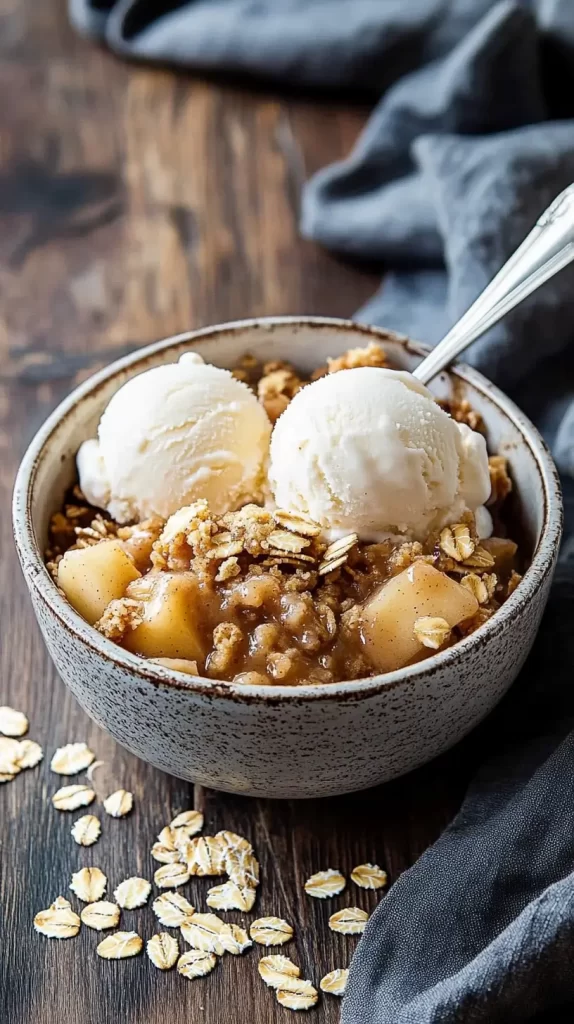
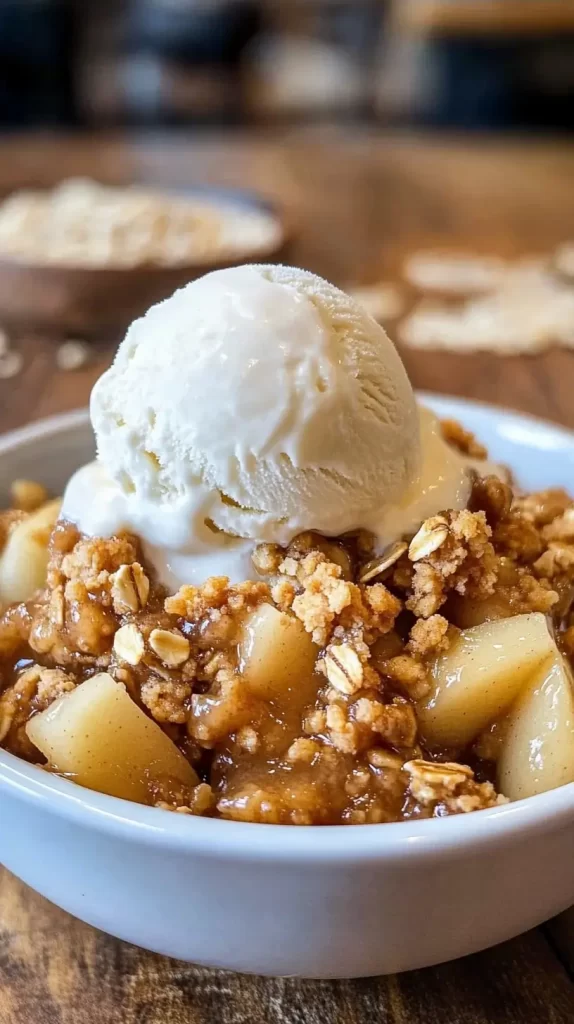
Serve it warm with ice cream, whipped cream, or just as it is. This gluten free apple crisp has the perfect mix of tart, sweet, and crunchy. It’s easy to make, easy to love, and easy to save for later.
Serving Ideas and Flavor Variations
One of the best things about this dessert is how easy it is to switch things up.
Here are some fun ideas:
Toppings to serve with it:
- Vanilla ice cream
- Whipped cream
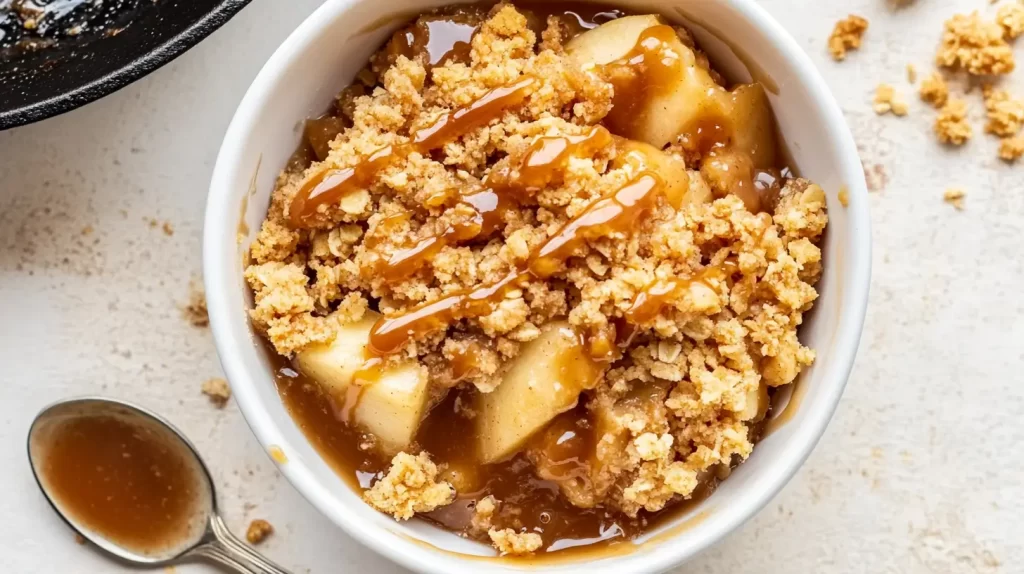
- Caramel drizzle
- Greek yogurt for breakfast
- Dairy-free ice cream
Flavor twists to try:
- Add fresh cranberries for tartness
- Swap apples for pears
- Mix in chopped peaches
- Stir in raisins or dried cherries
- Add orange zest for a citrus note
You can also make mini versions. Use ramekins instead of one big pan. Bake them for a few minutes less. Great for parties or when everyone wants their own.
Want to make it more festive? Try adding:
- A dash of pumpkin spice
- Maple syrup instead of sugar
- Crushed gluten free gingersnaps on top
You can even layer it in a mason jar. Great for gifts or fall parties. Keep the crisp part dry until you’re ready to serve.
This gluten free apple crisp can go from basic to fancy with very little effort. Just a few simple additions and you’ve got a whole new version.
And honestly, people will think you spent way more time on it than you actually did.
How to Store and Freeze Leftovers
If you have leftovers, lucky you. This dessert keeps well.
Here’s what to do:
- Let it cool completely
- Store in an airtight container
- Keep in the fridge for up to 4 days
When you want to eat it again, you can:
- Microwave for 30 to 60 seconds
- Bake at 300°F until warm
It tastes just as good the next day. Maybe even better.
Want to freeze it? Totally doable.
Here’s how:
- Let it cool
- Wrap the whole pan tightly in foil
- Or transfer to a freezer-safe container
- Freeze for up to 3 months
To reheat, bake from frozen at 350°F for 30 to 40 minutes. Or thaw overnight and microwave.
If you’re making it ahead of time, you can also prep the filling and topping separately. Store them in the fridge. Then assemble and bake fresh when you’re ready.
This makes it easy for busy weeks, holidays, or if you’re bringing dessert to someone else.
Make it once, and you’ll find yourself making it again. It’s just that simple to store, serve, and love.

Gluten Free Apple Crisp
Ingredients
For the Apple Filling
- 6 cups peeled and sliced apples such as Granny Smith and Honeycrisp
- 1 tablespoon lemon juice
- 2 teaspoons ground cinnamon
- ¼ teaspoon ground nutmeg
- ¼ cup brown sugar
- 1 teaspoon vanilla extract
- Pinch of salt
For the Crisp Topping
- ¾ cup certified gluten free rolled oats
- ½ cup gluten free flour oat flour or 1:1 gluten free blend
- ⅓ cup brown sugar
- ¼ teaspoon salt
- ½ teaspoon ground cinnamon
- ½ cup cold unsalted butter diced
Instructions
- Preheat oven to 350°F.
- Lightly grease an 8×8-inch glass or ceramic baking dish.
- Place sliced apples in a large mixing bowl.
- Drizzle lemon juice over the apples and toss to coat.
- Add cinnamon, nutmeg, brown sugar, vanilla extract, and salt to the apples.
- Stir well until apples are fully coated in the mixture.
- Pour the apple mixture into the prepared baking dish and spread evenly.
- In a separate bowl, combine oats, gluten free flour, brown sugar, salt, and cinnamon.
- Add cold diced butter to the bowl.
- Use your hands or a pastry cutter to mix until the topping is crumbly and butter is distributed.
- Sprinkle the crisp topping evenly over the apple mixture.
- Bake for 40 to 45 minutes, until the top is golden brown and edges are bubbling.
- Remove from the oven and let cool for 10 to 15 minutes.
- Serve warm with vanilla ice cream, whipped cream, or enjoy as is.
Final Thoughts on Gluten Free Apple Crisp
This post covered everything you need to make a perfect gluten free apple crisp. It’s simple, cozy, and full of fall flavor.
Here’s what we went over:
- The best apples to use
- What kind of gluten free flours and oats work best
- How to make a crisp topping that’s actually crisp
- Baking tips for perfect texture and flavor
- Fun ways to serve and change it up
- How to store, reheat, and freeze leftovers
You don’t need any special equipment or complicated steps. This is a recipe anyone can handle. Whether you’re baking for yourself or feeding a group, this dessert works every time.
And it’s not just for fall. You can swap the fruit and keep using the same base. It’s a dessert that adapts with the seasons.
If you’re the kind of person who saves recipes on Pinterest for later, this one’s worth pinning. It’s reliable. It’s easy. And most of all, it tastes like home.
Make it once, and you’ll see why people keep coming back to it.
This gluten free apple crisp is one of those recipes that’s here to stay.