Are you looking for a fun kitchen project that’s both yummy and a bit educational for your kids? Well, you’re in luck! Today, we’re making easy homemade rock candy. It’s not just a treat; it’s a mini science lesson on a stick!
This site contains affiliate links, please view the disclosure for more information.
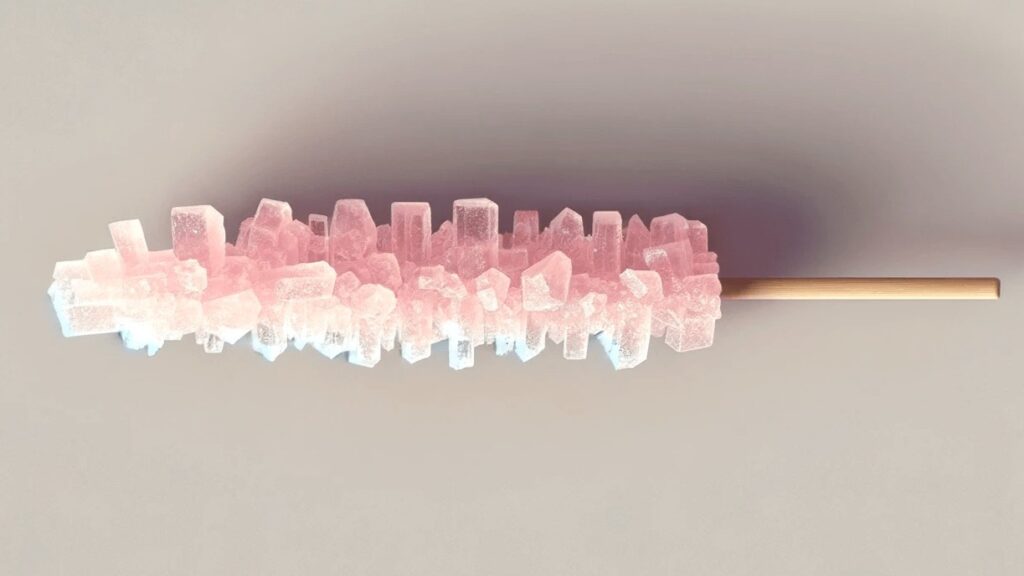
Easy Homemade Rock Candy
What You Need:
- 2-3 cups of granulated sugar
- 1 cup of water
- Food coloring (any color you love)
- A pinch of flavoring (like vanilla or lemon, but it’s optional)
- Wooden skewers or string
- A pencil or a stick to hold the skewers
- A jar or a glass for each candy
- A little bit of patience (the hardest ingredient to find!)
Step-by-Step Guide:
- Get the Skewers Ready: Cut your wooden skewers so they easily fit in your jars. Before you start the easy homemade rock candy-making process, you’ll need to prepare the skewers. Simply wet them and roll them in granulated sugar. This gives the sugar crystals something to cling to. Let them dry while you make your sugar solution.
- Mixing the Magic Solution: Pour 1 cup of water into a saucepan and bring it to a boil. Gradually add 2 cups of sugar, stirring continuously. Keep adding sugar until it stops dissolving. This creates a super-saturated sugar solution. If you like, add a few drops of food coloring and flavoring.
- Setting Up Your Candy Factory: Once your sugar solution is ready, let it cool down a bit. Then, pour it into your jars. Make sure the jars are clean and dry.
- Start the Crystal Creation: Place your sugar-coated skewers into the jars. Rest them horizontally on the rim of the jar with a pencil or stick. Make sure they don’t touch the sides or bottom of the jar.
- The Waiting Game: Now, the hard part. Wait. Place your jars in a cool place where they won’t be disturbed. The crystals need time to form, and this could take a few days to a week. You’ll see the sugar crystals grow day by day.
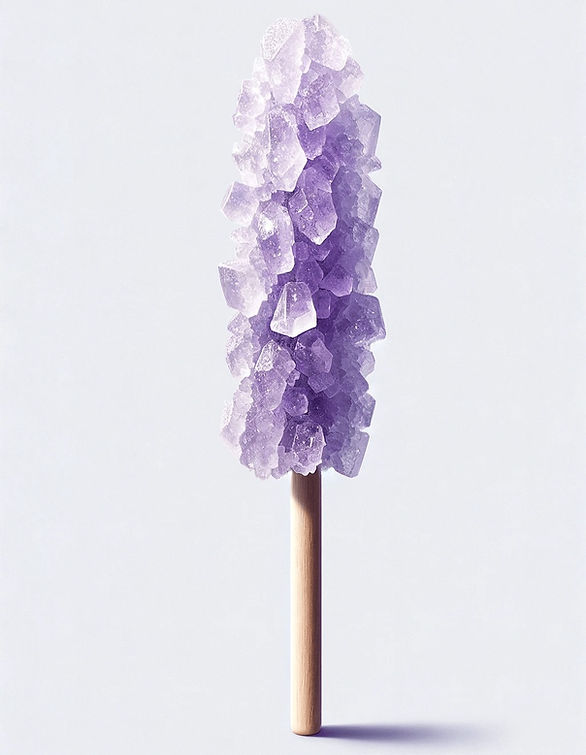
- Harvest Your Candy: Once your rock candy looks big enough, gently remove the skewers from the jars. Let them dry for a bit, and voilà! You’ve made homemade rock candy!
Fun Tips:
- Try different colors and flavors. Mix it up!
- Use this as a learning moment. Talk about how crystals form with your kids.
- Snap some pictures. They make for sweet memories (pun intended).
Grow Your Easy Homemade Rock Candy Even Faster
There is a method to speed up the crystal growth process when making homemade rock candy. While patience is usually key in this sweet science experiment, a few tricks can help those sugar crystals form a bit faster.
Tips to Speed Up Your Rock Candy Crystals:
- Warm Environment: Crystals grow faster in a warm environment. Try placing your jars in a warm spot in your home, like near a sunny window. Just be sure it’s a place where they won’t be disturbed.
- Use a Seed Crystal: Instead of starting with just a sugar-coated skewer, you can introduce a “seed crystal.” This is a small sugar crystal that acts as a foundation for further crystal growth. To make one, simply allow a small amount of your sugar solution to crystallize separately, then tie one of these crystals to your skewer with a thin thread.
- Stir Your Solution: Before you place the skewers in the jars, give your sugar solution a good stir. This can help distribute the sugar evenly and can encourage faster crystal formation.
- Optimize Your Solution: Ensure your sugar solution is super-saturated. This means adding sugar to your boiling water until no more can dissolve. A richer sugar solution can lead to quicker crystal formation.
- Cover the Jars: Covering the jars loosely with plastic wrap or a paper towel can help maintain a consistent temperature and protect them from dust. Be careful not to seal them tightly, as some air circulation is necessary.
- Regular Checks: Check on your rock candy regularly. Sometimes, gently moving the skewer can encourage more crystals to form. But be gentle to avoid breaking the delicate crystals.
Tips to Remember for Your Easy Homemade Rock Candy:
- These methods might speed up the process, but creating rock candy still takes time. It’s a great lesson in patience and observation for kids.
- Every batch of rock candy is unique. Sometimes, crystals form quickly, and other times, they might take a bit longer.
So, give these tips a try, and see if your rock candy grows faster. It’s all part of the fun and learning experience! Enjoy your quicker journey to sweet, crystallized treats.
Final Thoughts
Making rock candy at home is a fun way to blend treat-making with a touch of learning. It’s a simple, engaging activity that results in a sweet reward. So, gather your little helpers, put on your aprons, and create some sugary science magic in your kitchen. Enjoy your homemade rock candy, and cherish these moments of fun and learning with your kids!