The holiday season really sparks our creativity! Making something with your hands feels rewarding, and it adds a personal touch to your decor or gifts. DIY Christmas candles are an easy, fun, and budget-friendly way to spread some cheer. They’re customizable, making them a thoughtful gift or a cozy addition to your home. Plus, they allow you to use materials you might already have on hand, which keeps costs low.
Let’s talk about why this is such a great craft. First, candles are universally loved. They’re simple yet elegant and fit almost any decor style. Making them yourself lets you choose colors, scents, and containers that reflect your personal taste. It’s like crafting a piece of art, but one that brings warmth and light.
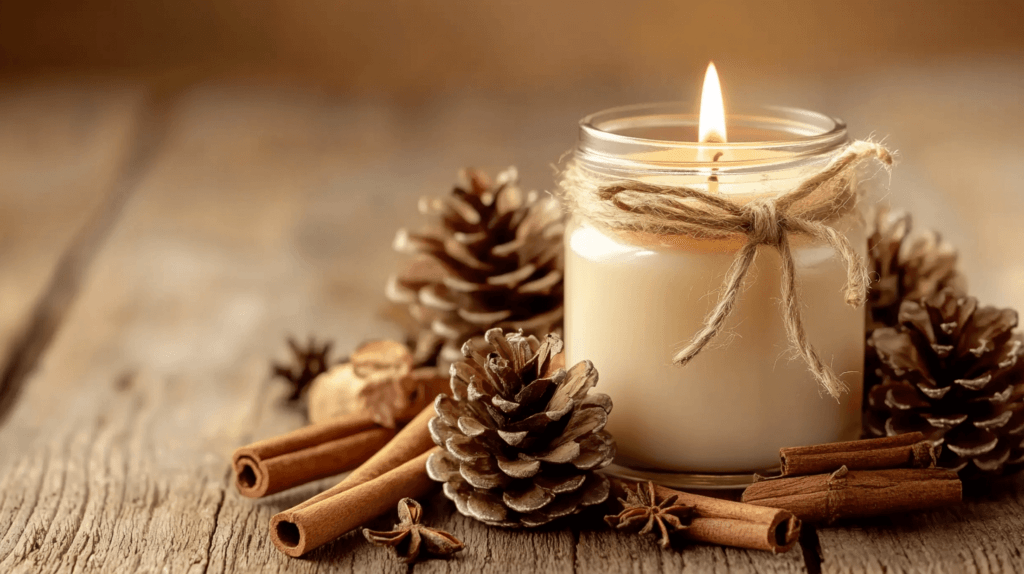
DIY Christmas candles also let you get creative with packaging. A mason jar, a ribbon, or even a handwritten label transforms a simple candle into a holiday treasure. Whether you’re giving them as gifts or keeping them for yourself, the possibilities are endless. With the right supplies and a little know-how, you can create something beautiful and functional in no time.

This site includes affiliate links; you can check the disclosure for more details.
Supplies You’ll Need for DIY Christmas Candles
Before starting, gather all the materials. Having everything ready makes the process smoother and more enjoyable. Here’s what you’ll need:
- Wax: Soy, paraffin, or beeswax work well. Soy is eco-friendly, while beeswax has a natural honey scent.
- Wicks: Choose pre-tabbed wicks for ease. Ensure they match your container size.
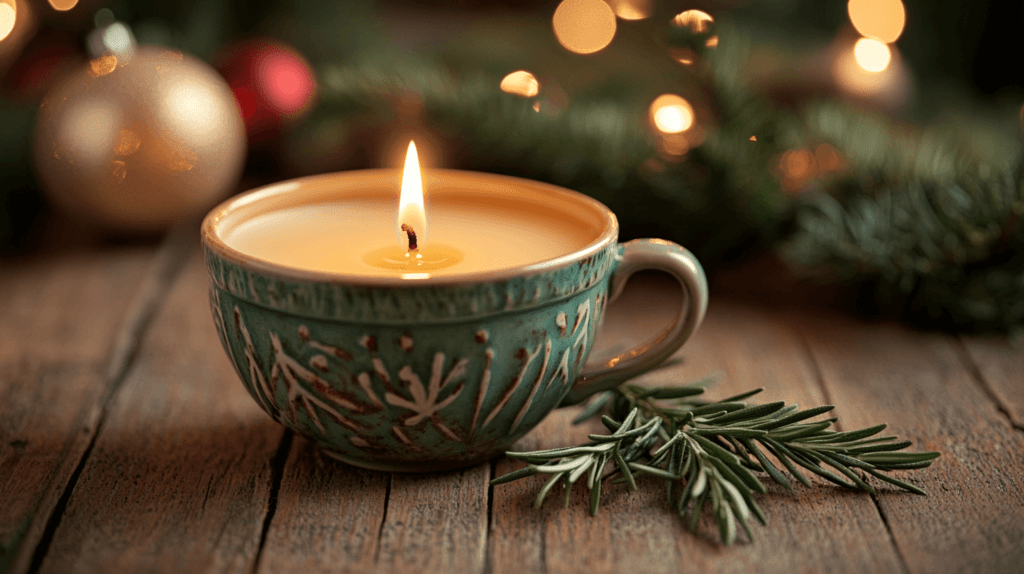
- Containers: Think mason jars, vintage teacups, or glass votives. Anything heat-safe works.
- Fragrance oils: Popular holiday scents include cinnamon, pine, vanilla, or peppermint.
- Dye: Liquid or solid dyes help you achieve festive colors like red, green, or gold.
- Double boiler: This ensures safe, even melting of the wax. A heat-safe glass bowl over a pot works too.
- Thermometer: Temperature control is key for adding fragrance and pouring wax.
- Wooden skewers or chopsticks: These help keep the wick centered while the wax sets.
These materials are easy to find online or at a craft store. If you plan to make several candles, buying in bulk can save money.
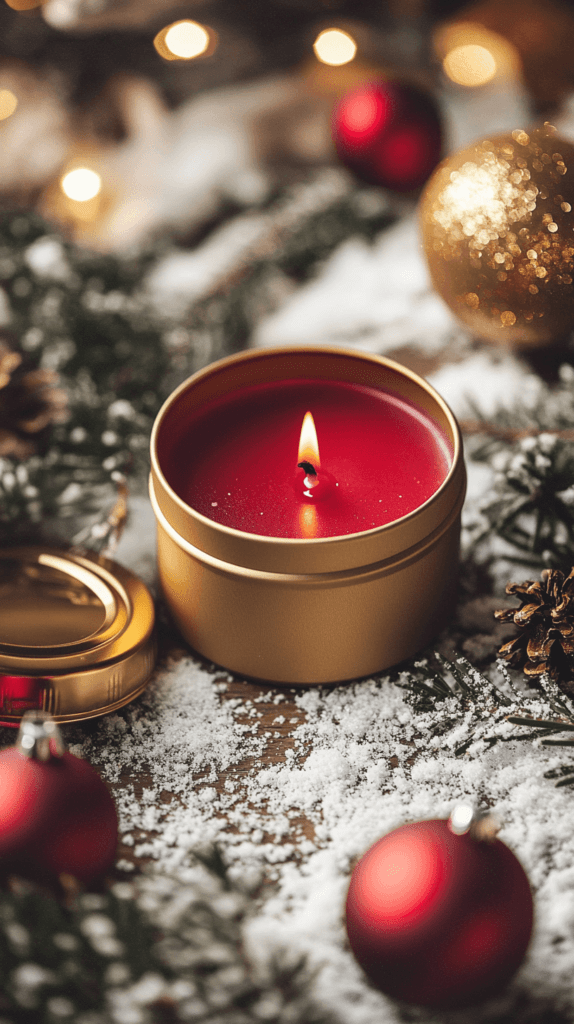
Step-by-Step Instructions for DIY Christmas Candles
Making candles isn’t as tricky as it might seem. Follow these steps to create your own Christmas-themed beauties:
- Prepare your workspace. Cover your surface with newspaper or a disposable tablecloth to catch spills. Set out all your supplies within reach.
- Melt the wax. Use a double boiler to melt your wax safely. Stir occasionally to ensure even melting. Avoid overheating.
- Attach the wick. Use a dab of hot wax or a glue dot to secure the wick to the bottom of your container. Keep it centered.
- Add fragrance and color. Once the wax reaches 140–180°F (check the label for specifics), stir in fragrance oil and dye. Mix thoroughly for even distribution.
- Pour the wax. Carefully pour the melted wax into your container, leaving about half an inch at the top. Hold the wick upright as you pour.
- Secure the wick. Use skewers or chopsticks to hold the wick in place while the wax hardens. Lay them across the top of the container.
- Let it set. Allow the candle to cool completely. This usually takes several hours. Avoid moving the container to prevent cracks.
- Trim the wick. Once the candle is solid, trim the wick to about a quarter-inch.
And there you have it! A handmade Christmas candle ready to enjoy or gift.
Creative Ideas for Decorating Your DIY Christmas Candle
One of the best parts of making your own candles is decorating them. Adding finishing touches makes them unique and festive. Here are some ideas:
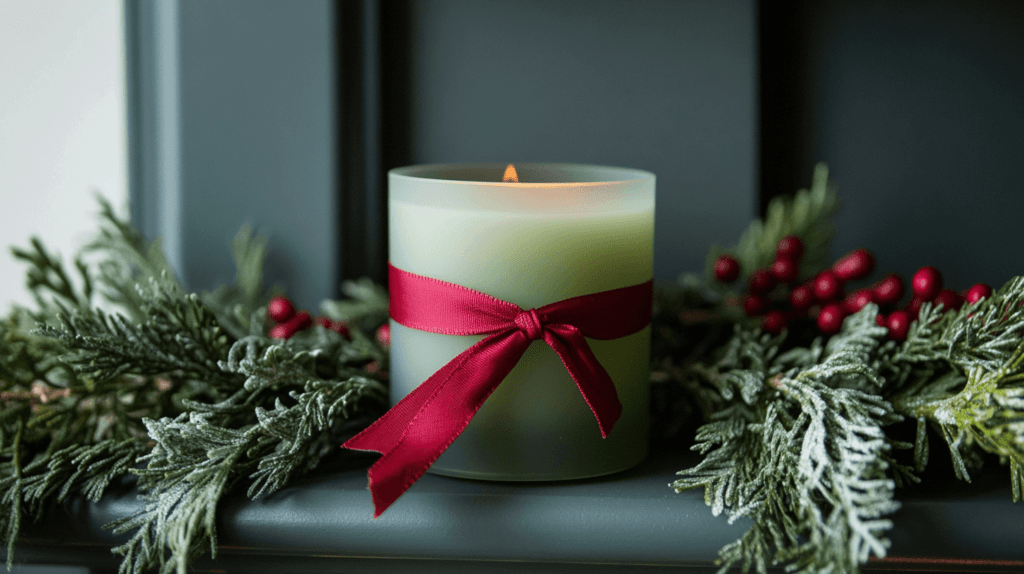
- Ribbons and twine: Wrap the container with jute twine, plaid ribbon, or metallic string for a rustic or glamorous look.
- Custom labels: Print or handwrite labels with phrases like “Merry & Bright” or “Warm Winter Wishes.”
- Stickers and decals: Snowflakes, holly leaves, or stars add a holiday vibe.
- Dried herbs and spices: Attach sprigs of rosemary, cinnamon sticks, or dried orange slices for a natural touch.
- Painted jars: Use acrylic paint to create designs like Christmas trees, candy canes, or polka dots.
Decorating doesn’t have to be complicated. Even small details make a big impact, especially when giving these as gifts.
Tips for Making the Most of DIY Christmas Candles
Here are a few tips to ensure your candle-making experience goes smoothly:
- Don’t rush. Let the wax cool slightly before adding fragrance to prevent it from burning off.
- Test your wick. If the flame is too big or the candle burns unevenly, switch to a smaller or larger wick.
- Recycle old jars. Upcycle glass containers from around your house to save money and reduce waste.
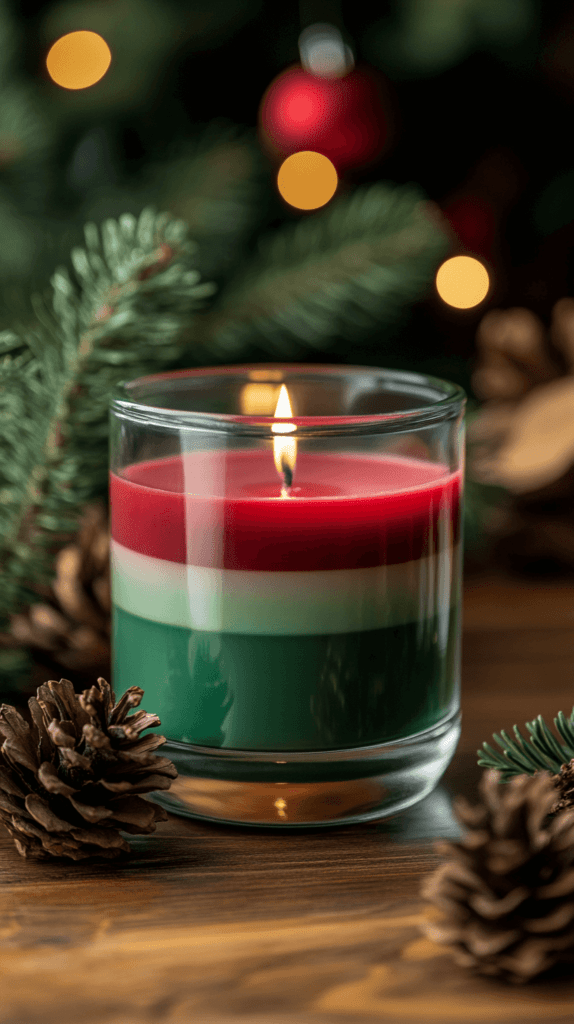
- Experiment with layering. Pour wax in stages to create striped candles in festive colors.
- Safety first. Never leave melted wax unattended, and always handle it with care.
These small adjustments can make a big difference in the final product. With practice, you’ll learn what works best for your style.
Gift-Giving Ideas for Your DIY Christmas Candles
Homemade candles make wonderful gifts. They’re thoughtful, practical, and easy to personalize. Pair them with other small items for a festive gift set. For example:
- A candle with a matching mug and a bag of hot cocoa mix
- A trio of candles in different holiday scents
- A candle paired with a handwritten recipe card for cookies
- A candle and a cozy throw blanket
Gift-wrapping is half the fun. Use cellophane bags, kraft paper, or decorative boxes to package your candles. Add a tag with the scent name or a personal note for an extra-special touch.
The Benefits of Candle Making for Your Well-Being
Making DIY Christmas candles is not just a fun craft. It can also improve your mood! Here’s why:
- Relaxation: The process of making candles can help you relax. Melting wax and mixing scents can feel soothing. It gives you a chance to focus on something creative and enjoyable.
- Mindfulness: When you make candles, you pay attention to what you’re doing. This practice, called mindfulness, can help clear your mind and reduce stress. It’s a great way to unwind.
- Creativity: Candle making lets you express yourself. You get to choose colors, scents, and designs. This creative freedom can make you feel proud of what you’ve made.
- Sense of Accomplishment: There’s nothing like seeing your finished product! When you pour the wax and wait for it to harden, you’re excited to see how it turns out. That feeling of accomplishment can brighten your day.
- Creating a Comfortable Space: Candles can add warmth to your home. The soft glow and nice smells make when you light your candles can create a cozy atmosphere. This is perfect for family gatherings or quiet evenings at home.
So, next time you feel a bit stressed, try making a candle! It’s a creative outlet that can also improve your mood. Plus, you’ll get a beautiful candle to light up your space or share with someone special.
Community Candle-Making Gatherings
Candle-making can be even better when you do it with friends or family. Hosting a candle-making party can be simple and fun. Here’s how to do it:
- Invitations: Invite friends or family over for a fun afternoon. You can use social media or simple texts to spread the word.
- Gather supplies: Before the party, make sure you have all the supplies. This includes wax, wicks, containers, and scents. You can also ask guests to bring their favorite supplies!
- Set Up Stations: Create different areas for melting wax, pouring candles, and decorating. This makes it easier for everyone to work together.
- Share Ideas: Encourage guests to share their ideas and tips. Some may have cool techniques or creative decorations. It’s a chance to learn from each other!
- Snack Time: Don’t forget to provide snacks and drinks. Hot cocoa, cookies, or even a festive punch can keep everyone energized and happy.
- Take Home Candles: At the end of the day, everyone gets to take home their beautiful creations. These handmade candles can be used at home or given as personalized gifts.
Gathering with others to make candles is a great way to celebrate the holiday season. You’ll create wonderful memories while crafting something special together!
Caring for Your Homemade Candles
Once you’ve made your beautiful DIY Christmas candles, you’ll want to take care of them. Proper care will help them last longer. Here are some important tips:
- Trim the Wick: Before lighting your candle, trim the wick. Keep it about a quarter-inch long. This helps the candle burn evenly and reduces smoke.
- Burn Time: Let your candles burn for a while. A good rule is to burn them for one hour for each inch in diameter. This helps the wax melt evenly and prevents tunneling.
- Avoid Drafts: Keep your candles away from windows or fans. Drafts can cause uneven burning and make your candle burn faster.
- Store Properly: When your candles are not in use, store them in a cool, dry place. Avoid places with direct sunlight or extreme temperatures.
- Check for Cracks: As your candles harden, check for any cracks in the wax. If you see some, don’t worry! Smaller cracks are normal and won’t affect the candle’s performance.
- Use Safely: Never leave a burning candle unattended. Always place your candles on a heat-safe surface and away from anything flammable.
By following these simple tips, you can enjoy your homemade candles for many cozy nights ahead!
Why DIY Christmas Candles Are Worth It
Store-bought candles can be expensive, especially during the holidays. Making them at home is a cost-effective alternative. It’s also a fun activity to share with friends or family. You’ll create something that feels meaningful and unique, which is hard to find in stores.
Crafting candles lets you control the ingredients, so you can avoid unnecessary additives. If you have allergies or sensitivities, this is a big bonus. Plus, the process itself is relaxing. There’s something soothing about watching wax melt and transform into something beautiful.
DIY Christmas candles offer a little bit of everything: creativity, affordability, and joy. Whether you’re crafting alone or with loved ones, it’s an experience worth trying.


