Disney nail designs are one of the easiest ways to add a little magic to your look. Whether you’re a huge fan of the classics or you’re into the latest Disney trends, there’s something for everyone. The best part? You don’t need to be a professional to achieve them. With so many tools and tutorials out there, it’s possible to create beautiful designs at home.
This site includes affiliate links; you can check the disclosure for more details.
Nail wraps are one of the simplest options. These are pre-designed stickers that you press onto your nails. They come in countless Disney themes, from Mickey and Minnie to Frozen and Moana. If you prefer to work with polish, you can try freehand designs. Simple ideas like Mickey ears or polka dots are easy for beginners. For more detailed work, stencils or stamps can help create perfect patterns.
A few tips make these designs easier to achieve:
- Use a base coat to protect your nails.
- Work with thin layers of polish to avoid smudging.
- A top coat will help your designs last longer.
Disney nail designs are perfect for showing off your style. Mix and match designs to match your mood or outfit! They’re also a great conversation starter, whether you’re at a party or a theme park. You will be amazed at how much fun you can have getting creative with them!
Easy Disney Nail Designs for Beginners
If you’re new to nail art, start with simple designs. These don’t require advanced skills, and you can get great results with basic tools.
Here are a few beginner-friendly ideas:
- Mickey Mouse Silhouettes: Use a dotting tool to create three dots in the shape of Mickey’s head. Black polish works best for a classic look.
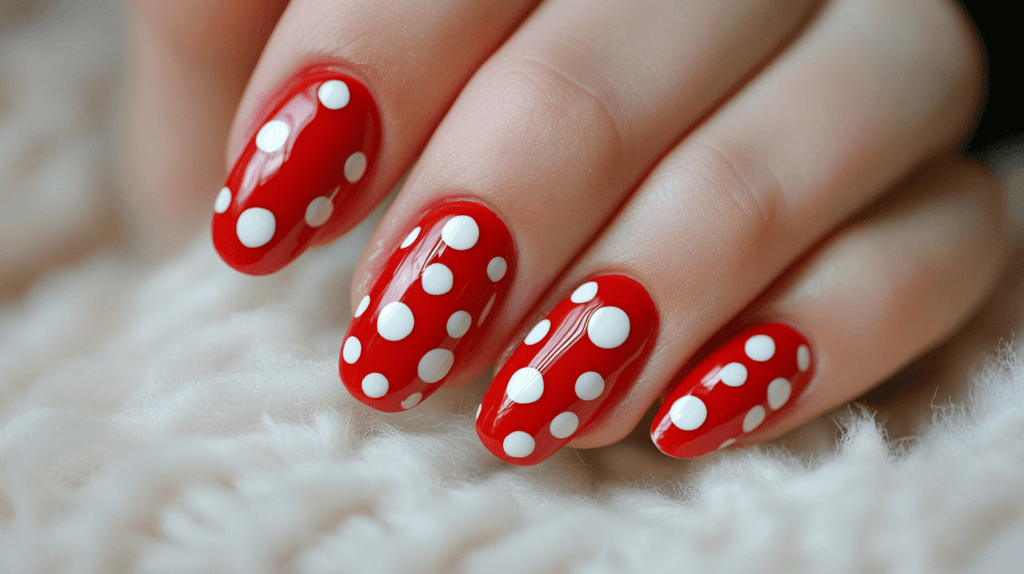
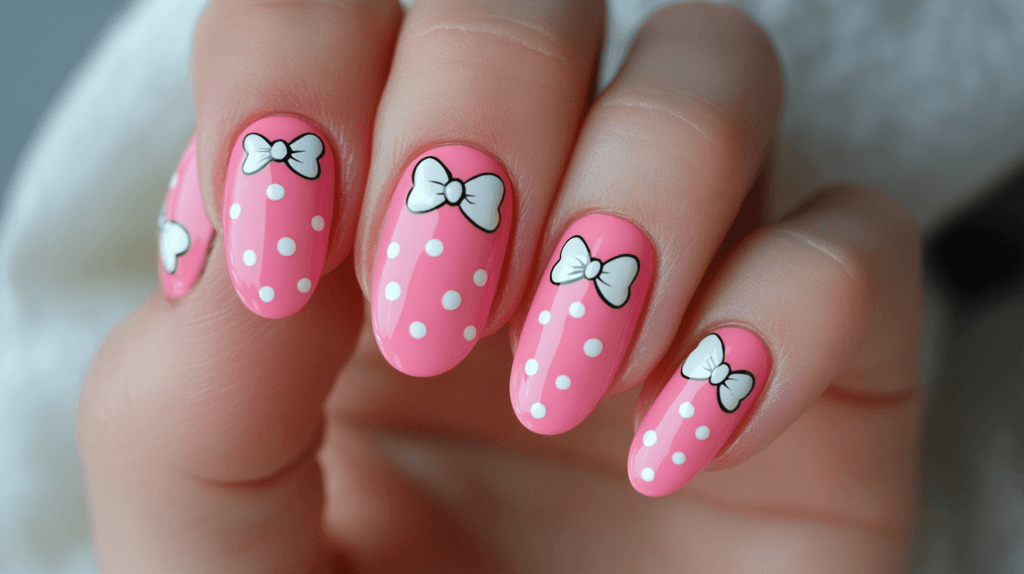
- Polka Dots: Paint your nails a solid color, then add white or red dots. This gives a Minnie Mouse vibe.
- Stripes: Use striping tape to create clean lines. Combine black and red for a bold Disney theme.
- Character Stickers: Purchase pre-made Disney stickers to add your favorite characters to your nails with minimal effort.
You don’t need a full salon setup to achieve these looks. A few household items can double as tools. A bobby pin or toothpick works as a dotting tool, while tape can help create clean lines. The goal is to keep it fun and stress-free.
These simple designs are great for everyday wear. They’re subtle enough for work but still show your Disney love. Plus, they’re a good way to practice your skills before trying more complicated designs.
Advanced Disney Nail Designs to Try
Once you’ve mastered the basics, you might want to challenge yourself with advanced designs. These often involve more intricate details, layering, or special techniques.
Here are some ideas for when you’re ready to step it up:
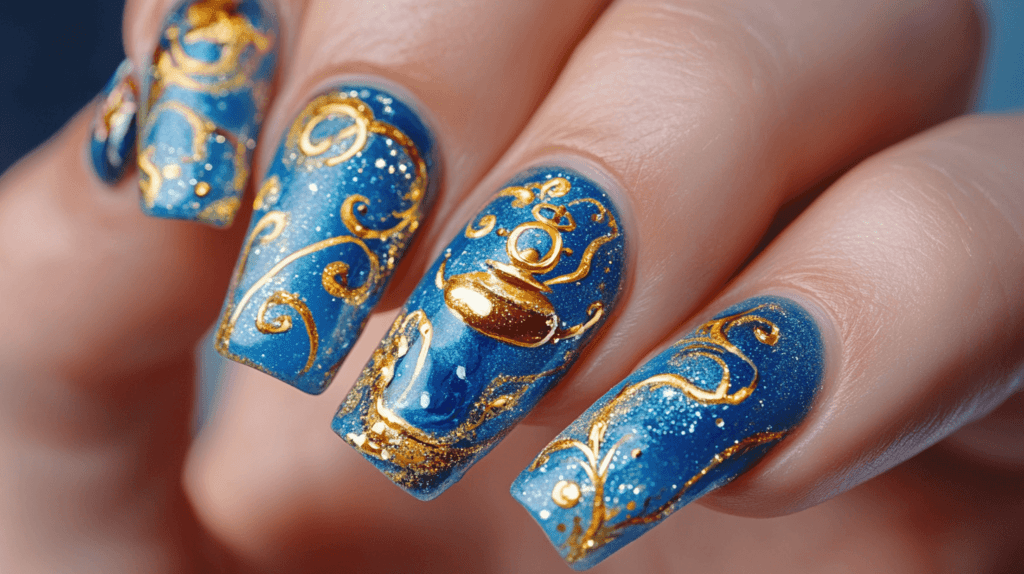
- Princess-Themed Nails: Use a combination of colors and patterns to represent different princesses. For example, pink and gold for Aurora or icy blue for Elsa.
- Character Portraits: Paint your favorite character’s face on one nail. You can use nail art brushes for finer details.
- Glow-in-the-Dark Designs: Add a glow effect with specialty polish. This works well for themes like Haunted Mansion or villains.
- 3D Elements: Try adding small charms or rhinestones for extra sparkle. A little crown or bow can really elevate your design!
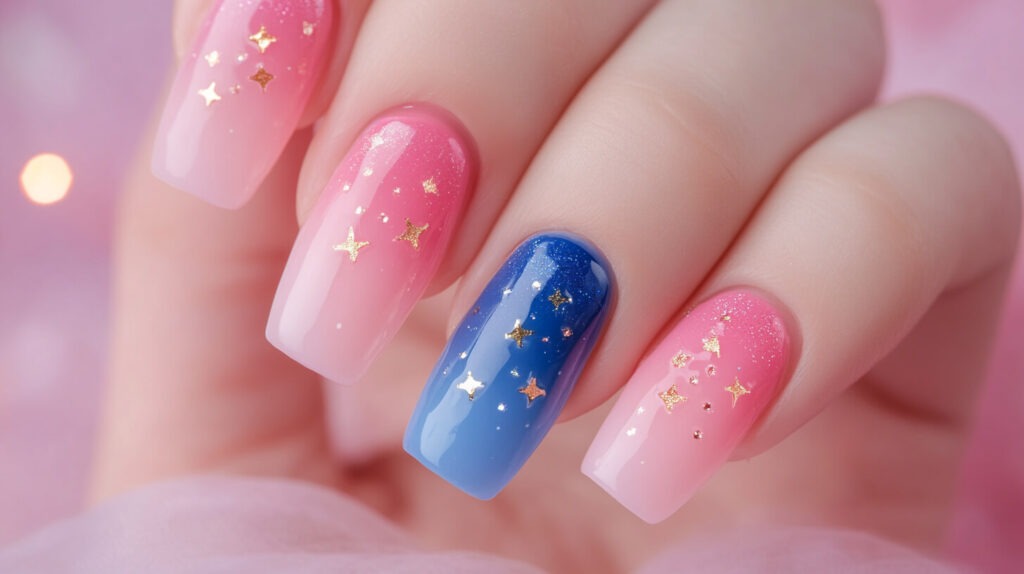
These designs require patience and the right tools. Nail art brushes, detail pens, and dotting tools are worth investing in if you plan to do this often. You’ll also want to practice on a test surface before painting directly on your nails.
Advanced Disney nail designs are perfect for special occasions. They’re great for vacations, parties, or just when you want to treat yourself. The effort pays off when people notice and compliment your unique look.
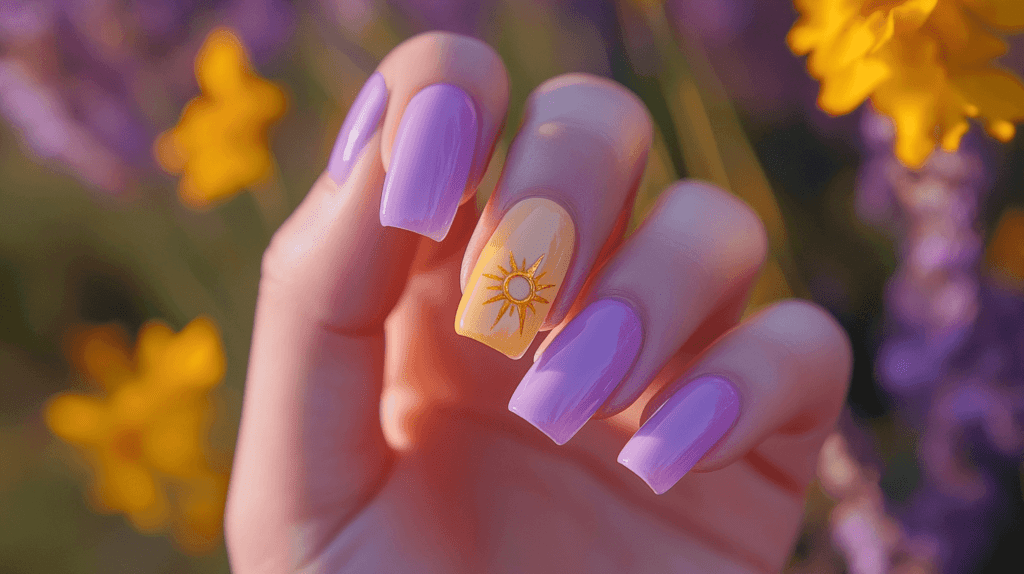
Tips for Matching with Outfits
Your nails can be a priority! Coordinating your Disney nail designs with your outfit can make your look feel polished and put together. Heading to the parks or just want to spice up your day? There are tons of fun ways to make your nails match your vibe!
Here are a few tips:
- Pick a Theme: If you’re wearing a Disney-inspired outfit, choose nail designs to match. For example, polka dot nails pair perfectly with a Minnie Mouse dress.
- Coordinate Colors: Match your nail polish to your outfit’s colors. Neutral designs like Mickey silhouettes go with everything.
- Go Seasonal: Adjust your nail designs for the time of year. Pastels work well for spring, while darker tones suit fall and winter.
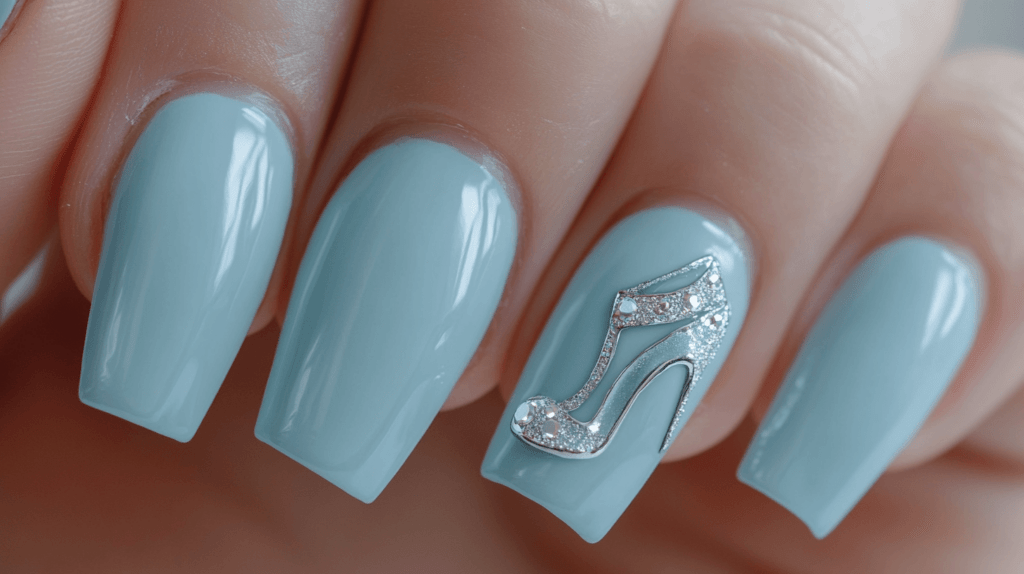
Matching your nails to your outfit is easier than you might think. Small details, like adding a glitter accent nail, can make a big difference. You don’t have to stick to one theme, either. Mixing and matching different characters or styles keeps things interesting.
Coordinated nails and outfits are perfect for trips to the Disney parks. They make for great photos and help you feel more in the spirit of the moment. Even if you’re just at home, it’s a fun way to express yourself.
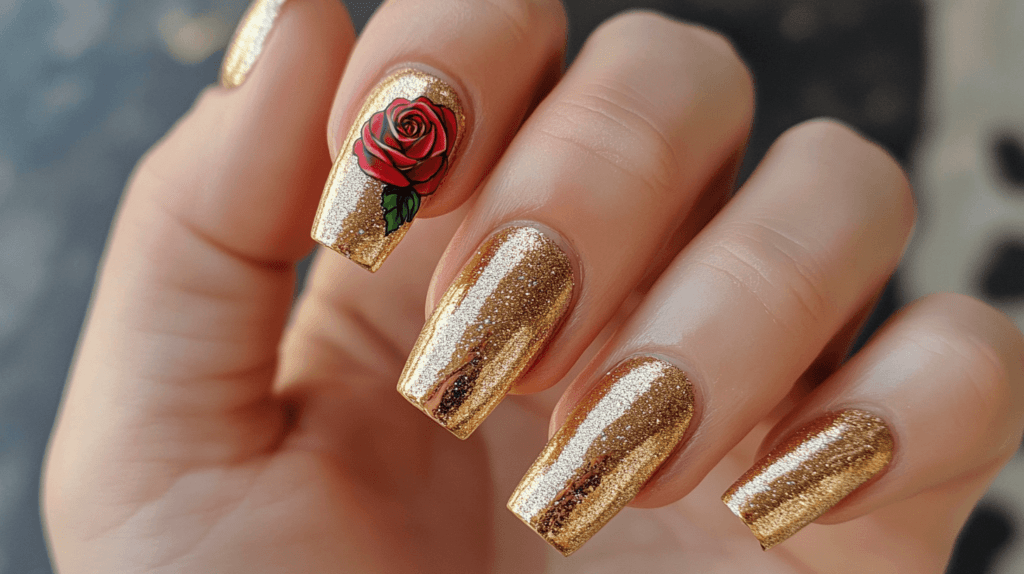
Tools You’ll Need to Create Disney Nail Designs
Creating Disney nail designs at home is easier with the right tools. You don’t need a full salon kit, but a few basics can make the process smoother. Investing in quality tools saves time and helps your designs look more professional.
Here’s a list of helpful items:
- Dotting Tools: Perfect for creating Mickey shapes or polka dots.
- Nail Art Brushes: Fine brushes are great for detailed work like character faces or intricate patterns.
- Stencils and Stickers: These make it easy to add shapes or characters to your nails.
- Striping Tape: Helps create clean lines and geometric designs.
- Base and Top Coats: Protect your nails and extend the life of your designs.
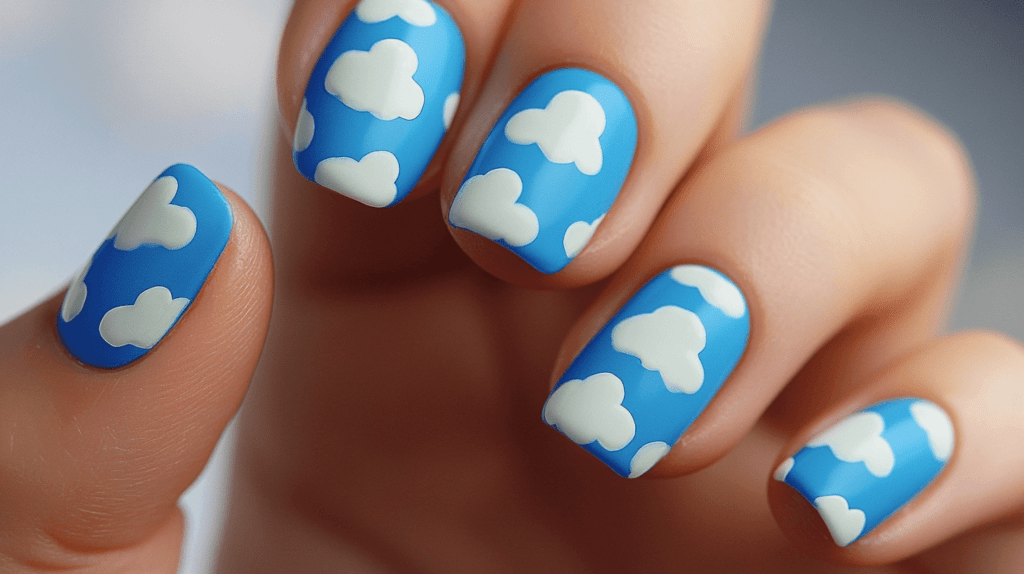
If you’re not ready to buy specialty tools, there are plenty of DIY options. A toothpick or bobby pin can substitute for a dotting tool. Tape and scissors can work as makeshift stencils. The key is to experiment and see what works for you.
Having the right tools makes the process more enjoyable. You’ll spend less time fixing mistakes and more time enjoying the creative process. Plus, your finished designs will look polished and last longer.
Why Disney Nail Designs Make Great Gifts
Disney nail designs aren’t just fun for yourself—they also make thoughtful gifts. Nail wraps, polish kits, and art tools are great for friends or family who love Disney. You can even create a personalized set of designs for someone special.
Gift ideas include:
- DIY Nail Art Kits: Include polishes, tools, and stickers in a Disney theme.
- Pre-Made Nail Wraps: These are easy to use and perfect for beginners.
- Custom Nail Polish: Look for Disney-inspired shades to match specific characters or themes.
These gifts are great for birthdays, fish extenders, holidays, or even as party favors. You can add a personal touch by including a note with tips or suggestions for designs. It’s a fun way to share your love of Disney with others.
Disney nail designs are a creative and affordable gift option. They’re unique, practical, and show you put thought into your choice. Anyone who loves Disney will appreciate the effort.
Disney Character Colors for Nail Designs
Using Disney character colors in nail designs is a simple way to show off your favorites without complicated art. Each character has signature colors that are instantly recognizable, making this approach both creative and easy to pull off.
Here are some color combinations for popular characters:
- Mickey Mouse: Black, red, and yellow. You can use these for a solid color scheme, adding some fun with polka dots or Mickey ears on accent nails!
- Minnie Mouse: Red or pink with white polka dots. Adding a small bow design gives an extra touch of her personality.
- Donald Duck: Blue, white, and yellow. A stripe of red for his bow tie adds a playful detail.
- Goofy: Orange, black, and green. These bright colors work well as bold accents or a fun, mixed pattern.
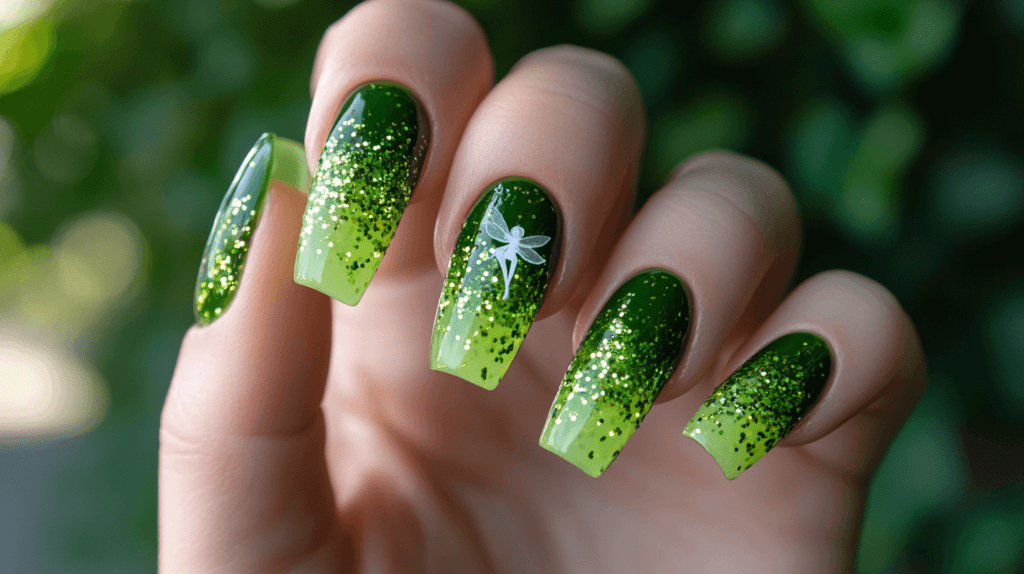
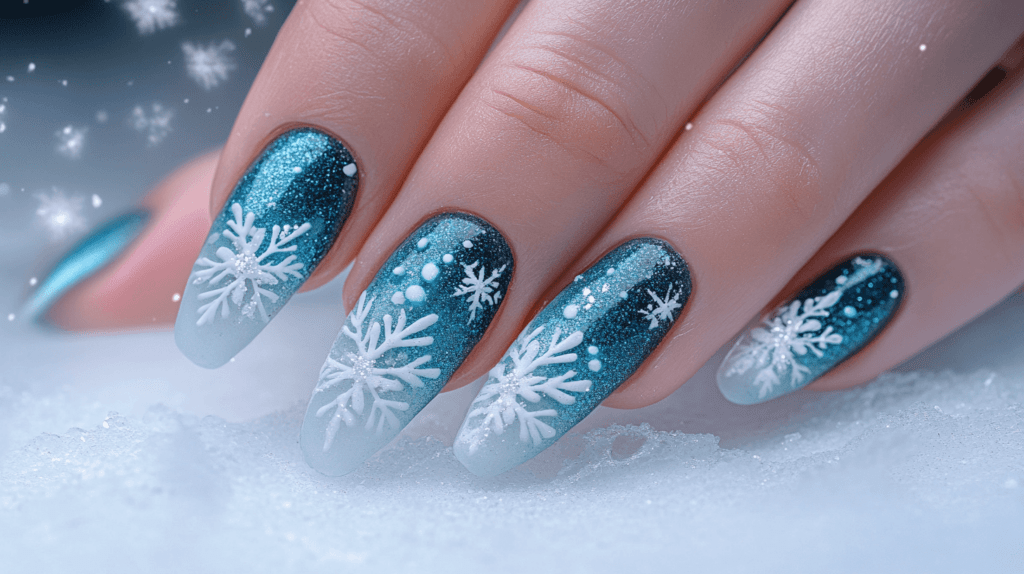
- Elsa (Frozen): Icy blue, silver, and white. A bit of glitter polish makes these nails feel extra magical.
- Belle (Beauty and the Beast): Yellow and gold, with hints of red for the enchanted rose.
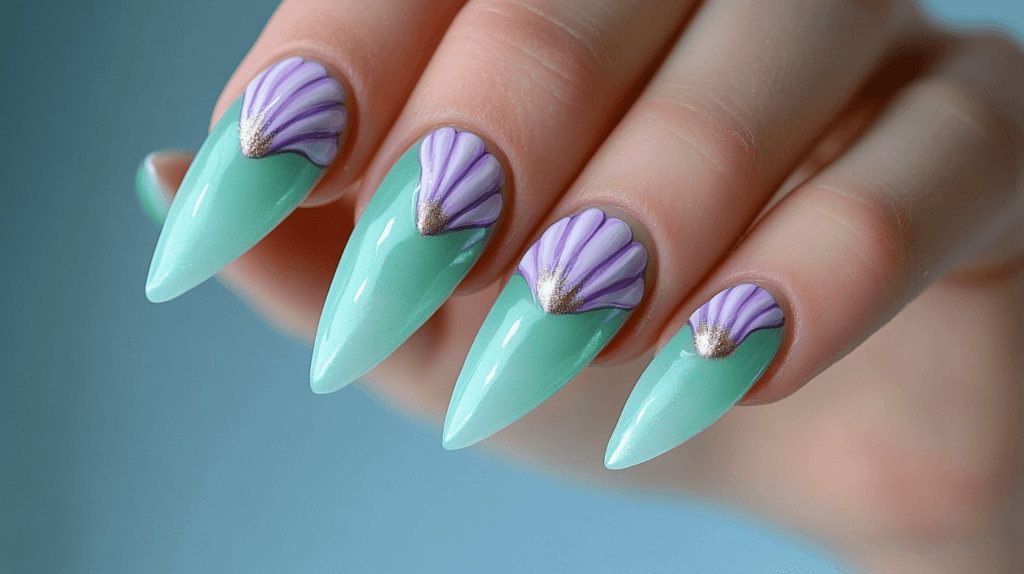
- Ariel (The Little Mermaid): Sea green and purple, with a splash of red to represent her iconic hair.
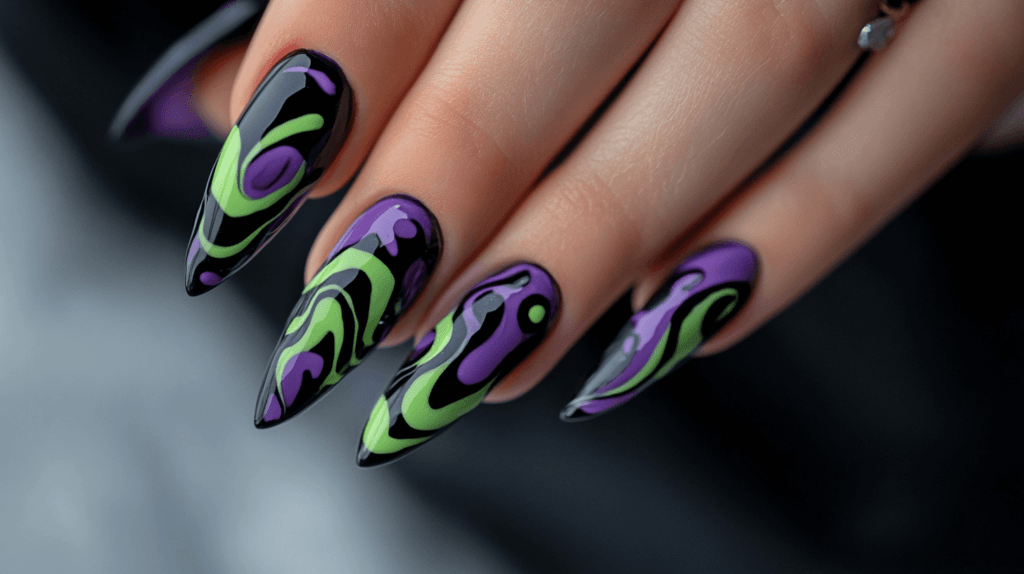
To create these looks, start with a base color that matches one of the character’s main shades. Use a contrasting shade for accent nails, stripes, or polka dots. If you’re feeling ambitious, try adding small details like a silhouette or glitter overlay.
Character colors make your nails stand out without needing intricate designs. They’re perfect for anyone who loves Disney but prefers a more subtle approach. Whether you go bold with Mickey’s bright hues or soft with Elsa’s frosty palette, these color-based designs are fun and versatile.
Final Thoughts
Disney nail designs let you show off your personality in a fun and creative way. From simple Mickey ears to detailed character art, there’s a design for every skill level and style. Whether you’re dressing up for a trip to the parks or just want to brighten your day, these designs are a great choice.
With the right tools and a little patience, anyone can create beautiful nail art at home. If you’re not ready to try it yourself, pre-made wraps or stickers are an easy alternative. The possibilities are endless, so don’t be afraid to experiment.
Disney nail designs are more than just a trend. They’re a way to celebrate your favorite characters and stories in a personal way. So grab your polish, pick a design, and get started. You’ll love the results.


