I used to think coffee filter flowers looked better online than they ever would in real life. You know the type. Cute photo, big promise, and then somehow your table ends up looking like a sad art cart exploded.
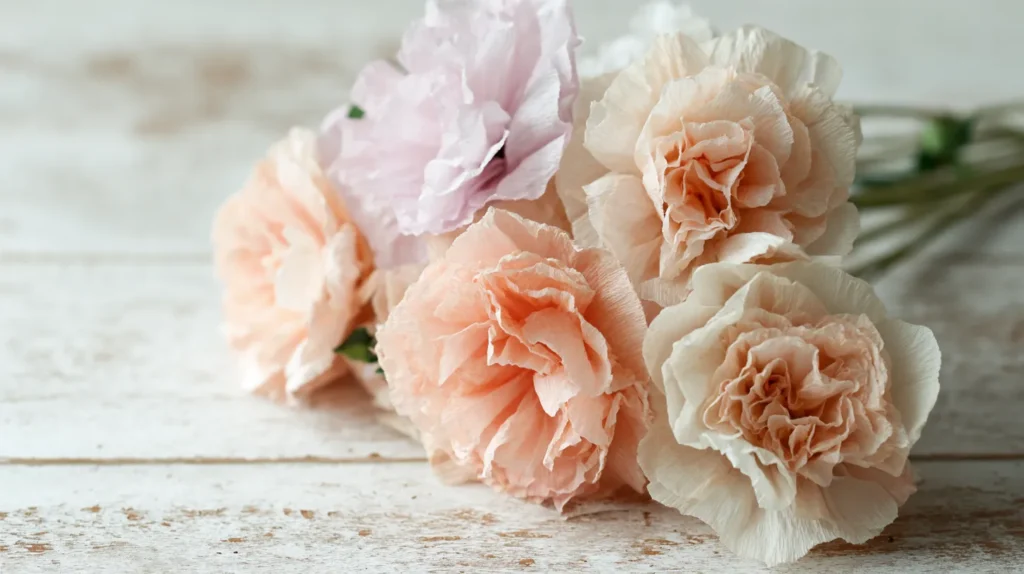
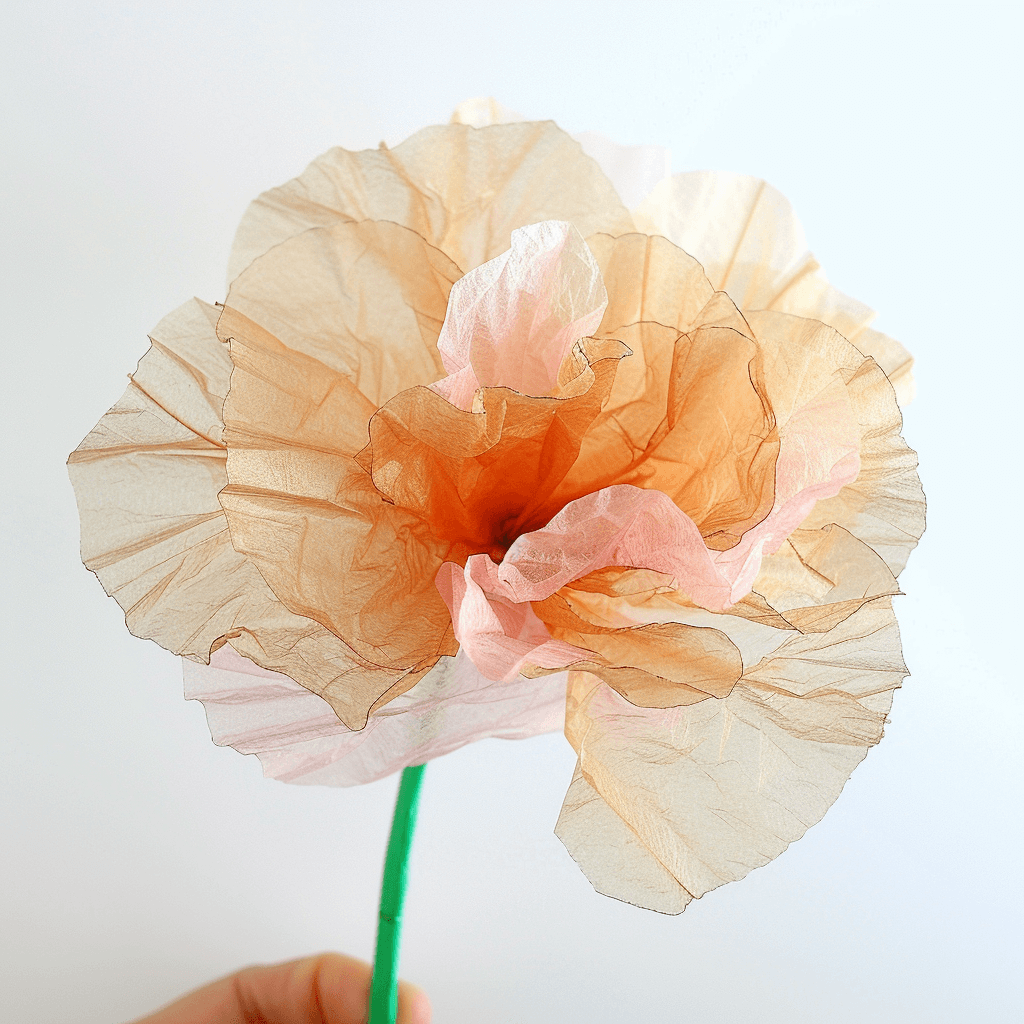
That’s why this one surprised me. When I finally studied a few well-made paper blooms, I saw the real charm. It lived in the softness, the wrinkles, and the airy shape. Those little flaws made the petals look sweeter, not worse.
I’ve found that some crafts become prettier the second you stop gripping them too hard. This is one of those. Chase perfect petals, and the whole thing starts looking stiff. Loosen up, and suddenly the bloom belongs in a cute little vase.
As a mom, I’m always impressed by projects that look nicer than the mess they create. That bar is not low, exactly. It’s just extremely honest. And yes, that definitely gets my attention.
So yes, I’m going to walk through materials, steps, tips, mistakes, and the little fixes that matter most. But I’m also going to say the quiet part out loud. The secret here is not special talent. It’s knowing which choices change the flower, and which ones just waste your patience.
Because once that clicks, this craft gets very hard to resist. That shift happens fast. And the best part has nothing to do with the coffee filters sitting in the package right now.
Some of the links on this page are affiliate links. That means if you click and make a purchase, I may earn a small commission at no extra cost to you. If you’re curious about the fine print, you can check out my full disclosure.
Why Coffee Filter Flowers Work So Well
I think people underestimate this craft because the supply list sounds painfully plain. Coffee filters do not exactly announce beauty. They sound like something shoved beside takeout menus and stale snack bars in a kitchen drawer.
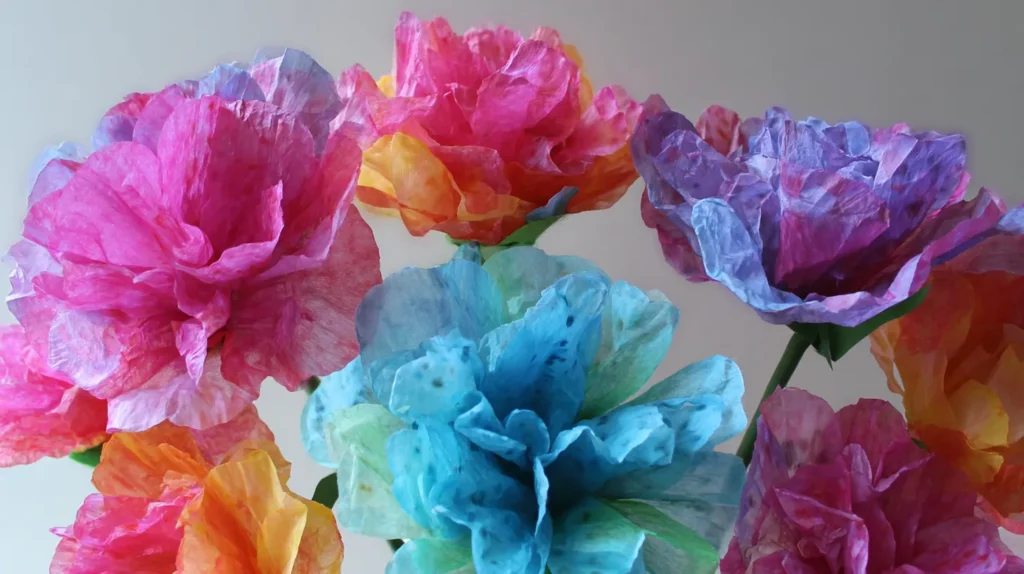
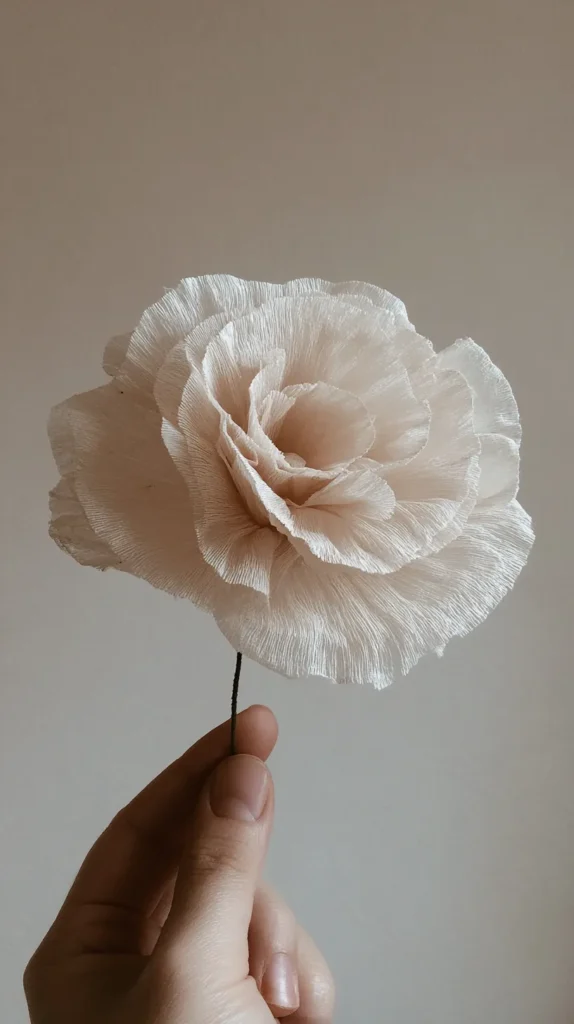
Still, that plain texture does something lovely once water and color hit it. The paper softens, wrinkles, and relaxes. Suddenly, it looks less like a filter and more like a petal with a little personality.
That shift matters. Perfect petals can look stiff and weirdly formal. Slightly crinkled ones look softer, lighter, and much more forgiving. I will take forgiving over fussy every single time.
I tend to notice that coffee filter flowers work best when they stop trying to look exact. Symmetry sounds nice in theory, but looseness usually looks prettier. A slight lean, an uneven edge, or a fuller center often helps more.
Here’s my mildly dramatic opinion. Neatness ruins more flowers than mess ever does. People fuss over every fold, then wonder why the bloom looks flat and tired.
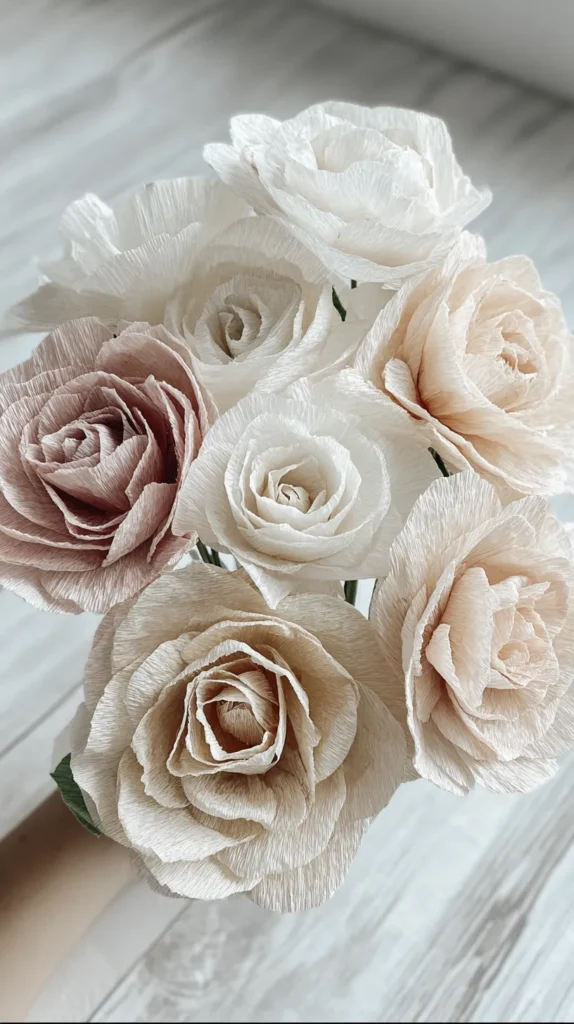
The layers help too. One filter looks simple. Several filters together create movement, softness, and that fluffy middle people usually assume took much more effort. That reveal is half the magic.
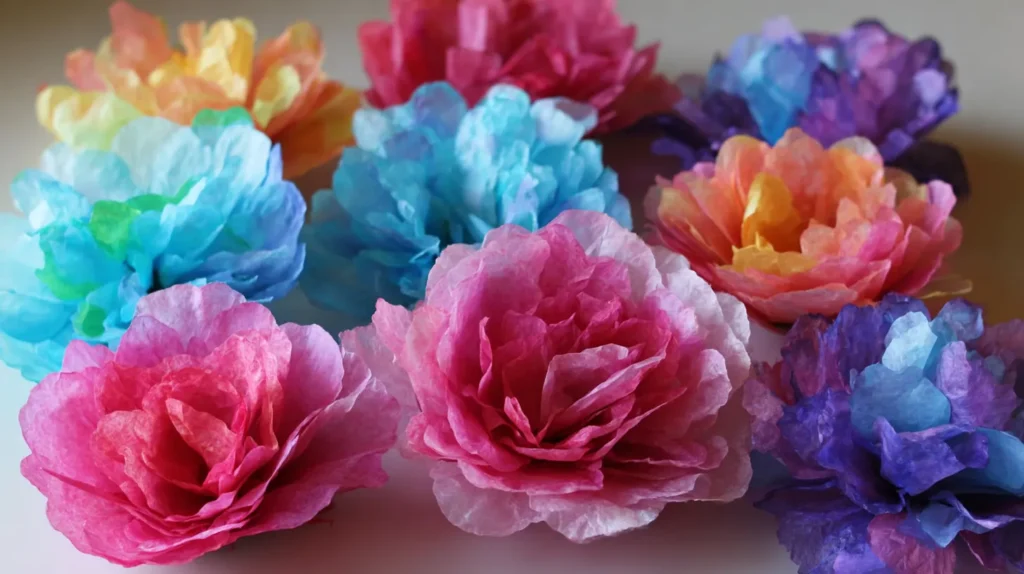
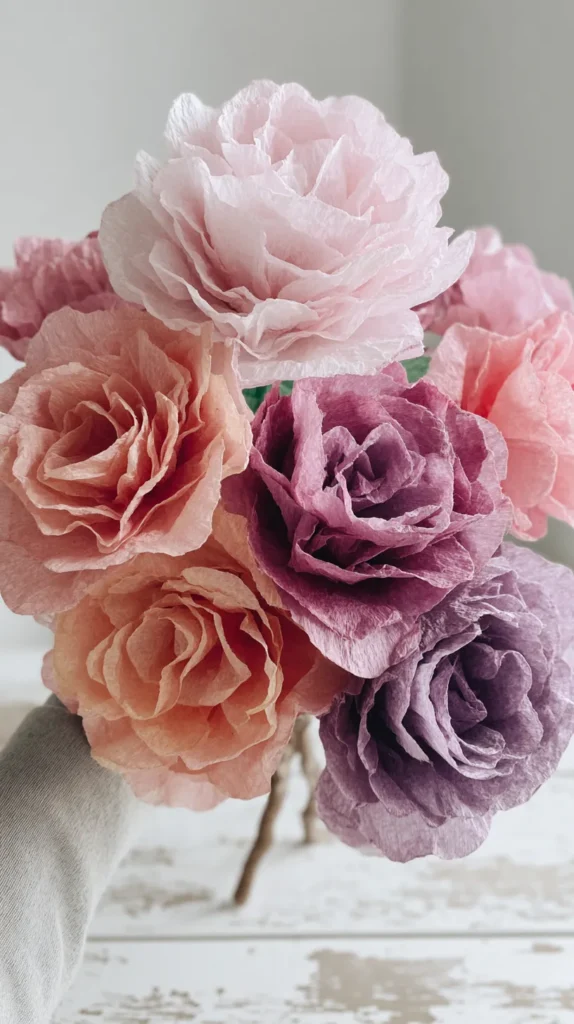
The surprise is that this craft feels more grown-up than it sounds. You can use these blooms for showers, gifts, centerpieces, wreaths, garlands, and little shelf moments. None of that reads childish when the colors stay soft.
And yes, they’re cheap to make. But cheap is not the same thing as flimsy. Done right, they land in that sweet spot I always love. They look thoughtful without acting precious, and that is a very winning combination.

The Materials That Actually Matter
You do not need a giant craft haul for this project. In fact, extra supplies can make it more annoying. Too many choices turn a sweet little craft into a full production, and nobody asked for that.
I’ve found that a short list works better because it keeps the project moving. Once I stop overcomplicating it, the fun shows up faster. That’s true in life, but especially true at a craft table.
Here’s what I’d actually pull out:
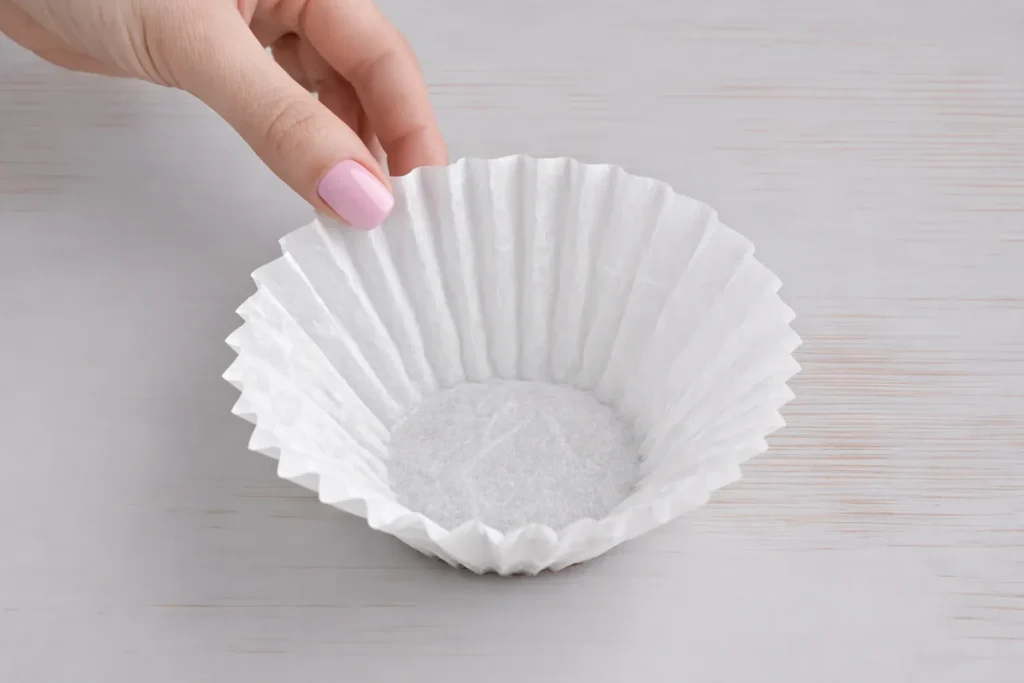
- white coffee filters
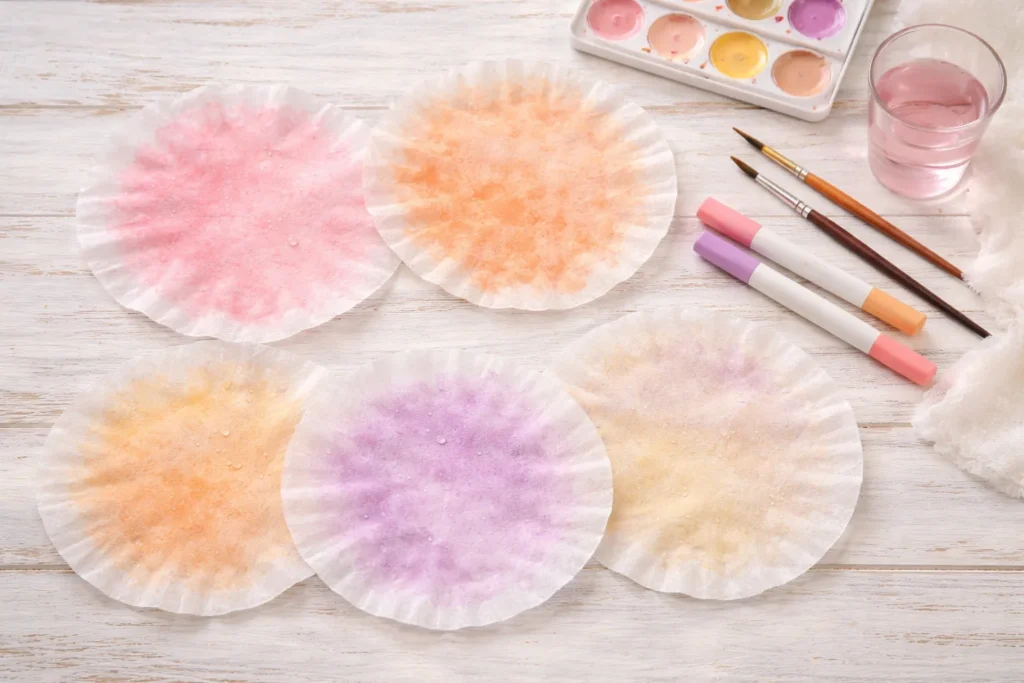
- washable markers or liquid watercolor
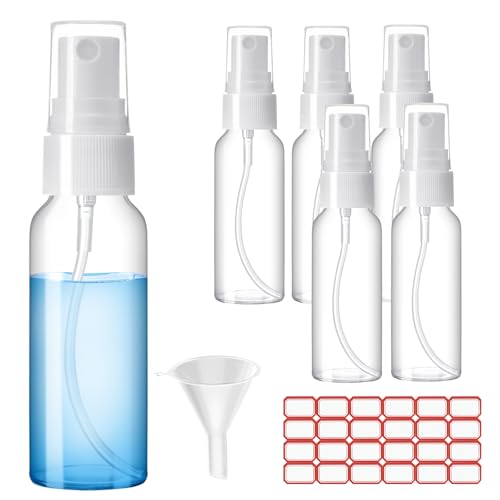
- a spray bottle or small bowl of water
- pipe cleaners, floral wire, or twist ties
- scissors
- a tray, plate, or baking sheet
- paper towels or an old towel
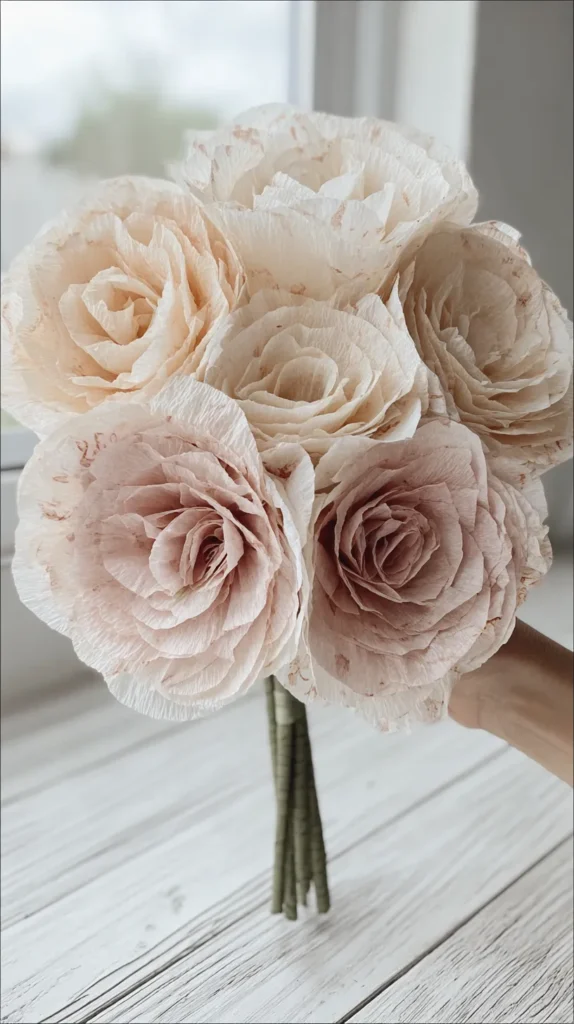
- optional green floral tape for stems
That last item depends on your goal. If you want bouquet-style blooms, floral tape helps. For simple flower heads, skip it and keep moving.
I’d also say this clearly. Start with white filters. Brown ones can work, but they muddy the color fast. Suddenly your soft pink idea looks tired before it even dries.
Marker choice matters too. Washable markers usually spread better and blend more kindly. Permanent ink can go harsh, patchy, or just too intense for the dreamy look most people want.
The sneaky hero here is water control. Too much water creates a soggy blob. Meanwhile, too little leaves stiff marker lines. You want the middle, which sounds boring, but saves the whole flower.
And one more thing matters. Use a surface that can get messy without drama. Crafting gets cuter when cleanup feels possible.
So yes, the materials matter. Still, right restraint matters more. This craft gets prettier when you stop trying to impress it.

The Tiny Choices That Change Everything
Before I get into folding and fluffing, I need to say something slightly rude but very true. Most disappointing flowers go sideways before the flower even forms. I know. That feels unfair.
Usually, the issue is not effort. It’s the tiny setup choices nobody mentions because they sound boring. Yet those choices decide whether the petals look dreamy or defeated.
For starters, separate a few filters before adding color. Wet stacks cling together like they signed a pact. Pulling them apart later feels like arguing with tissue paper, and nobody wins.
Next, protect your surface more than you think you need. Color creeps farther than expected. Water drips in places that make no sense. Somehow, a tiny craft becomes a full table situation. It’s always the tiny crafts.
I also think people rush the damp stage. They either soak the filters or barely touch them. Neither helps. Light moisture gives movement without collapse, and that’s the sweet spot.
Another overlooked choice is waiting a minute after adding color. You do not need to chase every pale spot with more ink. The natural bleed usually looks prettier than the overworked version.
This is where I’d reframe the usual craft instinct. The goal is not control. Instead, aim for beautiful looseness, which sounds suspiciously poetic, but it’s true.
And please do not judge the flower too early. Wet filters always look a little questionable. Give them time to dry, open, and settle.
That delayed payoff is half the charm. At first, it looks like damp paper and false hope. Then it dries, opens up, and suddenly acts like it knew exactly what it was doing all along.

How I Add Color To Coffee Filter Flowers Without Making Mud
Color absolutely makes this craft. Bad color also ends it fast. That sounds dramatic, but one muddy flower can pull the whole bunch down with it.
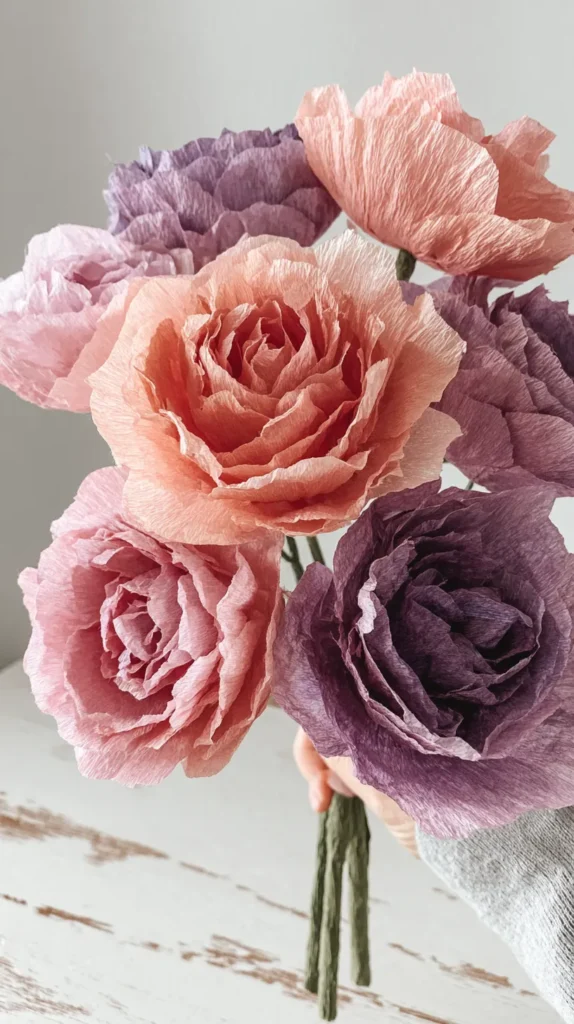
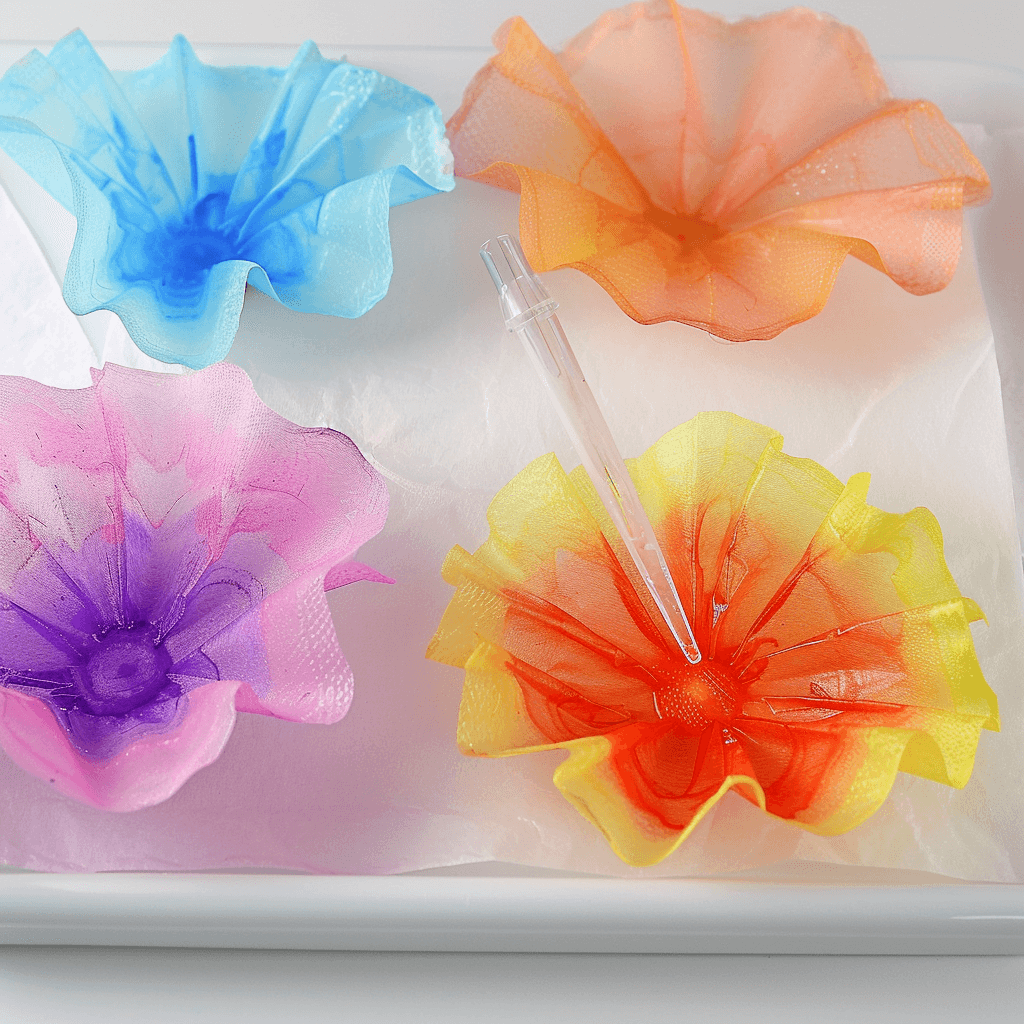
I’ve found that soft, layered color beats heavy coverage every time. The prettiest coffee filter flowers usually have variation, not one flat shade. Real petals shift a little, and these should too.
My favorite ways to add color are simple:
- draw loose rings, dots, or lines with washable markers
- spray lightly with water and let the ink spread
- dip only the edges into diluted watercolor
- use two close shades instead of five competing ones
- leave some white space for contrast
- deepen the center slightly for dimension
That white space matters more than people expect. Too much color makes the petals look dense. A little untouched paper keeps the bloom airy and much brighter. It also keeps the petals looking delicate.
If I want a blushy flower, I use pink with peach. For a moodier bloom, I use berry near the center. I do not mix every pretty marker I own. Tempting, yes. Wise, no.
There’s also a timing trick here. Add color before shaping for a soft wash. Then add a little after folding for stronger edges. Both methods work, but they create very different moods.
And here’s the assumption I’d toss right out. Brighter is not always better. Bright can look playful, but softer often looks prettier indoors. Softer shades also hide little mistakes much better.
When the colors dry, they soften anyway. So do not panic if the wet version looks louder than planned. Wet paper exaggerates everything. It’s basically craft theater with a splash bottle.
That contrast gives the flower more life!
The Folding Trick That Makes Them Look Like Flowers
This is the part people overthink, and I completely understand why. The phrase “folding technique” sounds suspiciously close to origami. That alone can make a craft feel bossy.
Thankfully, this is not origami. Coffee filter flowers need shaping, not precision. The real goal is simple. Gather the layers, create a center, and leave room for the petals to open.
I usually stack several filters, then fold or scrunch them into quarters or loose wedges. Some people accordion-fold them, and that can work. Still, I think accordion folds can make the petals look stiffer.
Loose shaping creates better drama. It also gives the bloom a softer silhouette, which I strongly prefer. Rarely do I want a paper flower that looks like it follows office policy.
After folding, I trim the outer edge into a rounded or scalloped shape. Nothing fancy needs to happen here. Tiny changes at the edge create most of the petal illusion later. Small cuts do a lot.
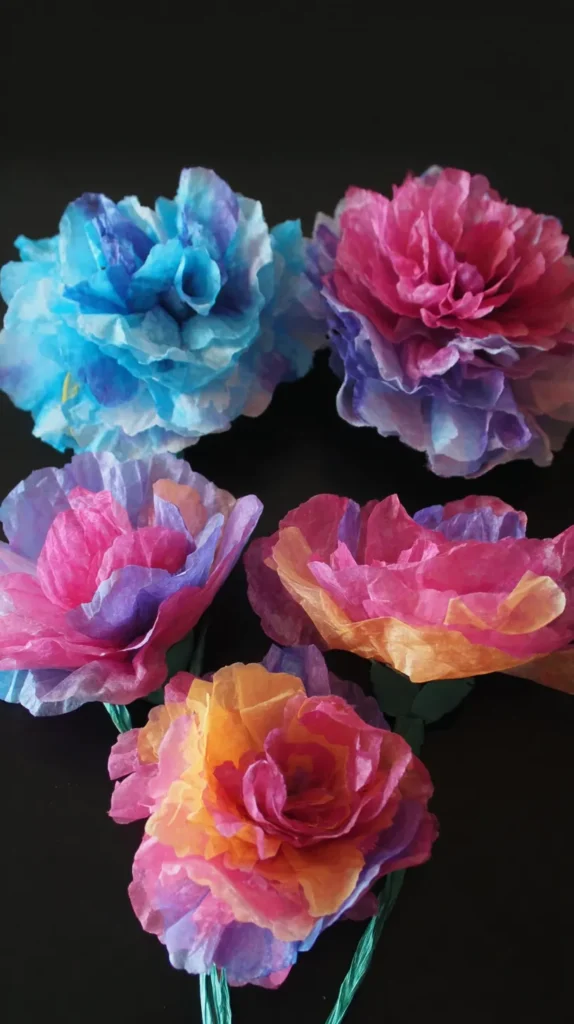
Then I pinch the middle and secure it with a pipe cleaner or wire. Not too tightly, though. If the center gets crushed, the layers struggle to open and the flower stays stubborn.
This is where patience finally earns something. Pull the layers upward slowly and turn the flower as you go. One side opens, then another, and suddenly the shape starts showing itself.
At first, it may look like a confused cupcake liner. Keep going. The middle usually looks messy before it looks beautiful.
That delayed reveal is part of the fun. Once the layers lift at different heights, the bloom changes completely. It stops being folded paper and starts reading like an actual flower.
Step-By-Step Coffee Filter Flowers Without The Usual Craft Drama
Once the supplies are out, I like a clear order. Not because I’m wildly organized. I’m not. I just prefer less backtracking and fewer moments of table-side confusion.
This process works well for beginners and still leaves room for personality. That’s my favorite combination. Clear enough to follow, but loose enough to stay fun.
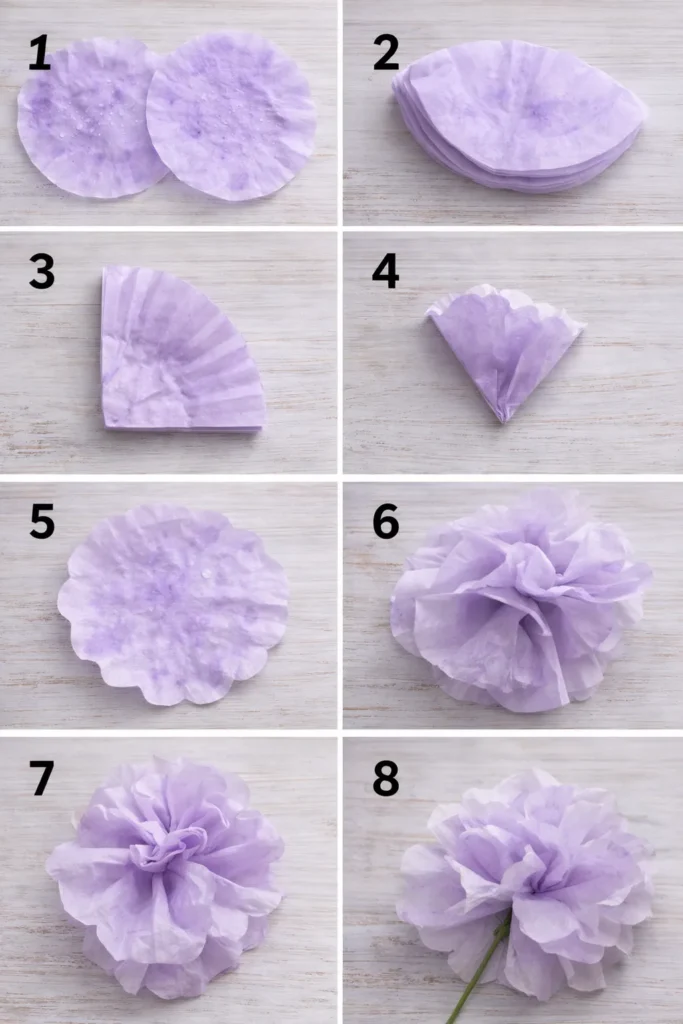
Here’s the easiest way to make coffee filter flowers:
- stack three to eight coffee filters
- add marker lines, dots, or edge color
- lightly mist the stack or dab with water
- let the color spread for a minute
- separate filters if they cling together
- let them dry slightly, not fully
- refold or stack them into a loose bundle
- trim the outer edge into a petal shape
- pinch the center and secure it
- gently pull layers upward, one at a time
- fluff, rotate, and reshape the bloom
That list sounds very orderly. The actual craft can stay pretty relaxed. Good. It should.
I’ve found that three filters make a simpler flower. Six or more create a fuller bloom. If the flower looks too tight, remove a layer. When it looks thin, add one and keep going.
Also, stop before overworking the petals. That’s the sneaky mistake a lot of people make. The flower gets close to done, and then they keep fussing until the softness disappears.
One more quiet tip helps here. Turn the flower in your hand as you fluff it. Rotation helps you spot flat spots faster.
So yes, follow the steps. But do not treat them like sacred law carved into a craft room wall. These blooms improve when you leave a little room for accidents, because accidents often add the prettiest texture.

Mistakes I’d Skip Next Time
Some craft mistakes teach a sweet little lesson. Others just leave you staring at a soggy paper lump with a tired expression. I prefer to help you avoid the second kind.
The first trouble spot is oversaturation. Too much water breaks the structure and blurs the color into mush. If the filter looks drenched, it probably is.
Another common issue is using too many layers too soon. People assume more filters create a better flower. Sometimes they just create bulk, and bulk is not the same thing as beauty.
I’d also skip hyper-matching every petal edge. Real flowers do not look copied and pasted. Slight unevenness actually helps the bloom look softer and far more natural.
Then there’s the color trap. If every layer gets dark ink, the flower loses dimension. You want pale spots, deeper spots, and some breathing room in between.
This next one surprises people. Dry filters can shape better than very wet ones. A little dampness helps. Full sogginess mostly fights back and ruins your patience.
And let me say this clearly. Not every bloom needs a stem. That assumption hangs around for no reason. Stemless flowers look great on gift wrap, wreaths, signs, garlands, and table decor.
If a flower looks flat, the fix usually is not more color. It’s more lifting. Separate the layers again, pinch the base, and rotate the bloom until the middle opens.
That small adjustment can rescue a flower fast. More supplies rarely solve the problem. Better shaping usually does.
I’ve found that coffee filter flowers reward tiny adjustments, not dramatic rescue missions. Good news, because tiny adjustments are easier. They are also much less annoying when the table already looks like craft weather.
Coffee Filter Flowers FAQ, Cute Uses, And Display Ideas
Once people make one bloom, the next question is usually, “Okay, now what?” Fair enough. A flower pile sounds charming until it takes over the table. Then it starts acting like decor without a plan.
I tend to notice that these blooms look best when they have a job. Give coffee filter flowers somewhere to go, and suddenly the whole project makes more sense.
A few easy ways to use them:
- tape them onto wrapped gifts
- tuck them into a wreath
- add them to a party backdrop
- clip them onto a branch display
- use them in jars or shallow bowls
- glue them onto a sign or frame
- attach them to headbands or gift bags
And now for the questions people always ask:
Do I have to use markers?
No. Liquid watercolor works beautifully too. Just keep it light.
Can kids make these?
Yes, with help during trimming and shaping. The color step is especially fun.
How long do they last?
A long time indoors, if they stay dry and do not get crushed.
Do I need stems?
Nope. Many of the cutest uses do not need them.
Why do mine look flat?
Usually, the layers need more separation and a looser center.
That last answer fixes a lot. People assume flat flowers need more supplies. Usually, they just need more fluffing and a little less panic.
And honestly, that’s my favorite part of this craft. It works for showers, birthdays, classrooms, gifts, and random little corners that need something sweet. Better still, it makes last-minute decor look way more considered than it really was. That is quite a lot of mileage from a stack of filters, and I really respect that.

Paper Petals And A Slightly Smug Sense Of Accomplishment
I love a craft that starts with low expectations and ends with people asking where it came from. That reaction always makes me laugh a little. Not because I’m trying to impress anyone, but because humble supplies deserve their occasional glow-up.
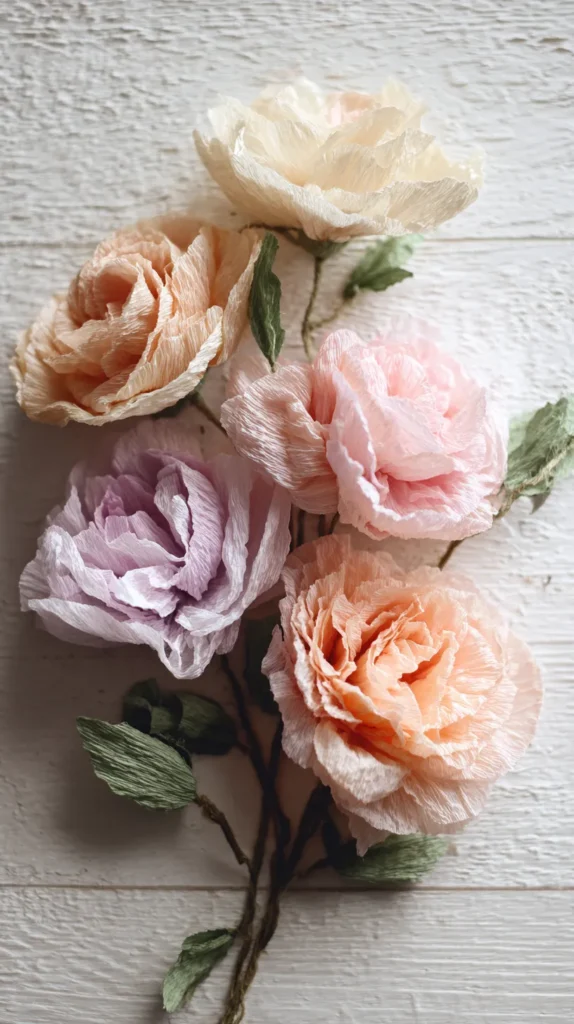
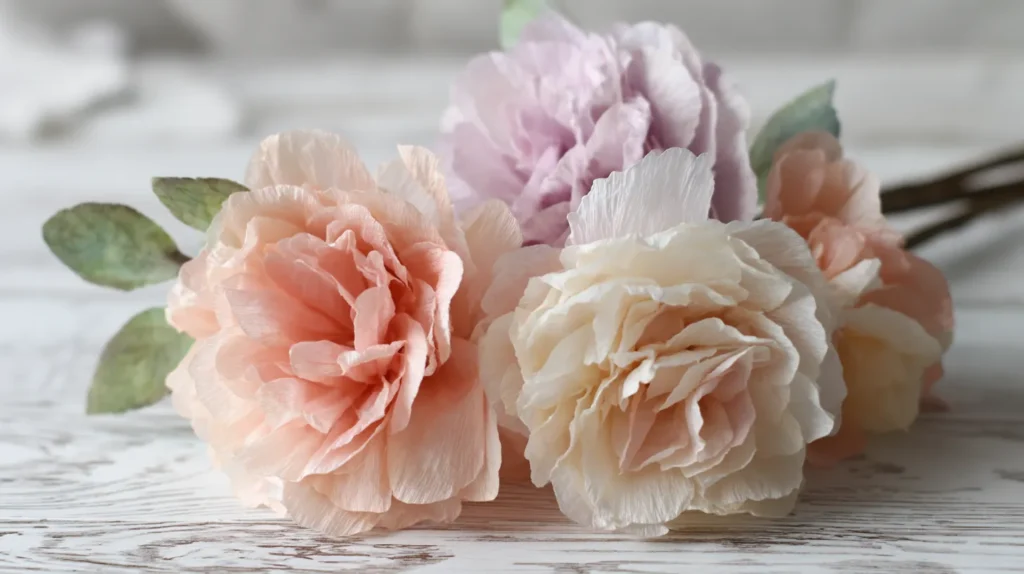
That’s exactly what happens here. Coffee filter flowers begin as plain little paper circles, and then they turn soft and romantic. Somehow, they go from kitchen drawer to party table without a dramatic collapse in between.
Living in Orlando also makes me appreciate decor that can stay cheerful indoors without wilting by lunchtime. Fresh flowers are beautiful, obviously. They also have very strong opinions about heat. Paper blooms stay put and mind their business.
I’ve found that this craft works best when I stop treating it like serious art. The second I loosen up, the flowers look better. They get more movement, more charm, and far less weird stiffness.
That might be my favorite part. It rewards a lighter hand. Better yet, it can turn a small mess into something Pinterest-cute without endless supplies. Frankly, I love that math.
And yes, I know that sounds dramatic for a stack of filters. Still, some projects earn a little drama. This one absolutely does. I love a low-cost overachiever.
So if you’ve been side-eyeing this craft, I get it. It sounds almost too sweet to work. Then the petals open and the color softens. Suddenly, the whole thing looks much pricier than it should.