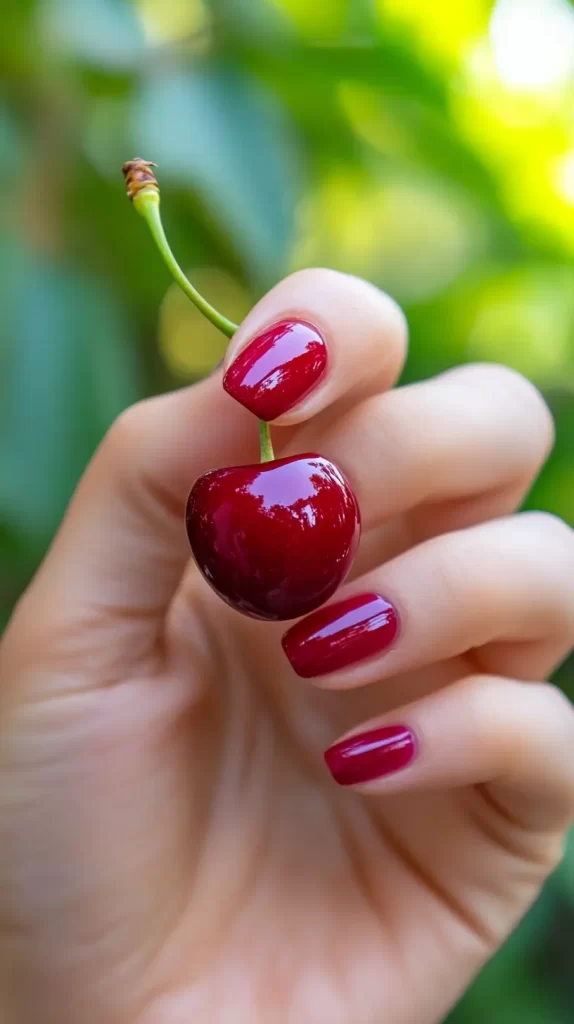
There’s something so cheerful about cherry nails. They’re cute, bold, and just feel fresh. You can wear them year-round, but they shine brightest in warmer months. They give off summer vibes. Think about a picnic with red gingham and lemonade. That’s the energy.
Cherry nails are more than just red polish. They have personality. You can go bold or subtle. Some have tiny cherry art, while others are a deep, shiny red. They work on short nails or long ones. They fit all ages too. Whether you’re 18 or 68, cherry nail designs can make you smile.
Here’s why people love them so much:
- They stand out without being too loud
- They feel playful and happy
- They work with lots of outfits
- You can change the style easily
- They look great on all skin tones
And let’s be honest. There’s just something sweet about cherries. They’re tiny, cute, and always in season when it comes to nail trends. Cherry nails are trending now for good reason. They remind us not to take things too seriously. That’s why I love sharing different ways to wear them.
In this post, I’ll walk through lots of ideas. You’ll see ways to wear them, colors that work well, and how to get the look at home. I’ll also share fun extras to add, like glitter or French tips. There’s even a section for kids and simple DIY styles.
If you’ve ever thought, “That looks fun, but I’m not sure it’s for me,” don’t worry. I’ll make it easy and fun. Whether you go to a salon or paint your own nails, this post is full of ways to try cherry nails that work for your style and your life.
This site includes affiliate links; you can check the disclosure for more details.
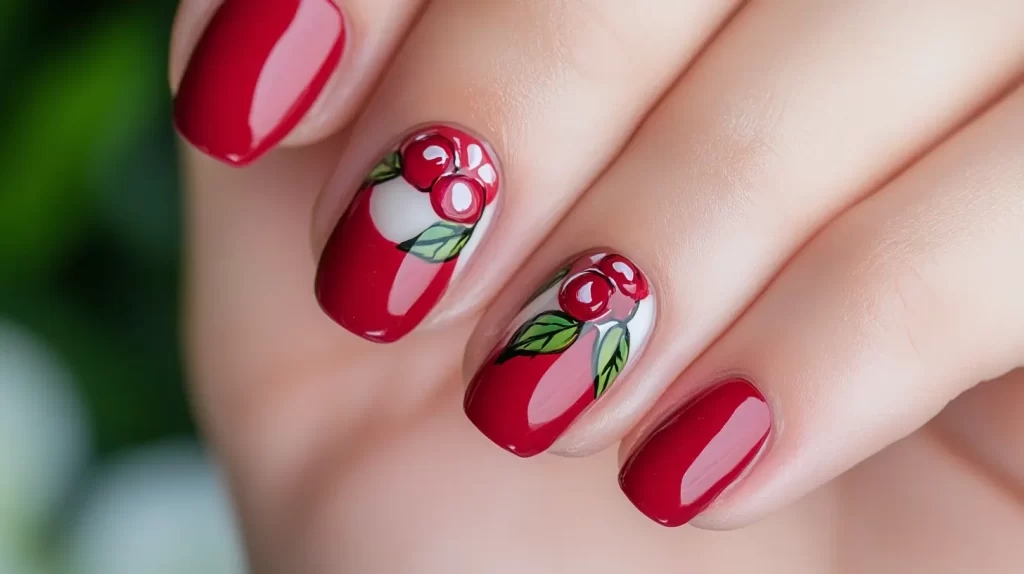
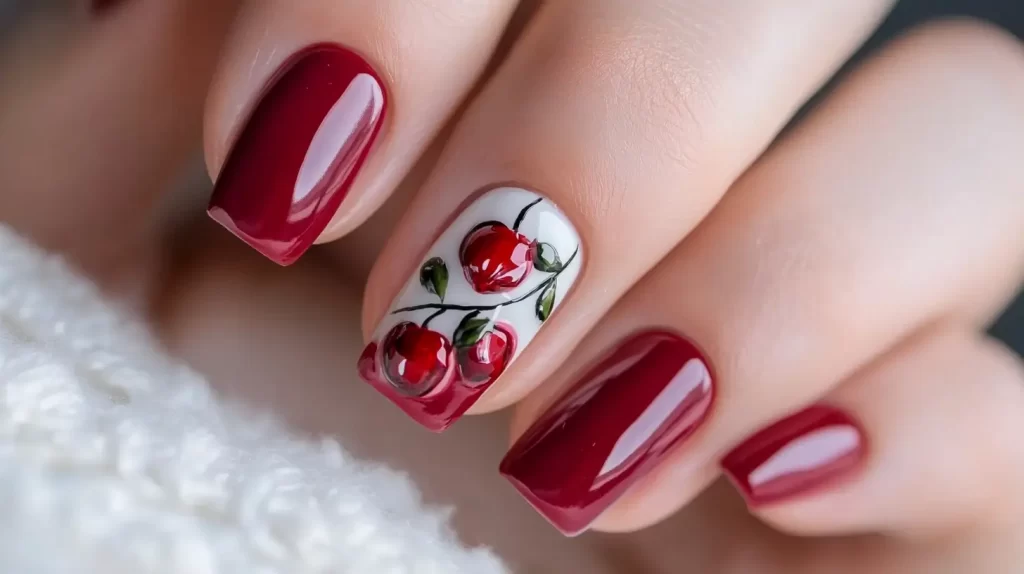
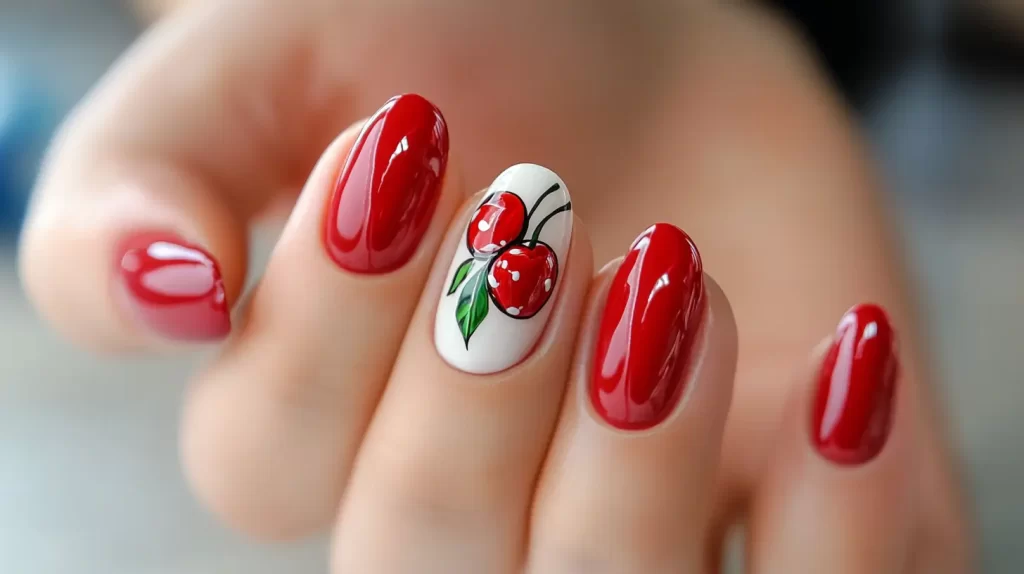
Classic red cherry nails that never go out of style
Red polish is a staple, and for a good reason. It’s timeless, clean, and bold without being too much. Pairing red polish with cute little cherry designs is just the perfect combo! These cherry nails have an old-school charm mixed with a fresh pop of fun.
Here’s what makes this style work:
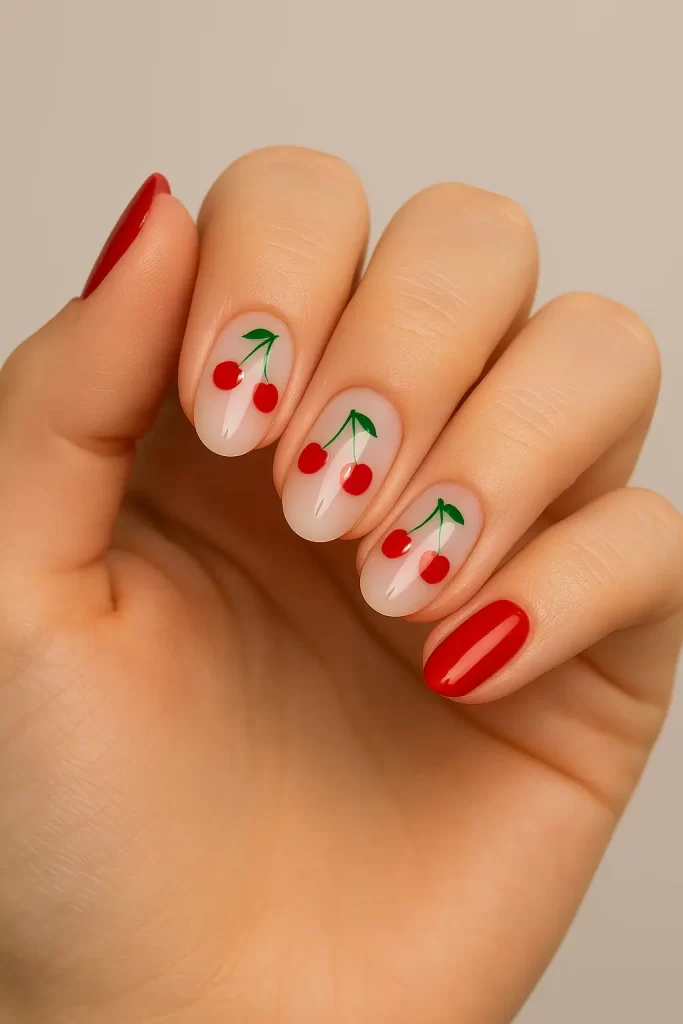
- Solid red base with tiny cherry art on one or two nails
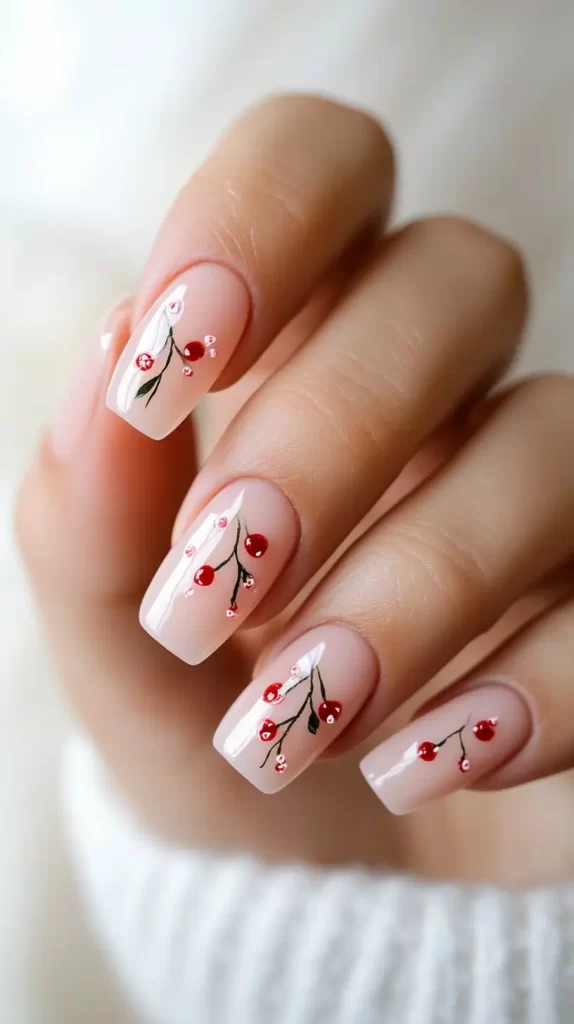
- Clear polish base with red cherry designs and green stems
- Glossy topcoat to seal the shine
You can go super simple or add a little flair. For example, use a bright red polish like “Cherry Bomb” or a deeper tone like “Cranberry Crush.” Keep the stems thin and green. A tiny dot of white polish on the cherries can make them look shiny and real.
Some tips:
- Use a toothpick for small details
- Try cherry stickers if you’re not great with freehand art
- Use dotting tools to make even cherry shapes
- Add a matte topcoat if you want a more grown-up look
This style works great for short nails too. You don’t need long tips to make it cute. In fact, it might be easier to pull off the small art on a short nail.
Classic red cherry nails are easy to wear, fun to show off, and perfect for almost any age or style. Whether you’re headed to a lunch with friends or just want to feel polished, this one always works.

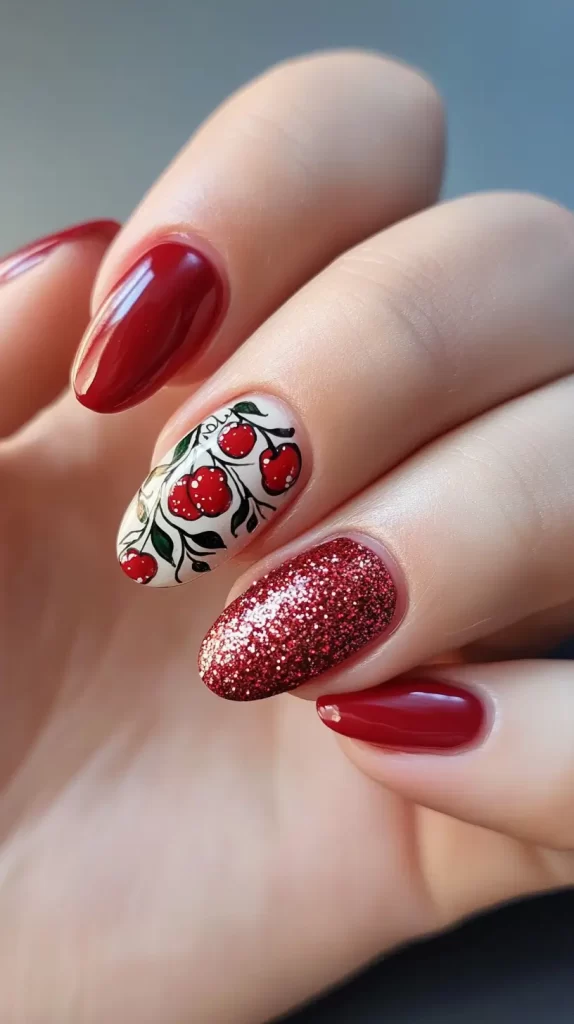
Fun ways to mix cherry nail art with other designs
Cherry nails don’t have to be just cherries. You can mix them with other fun styles to create a look that feels unique. Think about what you like. Do you love sparkles? Or French tips? Maybe even animal print? Cherries can fit in with all of those.
Here are some fun combos to try:
- Cherry French tips: Classic tip design, but swap white for red and add tiny cherries near the base
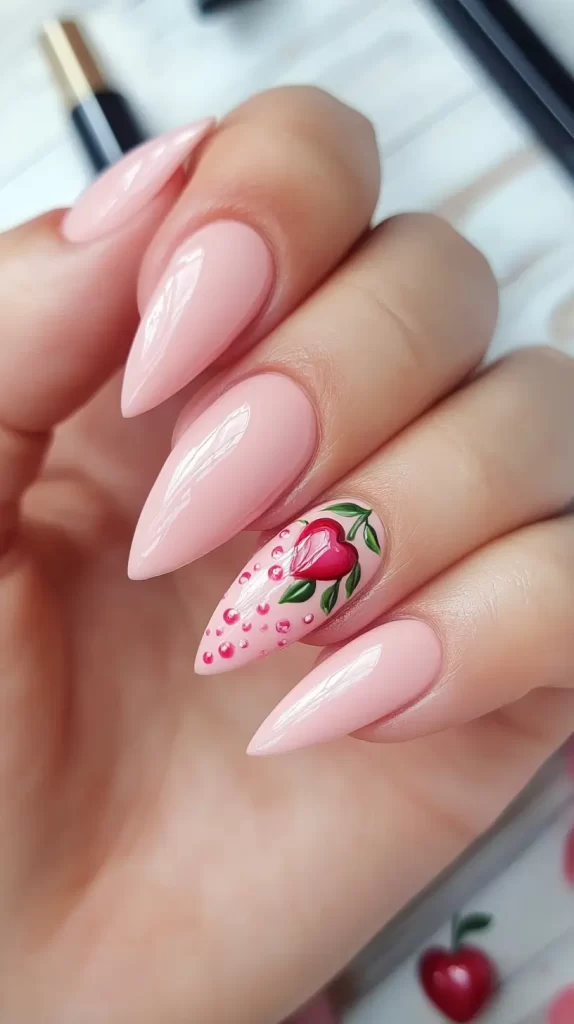
- Cherries with hearts: Great for Valentine’s Day or just for fun
- Checkerboard + cherries: Try a red-and-white checker pattern with cherry art on an accent nail
- Glitter and cherries: Use a clear base with fine glitter, then paint cherries on top
- Polka dots and cherries: White base with red dots and a few cherry nails mixed in
Want to really have fun with it? Try mismatched hands. Maybe one hand has cherry designs, and the other has red hearts or little flowers. You can also switch the colors up. Who says cherries have to be red? Try pink or even black cherries with gold stems.
Mixing styles helps your nails stand out even more. It keeps things playful and fresh. You don’t need to be an artist to make them cute. Many nail wraps and press-on nails offer mixed styles now, too. This is a great way to dip your toes (or fingers) into cherry nails without much effort.
Try out different designs to see what fits your mood.
Seasonal cherry nail ideas to match the vibe
Cherry nails aren’t just for summer. They can shift with the seasons too. You don’t have to change the theme—just the feel. A few color swaps and style tweaks, and cherry nails fit right into any time of year.
Let’s break it down by season:
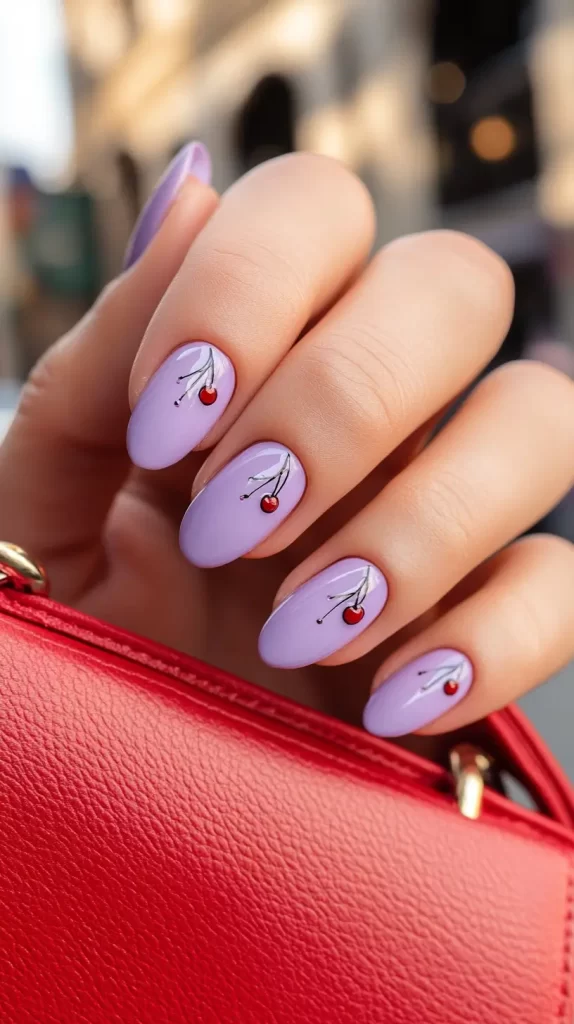
Spring cherry nails:
- Use pastel bases like mint, lavender, or baby blue
- Paint cherries in softer shades of red or even pink
- Add tiny white flowers for a blooming effect
- Try sheer polish for a fresh, light look
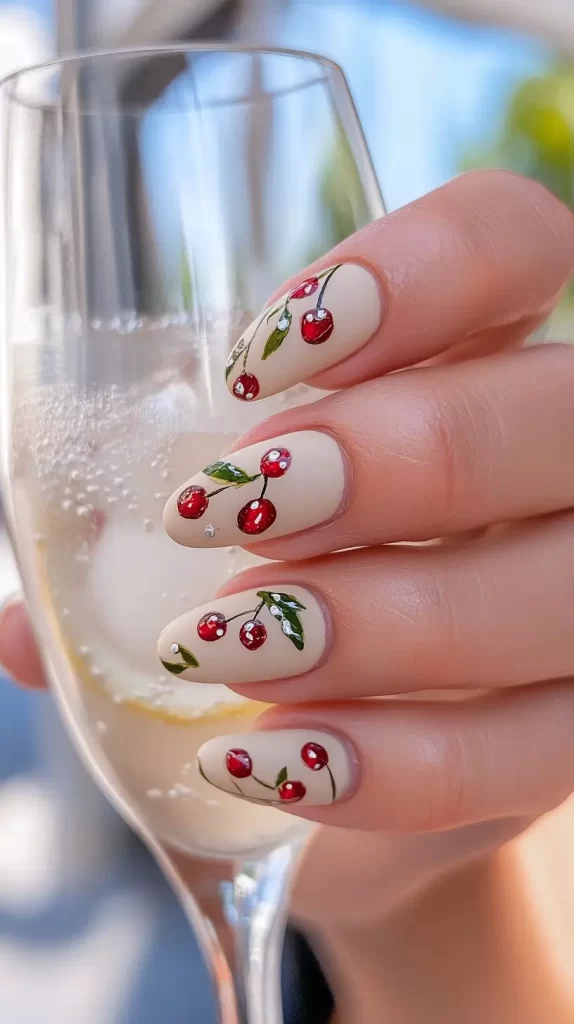
Summer cherry nails:
- Go bold with classic red cherries and green stems
- Use bright base colors like coral or white
- Add glitter or tiny fruit slices for a tropical touch
- Mix in gingham or picnic-themed nail art
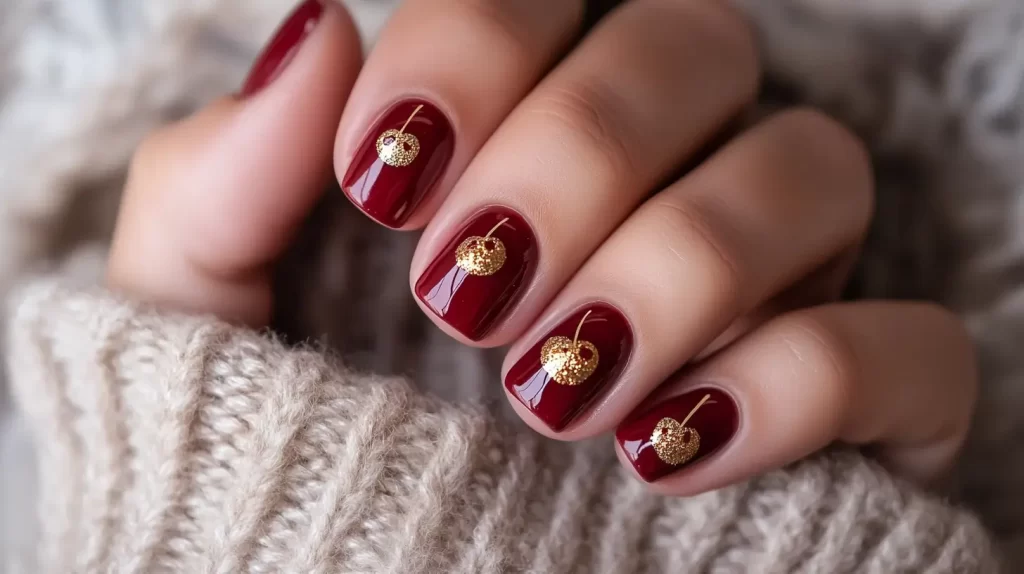
Fall cherry nails:
- Switch to deeper reds, like burgundy or brick
- Use warm-toned bases—think caramel, mustard, or cocoa
- Add copper or gold foil accents
- Try matte finishes for a cozy vibe
Winter cherry nails:
- Pair cherries with icy blue or silver polish
- Try deep navy or snowy white bases
- Add sparkle with glitter topcoats
- Draw white dots or snowflakes around the cherries
You don’t need to give up cherry nails when the seasons change. Just adjust your color palette and little details. A dark cherry with gold accents feels winter-ready. A pastel cherry with floral touches screams spring.
That’s the beauty of cherry nails—they’re flexible. One small tweak, and they go from summer picnic to holiday party. Keep the cherry charm all year long.
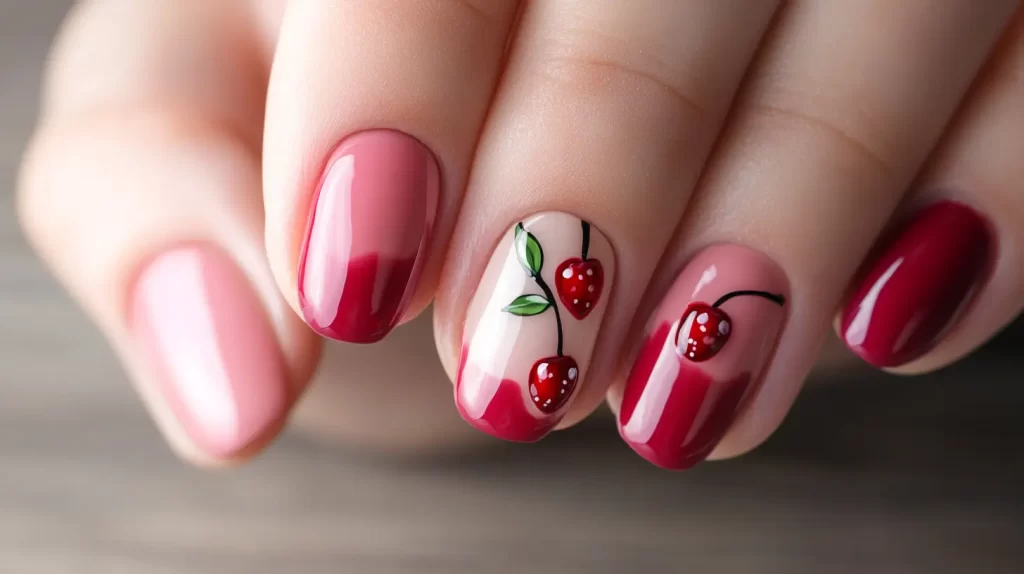
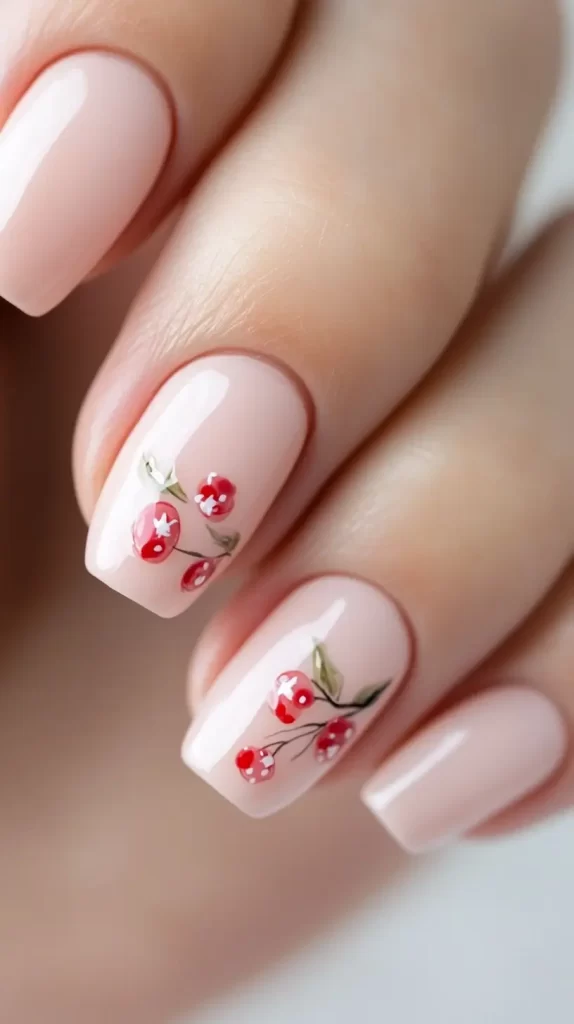
Cherry nail styles for short nails
Not everyone has long nails. And guess what? That’s totally fine. Short nails can look just as cute with cherry designs. In fact, small nail beds can make cherries look even more delicate and sweet. You don’t need long tips to get in on the cherry trend.
Here’s how to make cherry nails work on short nails:
- Stick with smaller cherry shapes
- Use lighter background colors to make the design pop
- Keep stems and details thin and simple
- Avoid crowding the design—less is more
Some great base color ideas:
- Pale pink
- White
- Nude beige
- Soft lilac
Now for the design ideas:
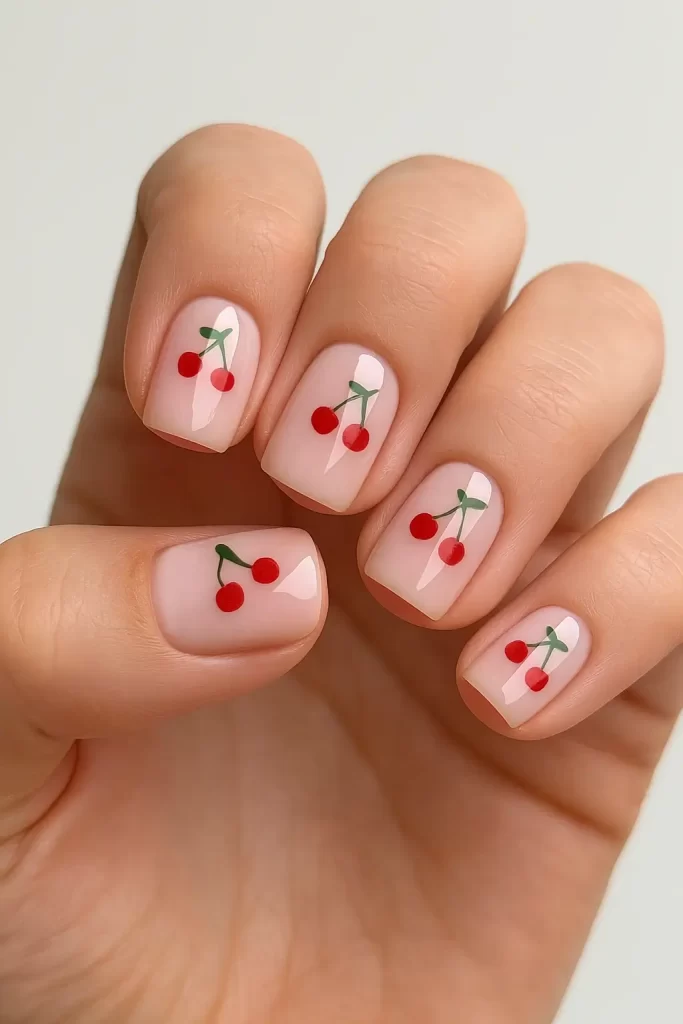
- Tiny cherry bunch on one or two nails
- One single cherry on each nail
- Mix of cherries and red dots for a fun pattern
- Cherry stickers on a clear or neutral base
You can also go with a matte finish if you want a softer look. It works well with short nails and keeps the design feeling modern.
Need something even simpler? Try:
- A sheer pink polish with one cherry on the ring finger
- Red polish with green dot stems, no full cherries
- A cherry on just the thumb and leave the rest clear
Short nails are easy to manage, and they dry fast too. Plus, you can change the design more often without a big fuss. That’s the fun of cherry nails. You can make them work with whatever you’ve got.
DIY cherry nails at home
You don’t need a salon to enjoy cherry nails. You can create cute looks right at home. All you need is some polish, a few tools, and a little time. Don’t worry if you’re not a pro. These ideas are simple and still look great.
First, gather your tools:
- Red polish
- Green polish or a nail art pen
- Toothpick or dotting tool
- Base coat
- Top coat
- Nail polish remover and cotton swabs (for mistakes)
Now for the easy steps:
- Apply a base coat
- Paint your nails with a soft base color or leave them clear
- Use a dotting tool to make small red dots (your cherries)
- Add thin green lines for the stems using a nail art pen or toothpick
- Let it dry and finish with a top coat
Want a shortcut?
- Use cherry nail stickers
- Try press-on nails with cherry designs
- Use nail wraps—they go on fast and last longer
DIY cherry nails are fun for a weekend project or a girls’ night in. You can also get kids involved if they want to try a design too. Just keep it simple, and remember—perfect isn’t the goal. Having fun with it is what matters most.


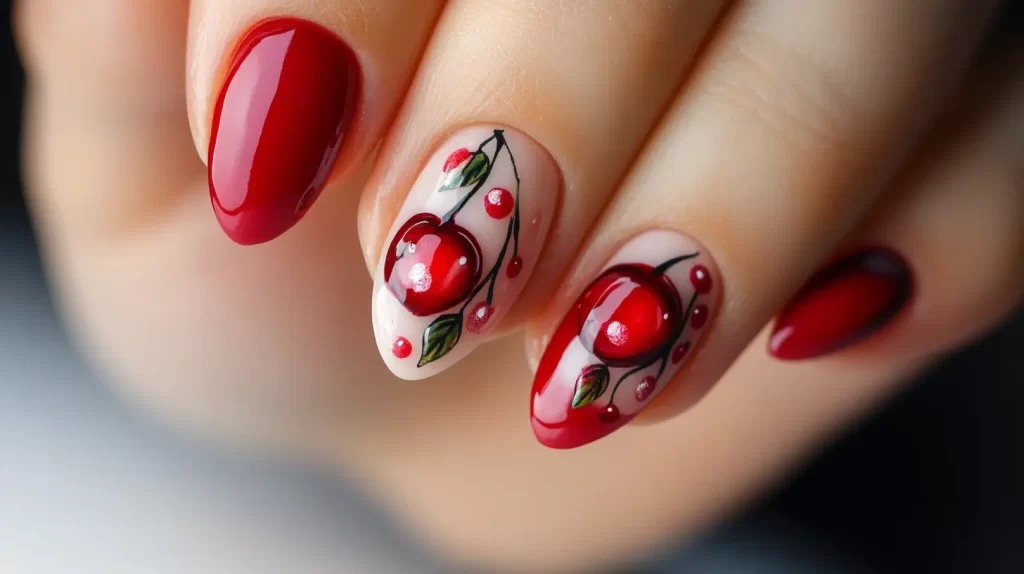
French tip cherry nails with a twist
French tips are always in style. But when you add cherries to them? It’s a whole new look. You get the clean lines of a French manicure, but with a pop of color and fun.
Here’s how to switch up your French tips with cherries:
- Use red instead of white for the tips
- Paint small cherries near the cuticle area
- Try cherry art only on accent nails (like your ring finger)
- Use glitter tips and cherry art together
- Flip the design—cherry tips with a nude or pink base
You can go soft or bold. Want it to look classic? Use pale pink for the base and bright red tips. Want more fun? Try glitter tips and cherry stickers. You can even do ombré tips that blend into red.
A few combos to try:
- Red French tips with one nail covered in cherries
- Nude base with green tips and red cherries
- Pink shimmer base with tiny cherries near the base of each nail
Cherry nails work well with French tips because both styles feel clean but playful. This combo is a great choice if you like simple designs but want something a little different. It’s an easy way to dip into nail art without going all in.
Plus, they look super cute for spring and summer. Think sandals, sunshine, and sipping lemonade. Yep, that’s the vibe.
Kid-friendly Ideas
Cherry nails aren’t just for adults. They’re fun for kids too. Whether you’re doing their nails for a party or just a fun afternoon, cherries are a great pick. They’re simple, sweet, and easy to do on small nails.
Here’s why cherry nails work well for kids:
- Bright colors catch their attention
- Easy shapes are simple to paint
- They’re playful and fun
Some cute kid-friendly designs:
- One cherry on each nail
- Cherry stickers over light pink polish
- Red nails with tiny white hearts and one cherry
- Clear polish with scattered red dots to look like cherries
Use non-toxic polishes made for kids. These usually wash off easier and are safer for little ones. You can also use peel-off stickers if they want to change the design often.
Here are some fun extras:
- Glitter topcoat for sparkle
- Fruit-themed nails with cherries, strawberries, and watermelons
- Matching toe nails for summer sandals
- DIY nail stations at birthday parties
You can also keep it extra simple:
- Paint all nails red
- Add a cherry sticker to the thumb
- Use a topcoat to help them last longer
Cherry nails are a fun way to let kids express themselves. It doesn’t have to be fancy or perfect. Just something cute they can enjoy and show off.

Final Thoughts
Cherry nails are more than just a cute trend. They’re a fun way to show personality, try something playful, and brighten your day. Whether you go bold with full cherry art or just a touch on one nail, there’s something here for everyone.
We looked at classic red styles, fun combos, and kid-friendly ideas. You saw how short nails can still rock the look. You also got some easy tips for doing cherry nail designs at home. And we even added some twists, like French tips and glitter.
The best part? Cherry nails don’t need to be perfect. They’re fun, cheerful, and easy to make your own. Feel free to mix and match styles, throw on some stickers, or just grab a press-on set! It’s not about getting it right—it’s about enjoying it.
If you’re someone who loves trying new things, this is a simple way to start. You don’t need a big budget or fancy tools. Just a few polishes, a little time, and a playful attitude. That’s all it takes to make cherry nails part of your look.
Whether you’re painting your own nails or helping your kids, I hope you found an idea that sparked something. And if you’re sharing your cherry nail art on Pinterest, tag your favorites or save this post for later.
Now that you’ve seen all these fun ideas, which one are you going to try first?