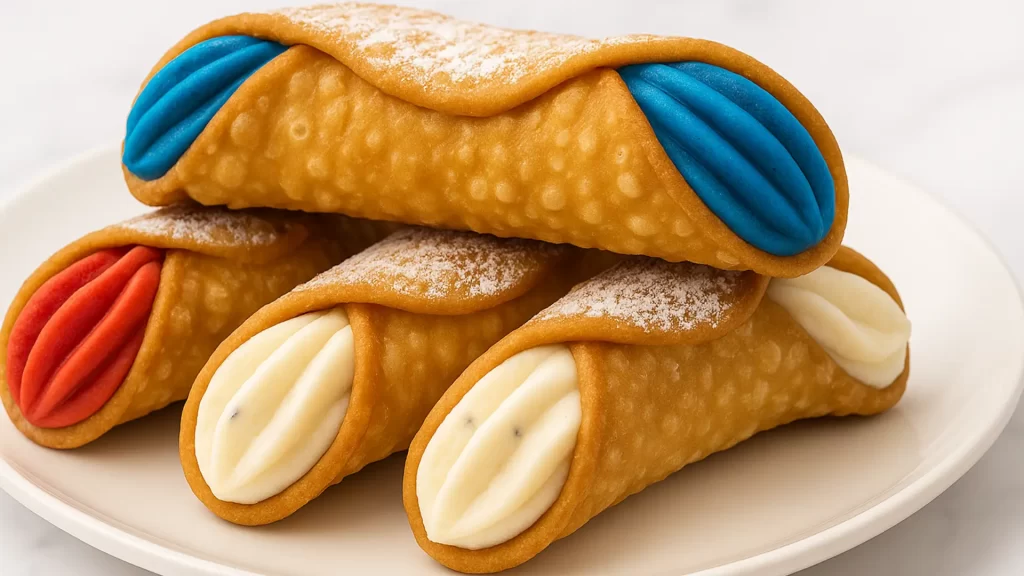
I’ve seen so many cute treats for patriotic parties, but this one might take the cannoli. The red, white, and blue cannoli trend is just too fun to ignore. These sweet little shells filled with colorful cream are perfect for Memorial Day, Fourth of July, or any summer get-together. And don’t worry, I’m keeping this simple. You won’t need a pastry degree or fancy tools.
What makes these cannoli work is the color. We’re not using food coloring here. Instead, I use freeze-dried fruit for bold natural color and flavor. That’s the fun part. You mix one batch of filling and split it into thirds. One gets crushed freeze-dried strawberries, one stays plain, and one gets freeze-dried blueberries. That gives you the red, white, and blue theme without fake dye or extra work.
These are also easy to serve. They’re mini. That means they’re grab-and-go, and you don’t have to cut anything. People can grab one of each color or just pick their favorite. These are always a hit with both kids and adults.
In this post, I’ll walk you through every step. From choosing shells to making the filling, I’ve got you. I’ll share a few tips to keep the shells crisp. I’ll also tell you how to store them, how to make them ahead, and even ways to dress them up.
So whether you’re hosting or bringing dessert to someone else’s backyard bash, this idea works. Red, white, and blue cannoli are festive, fun, and easier than you think. Let’s get into the details, and I’ll show you how to make them come out just right.
This site includes affiliate links; you can check the disclosure for more details.
What You Need
The base is simple. You’ll need cannoli shells and a creamy filling. What makes them pop is the color.
Let’s break it all down.
Cannoli Shells:
- You can buy mini cannoli shells at most grocery stores.
- If you can’t find mini ones, regular-sized shells work too.
- Don’t try to make the shells from scratch unless you really want to.
Filling:
- Ricotta cheese is the classic base. Choose whole milk ricotta.
- Add powdered sugar to sweeten.
- A bit of vanilla makes the flavor pop.
- Optional: add a few tablespoons of cream cheese for a thicker texture.
Color and Flavor:
- For red: freeze-dried strawberries, crushed into powder.
- For blue: freeze-dried blueberries, crushed into powder.
- For white: just leave it plain vanilla cream.
Other tools:
- Mixing bowls
- Hand mixer or whisk
- Piping bags or zip-top bags
- Food-safe gloves (optional but helpful)
Once you have everything ready, the rest is fast. The hardest part is not eating the filling before you stuff the shells. The keyword here is cannoli, and this version is a patriotic party favorite. Stick around because we’re just getting started.

How to Make the Filling
Start by making one big batch of filling. You’ll split it into three bowls after it’s mixed. Here’s how I do it.
Basic Filling Recipe:
- 1 ½ cups whole milk ricotta (drain well)
- ½ cup powdered sugar (or adjust to taste)
- 1 tsp vanilla extract
- Optional: 2 tbsp cream cheese for thickness
Steps:
- Drain the ricotta using a paper towel or cheesecloth if it seems watery.
- Beat the ricotta with the sugar and vanilla until smooth.
- If using cream cheese, add that in and mix well.
Divide into Three Equal Portions:
- Bowl 1: Leave plain for the white cream.
- Bowl 2: Stir in 1–2 tablespoons crushed freeze-dried strawberries.
- Bowl 3: Stir in 1–2 tablespoons crushed freeze-dried blueberries.
Let the mixture chill for at least 30 minutes. This helps it thicken a bit more and makes it easier to pipe.
If the filling is too soft to pipe, add a little more cream cheese. Just don’t overdo it or it’ll lose that smooth texture. Taste each bowl as you go. The fruit adds sweetness, so you might not need extra sugar.
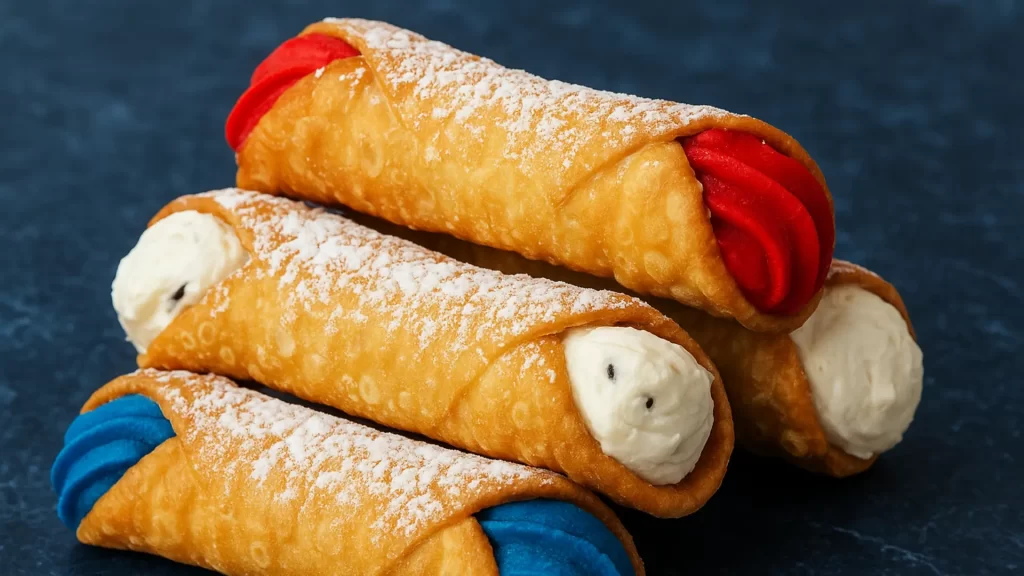
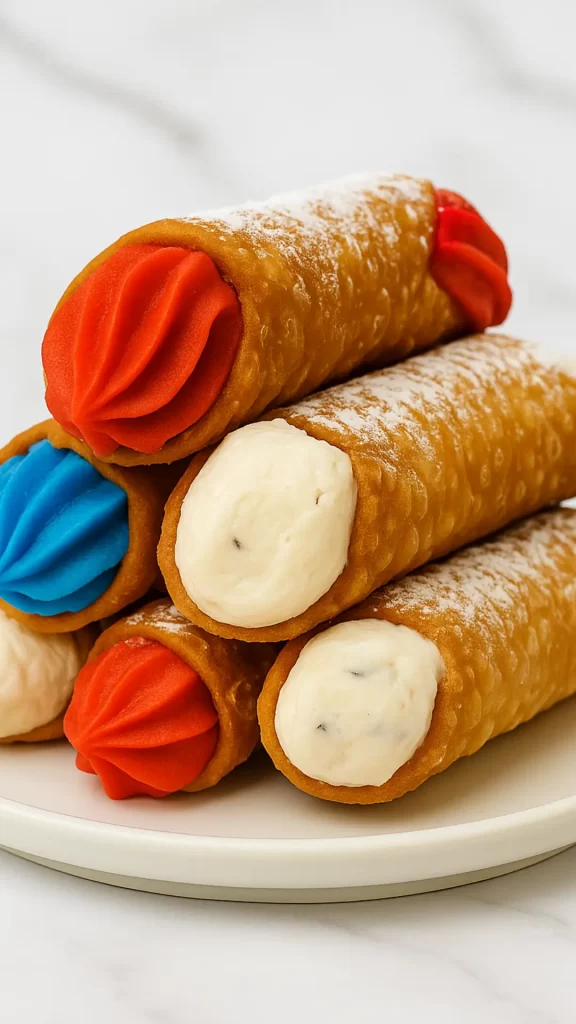
This red, white, and blue filling makes every cannoli a little surprise. And once it’s piped in, the colors look amazing together on a tray.
How to Get Bold Red, White, and Blue Cannoli Filling
Let’s talk color. If you want that wow factor, natural freeze-dried fruit just won’t cut it. It gives you pink and lavender, which is pretty—but not bold. For true red, white, and blue cannoli filling, you’ll want to use food dye.
I kept it super simple.
Start with your classic ricotta filling. Once it’s creamy and sweetened just right, divide it into three bowls.
Here’s how I color mine:
- White: Leave it plain. Easy.
- Red: Add a small amount of red gel food coloring (not liquid). Start with a toothpick tip’s worth. Stir and adjust.
- Blue: Same thing—blue gel food coloring works best for a rich color. Add slowly until it’s the blue you want.
Why gel and not liquid?
- Gel color is more concentrated.
- It doesn’t thin out your filling.
- You need less, so the texture stays perfect.
Tips to get it just right:
- Stir well after adding the color.
- Let it sit for a few minutes. The color deepens as it rests.
- Taste test after coloring. The dye shouldn’t affect flavor, but you can always add a little extra vanilla if needed.
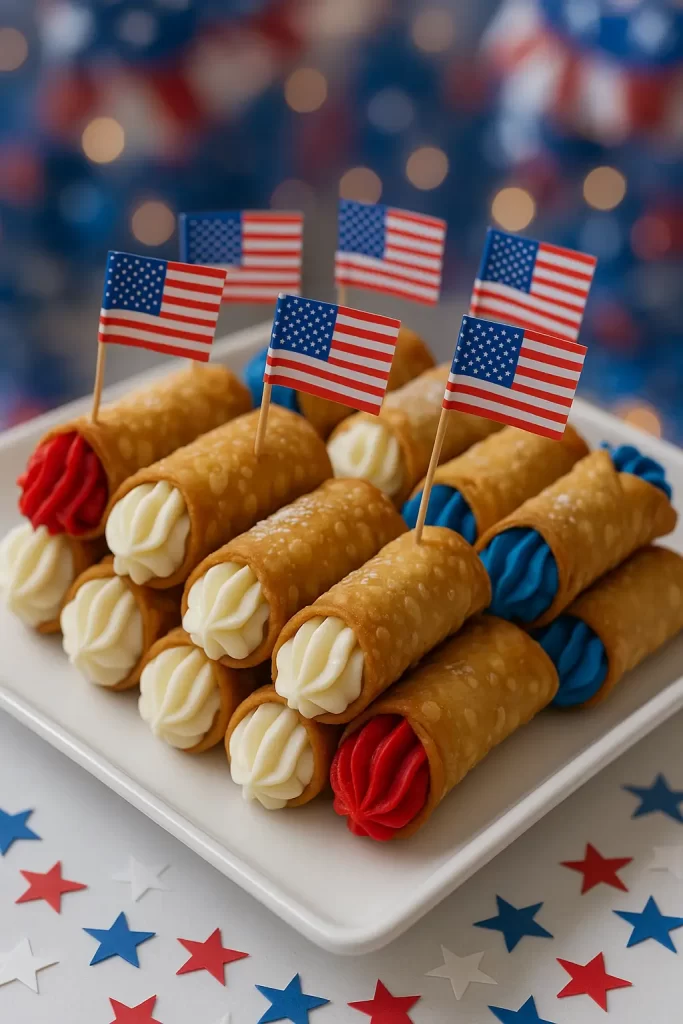
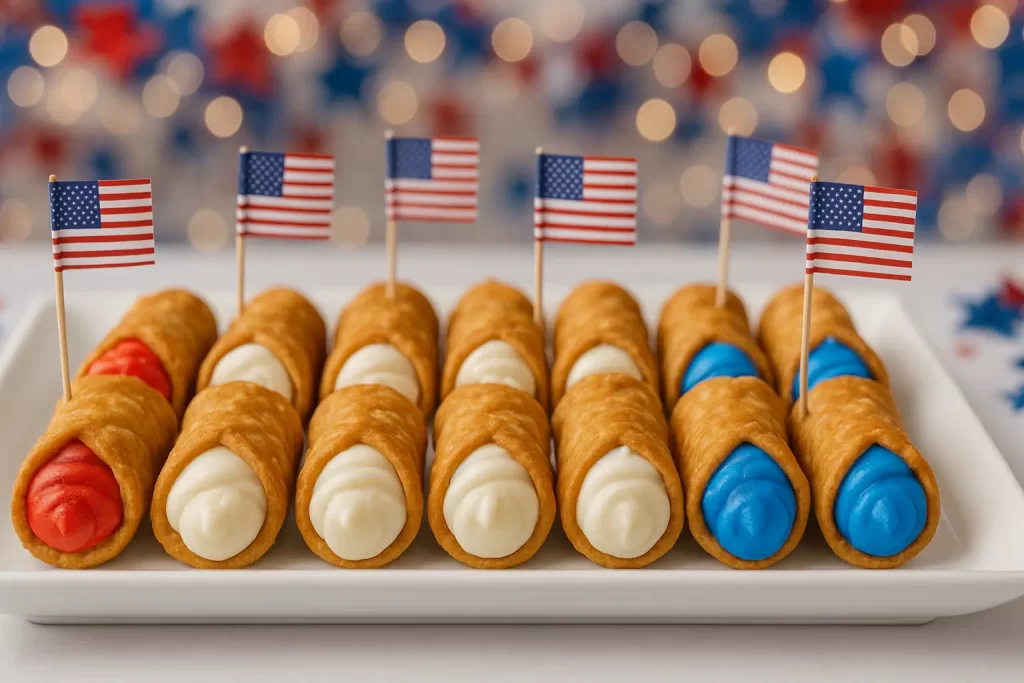
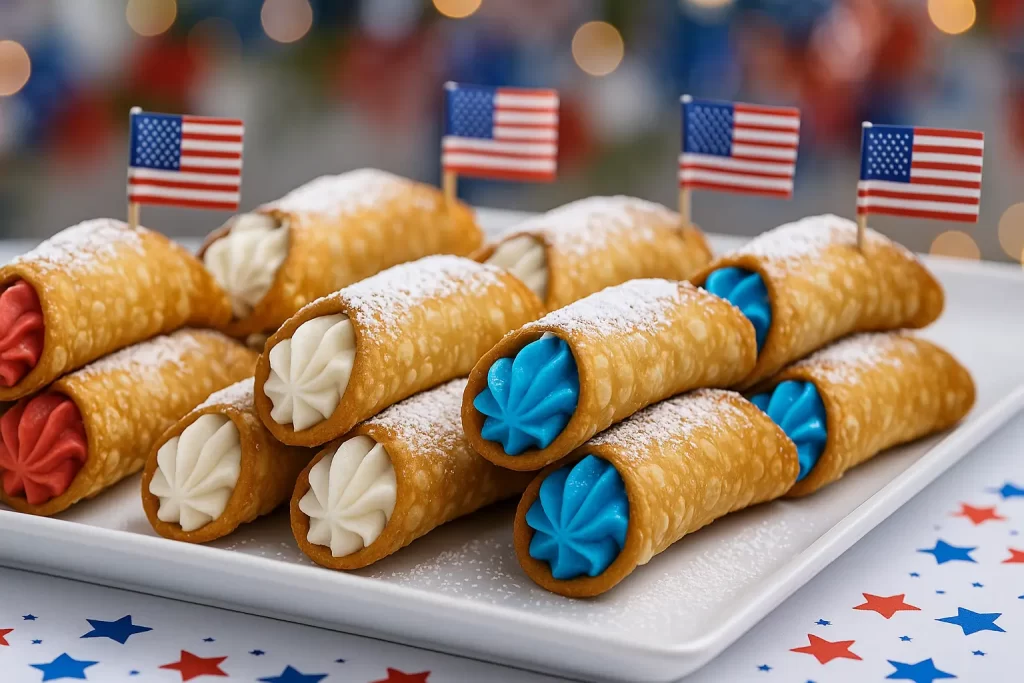
If you’re making these for Fourth of July or Memorial Day, the bold color really sells the theme. Red, white, and blue cannoli with bright swirled ends will stand out on any dessert table.
Assembling and Piping the Cannoli
Once the filling is chilled and ready, it’s time to fill those shells. This part goes fast, but it helps to be organized.
Tips Before You Start:
- Only fill the shells shortly before serving. This keeps them crisp.
- If you need to make them earlier, store shells and filling separately.
- Use piping bags or zip-top bags with the corner snipped off.
How to Pipe:
- Add each color filling to its own bag.
- Hold the shell gently in one hand.
- Pipe from both ends toward the middle so the filling meets in the center.
- Don’t overfill—just until the ends are full and pretty.
You can make a full tray of red, a tray of white, and a tray of blue. Or mix them up so guests get a little of everything. I like the idea of making a flag pattern on the tray using the different colors.
Want to jazz them up? Try rolling the ends in mini chocolate chips or colored sprinkles. Crushed cookies work too.
This keyword phrase might be cannoli, but these colorful versions feel like their own category of dessert. They’re fun to make and even more fun to eat.
Storage Tips
The number one rule? Don’t fill them too far in advance. That’s the key to keeping the shells crisp.
Here’s what works best:
- Store unfilled shells in an airtight container.
- Keep the filling chilled in the fridge for up to three days.
- Only pipe the filling into the shells within 1–2 hours of serving.
If You Need to Travel:
- Bring the shells in one container.
- Bring the filling in separate bags or containers.
- Pipe once you get there or right before serving.
Want to freeze anything?
- You can freeze the filling in a pinch. Just stir it again once it thaws.
- Never freeze filled shells—they’ll turn soggy fast.
- Unfilled shells stay crisp for weeks if stored right.
If you’re planning a big party, you can prep most of this a day or two early. That way, you’re not stuck in the kitchen when guests arrive.
These cannoli are all about balance. Crispy outside. Creamy inside. The trick is not letting one ruin the other. Trust me—once you get this right, you’ll use this trick for other flavors too.
Fun Ways to Serve Patriotic Cannoli at Parties
Presentation can take these from cute to wow without much effort. I’ve got some ideas to help with that.
Simple Serving Ideas:
- Use a white tray for contrast.
- Arrange them in rows: red, white, then blue.
- Or place them in a spiral or star shape.
Other Fun Ideas:
- Place a flag toothpick into each one.
- Use cupcake liners to keep them from sticking.
- Add a chalkboard sign so people know the flavors.
Create a Mini Cannoli Bar:
- Set out unfilled shells.
- Offer the three filling colors in piping bags.
- Add toppings like:
- Mini chocolate chips
- Crushed graham crackers
- Crushed cookies
- Red, white, and blue sprinkles
- Chopped nuts
Letting guests fill their own is fun for all ages. Just be sure to keep the fillings cold if they’re out for a while.
This version of cannoli isn’t just pretty—it’s a conversation starter. And with all the color and variety, people will be lining up for seconds.
Patriotic Party Trays That Make Red, White & Blue Cannoli Shine
Presentation really matters, especially for holidays like Fourth of July or Memorial Day. A pretty tray can make your red, white & blue cannoli the first thing guests grab. I’m all about easy ideas that look like you tried hard (even if you didn’t).
Here’s how I like to dress them up:
Use a Themed Tray:
- Try a flag-shaped tray or one with stars and stripes.
- A plain white tray works too—just add a red napkin underneath.
- Dollar stores often have cute options for holidays like Flag Day or Labor Day.
Tray Layout Ideas:
- Make rows: red cannoli, white cannoli, then blue cannoli.
- Go in a swirl or spiral for something a little more fun.
- Make a flag pattern with them if your tray is rectangular.
Add Simple Decorations:
- Use tiny toothpick flags. Stick one in each cannoli.
- Sprinkle red, white, and blue confetti on the tray (not the food).
- Place little pinwheels or mini sparklers around the tray edges.
Extra Touches:
- Add a small sign that says “Red, White & Blue Cannoli.”
- Put the tray on top of a patriotic-themed placemat.
- Surround the tray with strawberries and blueberries for even more color.
It doesn’t have to be fancy or expensive to look festive. These little details can really pull everything together. You want the tray to scream summer celebration before anyone even takes a bite. Holidays like the Fourth of July are the perfect excuse to have fun with it.
And when your red, white & blue cannoli look this good, they’ll go fast. So maybe make a few extra—just in case!
Turning Red, White & Blue Cannoli into a Kid-Friendly Activity
Kids love to help in the kitchen, especially when it’s something colorful and sweet. Red, white & blue cannoli are a fun way to get them involved. And if you’re hosting a family party for Labor Day or the Fourth of July, this keeps little hands busy and happy.
Here’s how to set it up so it’s fun, not stressful:
Make a Cannoli Decorating Station:
- Pre-fill piping bags with each color filling.
- Set out unfilled mini shells.
- Use muffin tins to hold toppings.
Kid-Approved Toppings:
- Red, white, and blue sprinkles
- Mini chocolate chips
- Crushed cookies
- Crushed freeze-dried fruits
- Mini marshmallows
Helpful Tips:
- Use plastic tablecloths so cleanup is easy.
- Let each child decorate their own cannoli.
- Keep baby wipes nearby for sticky fingers.
Holiday-Themed Add-Ons:
- Let kids add a tiny flag toothpick to their creation.
- Offer red and blue cupcake wrappers for holding finished cannoli.
- Play party music to keep the energy up.
Make It a Contest (Just for Fun):
- Categories like “Most Creative,” “Most Colorful,” or “Best Use of Sprinkles.”
- Hand out silly prizes like glow bracelets or stickers.
This gives kids something to do that feels special and keeps them part of the celebration. They’ll feel proud showing off their red, white & blue cannoli, and even pickier eaters might sneak a bite of what they made. And honestly, it’s fun for adults, too.
So if you’re looking for a sweet party activity, this one checks all the boxes—cute, hands-on, and delicious.


Red, White, and Blue Cannoli
Ingredients
Filling
- 1 ½ cups whole milk ricotta cheese well-drained
- ½ cup powdered sugar
- 1 teaspoon vanilla extract
- Optional 2 tablespoons cream cheese for thicker texture
- 24 mini cannoli shells store-bought
Natural Color
- 2 tablespoons freeze-dried strawberries crushed into powder
- 2 tablespoons freeze-dried blueberries crushed into powder
Bold Color
- Red gel food coloring
- Blue gel food coloring
Instructions
Filling
- Drain the ricotta using paper towels or cheesecloth until most of the moisture is gone.
- In a mixing bowl, combine the ricotta, powdered sugar, and vanilla extract.
- Mix until smooth using a hand mixer or whisk.
- If desired, add cream cheese and mix again for a firmer filling.
- Divide the filling evenly into three separate bowls.
Natural
- Leave the first bowl plain (white).
- Stir the crushed freeze-dried strawberries into the second bowl for red filling.
- Stir the crushed freeze-dried blueberries into the third bowl for blue filling.
Bold Color
- Leave the first bowl plain (white).
- Add a small amount of red gel food coloring to the second bowl and stir well.
- Add a small amount of blue gel food coloring to the third bowl and stir well.
- Let colored fillings sit for a few minutes to deepen in color.
Final Steps
- Cover each bowl and refrigerate for at least 30 minutes.
- Once chilled, transfer each color filling into its own piping bag or zip-top bag with the corner snipped.
- Just before serving, pipe each cannoli shell from both ends toward the center, filling with red, white, or blue cream.
- Arrange filled cannoli on a tray in rows or flag pattern for a festive look.
- Serve immediately or within 1–2 hours for best crispness.
Creative Twists on the Classic Red, White & Blue Cannoli
Sometimes it’s fun to take a classic and give it a twist. Red, white & blue cannoli are already festive, but there are easy ways to make them even more exciting. These ideas work great for themed parties on Memorial Day, the Fourth of July, or even a relaxed backyard bash on Labor Day.
Change Up the Shells:
- Dip the ends in white chocolate, then roll in sprinkles.
- Use chocolate-dipped shells for more flavor.
- Try waffle cone pieces shaped into little tubes (a bit crunchy but still fun).
Try a New Filling Flavor:
- Mix lemon zest into the white filling for a brighter taste.
- Add a little almond extract to the strawberry or blueberry versions.
- Swirl two colors together for a fun tie-dye look.
Make It Bite-Sized:
- Use mini pastry shells instead of traditional cannoli tubes.
- Fill tiny cups or shot glasses for a no-mess version.
- Make cannoli dip and serve with cinnamon chips or graham crackers.
Serve It Cold:
- Freeze the filled cannoli for an hour to make a chilled treat.
- Store in the fridge and serve straight from a cooler on hot days.
Add Crunchy Toppings:
- Crushed pretzels for salty-sweet crunch
- Crushed freeze-dried fruit on top for a bold look
- Toasted coconut flakes for a little extra texture
These twists don’t take much more time, but they make your red, white & blue cannoli stand out even more. And if you’re someone who hosts often, it keeps things from feeling too repetitive. Each version feels a little different, even though you’re working with the same base.
It’s a small change with a big impact—and that’s my favorite kind of party trick.
How to Make Cannoli Shells from Scratch
Store-bought shells work great, but if you want to go all in, you can totally make the cannoli shells from scratch. It’s a little extra effort, but the taste and texture are next-level. Homemade shells are crisp, golden, and full of that bubbly, rustic look we all know and love.
Here’s what you’ll need to make about 20–24 mini cannoli shells.
Ingredients:
1 cup all-purpose flour
1 tablespoon granulated sugar
¼ teaspoon salt
1 tablespoon unsalted butter, cold and cubed
1 egg yolk
¼ cup sweet marsala wine (or dry white wine)
1–2 tablespoons water, if needed
Vegetable oil, for frying
Instructions:
In a mixing bowl, whisk together the flour, sugar, and salt.
Add the cold butter and use your fingers or a pastry cutter to blend it in until it looks sandy.
Mix in the egg yolk and marsala wine until the dough starts to come together.
If it’s too dry, add water—just a teaspoon at a time—until a smooth dough forms.
Knead the dough on a floured surface for 3–5 minutes until soft and smooth.
Wrap it in plastic wrap and let it rest for 30 minutes at room temperature.
Roll the dough out very thin—about 1/16 inch.
Cut into circles about 3–4 inches wide for mini cannoli.
Wrap each circle around a metal cannoli tube and seal the edge with a dab of water.
Heat vegetable oil in a deep pot to 350°F.
Carefully fry each shell for 1–2 minutes, turning with tongs until golden brown and bubbly.
Remove from the oil and drain on paper towels. Let them cool slightly before sliding them off the metal tubes.
Let shells cool completely before filling. Store in an airtight container until ready to use.
Now you’ve got the real deal—golden, crispy, homemade cannoli shells that are perfect for your red, white, and blue filling!
Final Thoughts on Red, White & Blue Cannoli
These red, white, and blue cannoli are a fun twist on a classic dessert. They’re easy to make, look amazing on a party table, and taste just as good as they look. I kept everything simple, from the ingredients to the steps, because I know not everyone has time for complicated recipes.
Here’s a quick recap of what we covered:
- You only need a few simple ingredients.
- The colors come from freeze-dried fruit, not food coloring.
- You mix one filling and split it into three for red, white, and blue.
- Keep the shells and filling separate until you’re ready to serve.
- Use piping bags to keep things neat.
- Try fun serving ideas like trays, toothpicks, or even a DIY bar.
This idea works well for any summer party. Whether you’re hosting or bringing dessert, this will impress without the stress. It’s cute, colorful, and actually easy to pull off.
The best part? It’s something that stands out in photos too. So if you’re sharing your party spread on Pinterest, this dessert earns its spot. Everyone loves a festive treat, especially when it’s this tasty.
So next time you’re looking for a showstopper that’s low effort but high reward, give these a try. Red, white, and blue cannoli check all the boxes: simple, fun, and delicious.