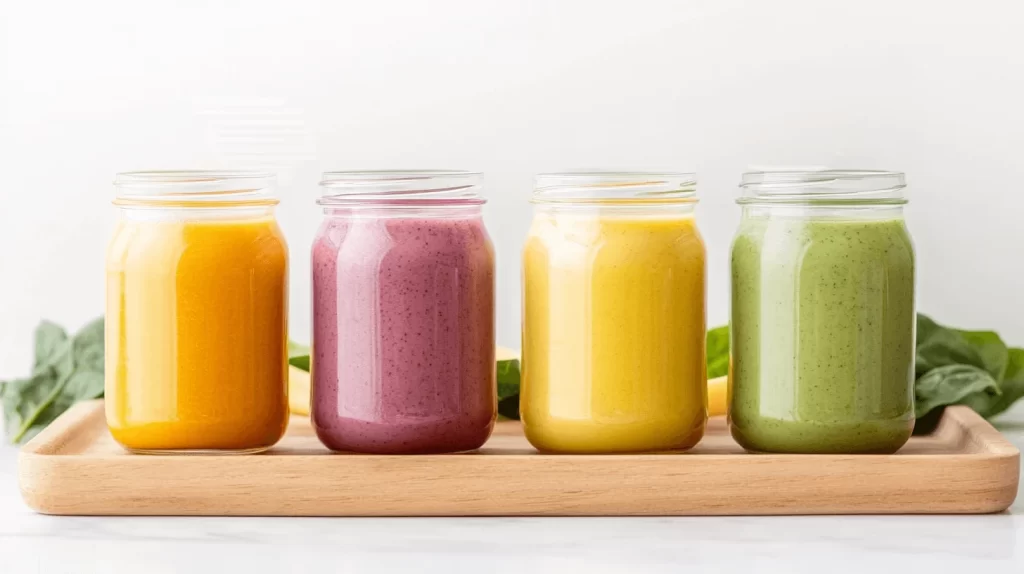
Making homemade baby food is such a fun and rewarding experience. From smooth purées for a tiny 4-month-old to exciting finger foods for an adventurous 18-month-old, there’s so much to explore! Each stage lets your baby try new flavors and textures, and you get to control exactly what goes into their meals. In this post, I’ll share some amazing baby food recipes to try at home.
You don’t need fancy tools or complicated Pinterest techniques to make tasty, healthy baby food at home. If you are trying out carrot blending for the first time or want fresh ideas, this guide is here for you! Let’s jump into all the essentials, from handy tools to simple baby food recipes that adapt as your little one grows.
This site includes affiliate links; you can check the disclosure for more details.
Why Homemade Baby Food is a Great Idea
Making your own baby food has so many benefits! First, you know exactly what your baby is eating—no preservatives, additives, or sneaky sugars. It’s fresher, healthier, and so much more affordable. A bag of carrots or a couple of sweet potatoes can make multiple servings of puree, costing far less than those tiny jars from the store.
It’s not just about saving money, though. Homemade baby food gives you so much flexibility. You can make the perfect texture for your baby’s stage, starting with smooth purees and slowly working up to chunkier blends. Plus, it’s easy to get creative with flavors! By mixing something new with a food they already love, you can help your baby build a taste for all kinds of healthy ingredients.
Think baby food recipes take too much time? It’s really not. With a few basic tools and a little planning, it’s easier than you’d think to work homemade baby food recipes into your routine.
Here are a few tips to make it simple:
- Batch cooking is key: Spend an hour steaming, blending, and freezing portions. It’s a lifesaver for busy days!
- Freeze for later: Use ice cube trays to portion food, then pop the frozen cubes into labeled freezer bags.
- Start small: You don’t need to overhaul your kitchen—just start with one or two easy recipes.
Homemade baby food isn’t just healthier and cheaper—it’s also so rewarding. There’s nothing better than seeing your baby enjoy something you made with love!
Tools to Get Started
Making baby food at home doesn’t require a kitchen full of fancy gadgets. With just a few basics, you can whip up homemade baby food recipes in no time. Here are the essentials to keep on hand:
- Blender or food processor: These are lifesavers for creating smooth purees. Whether you’re blending carrots or bananas, having a reliable blender makes the process quick and easy.
- Steamer basket: Steaming is one of the best ways to soften veggies and fruits while keeping nutrients intact. It’s perfect for things like sweet potatoes, apples, and broccoli.
- Ice cube trays or small containers: These are a must for freezing individual portions. Once frozen, you can pop the cubes into labeled freezer bags for easy storage.
- Sharp knife and cutting board: Prepping fruits and vegetables is so much easier with a good knife and a sturdy cutting board. They’re basic but essential tools for the job.
- Storage bags or airtight containers: Keep your frozen baby food fresh and organized with resealable freezer bags or small, airtight containers.
With these tools, the whole process becomes much simpler. Plus, most of these items are probably already in your kitchen!
To make things even easier, set up a dedicated baby food station. Keep your blender, steamer, and storage containers together so everything is within reach when you’re ready to get started. Once you’ve got these basics, you’ll feel like a pro, even if it’s your first time making baby food.
How to Introduce Baby Food
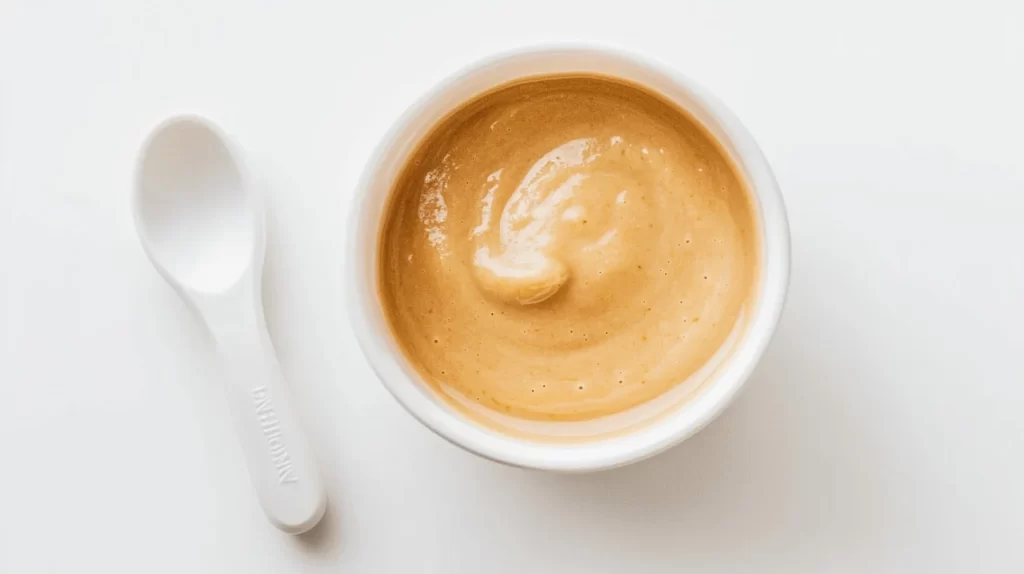
Introducing baby food is such an exciting milestone! It’s the start of your baby’s food journey, and while it might get messy, it’s also a lot of fun. Here’s how to make the transition to solids smooth and enjoyable for both of you:
- Start slow: Begin with single-ingredient purees like mashed banana or steamed sweet potato. This helps you watch for any signs of allergies. Stick with one new food at a time and wait a few days before introducing something else.
- Offer small amounts: For those very first bites, a teaspoon or two is all they need. Babies are exploring, not filling up, so keep it simple.
- Choose the right time: Timing is everything. Feed your baby when they’re alert, happy, and curious—not when they’re tired or cranky. Mealtime should feel relaxed, not rushed.
- Be patient: It can take 8–10 tries (sometimes more) for a baby to accept a new flavor. If they turn their head or make a funny face, don’t worry—it’s normal! Keep offering the food without pressure.
- Make it fun: Talk, smile, and encourage them during mealtime. Babies pick up on your energy, so if you’re enjoying the experience, they likely will too.
Pro tip: Start with foods that are naturally sweet, like fruits and root vegetables, to ease them into the process. Save stronger flavors for later.
Remember, this stage is about exploration, not perfection. Some days your baby will eat, and other days they might just play with their spoon. Just enjoy the learning process! Pick your favorite baby food recipes, grab a bib for both of you, and have fun!
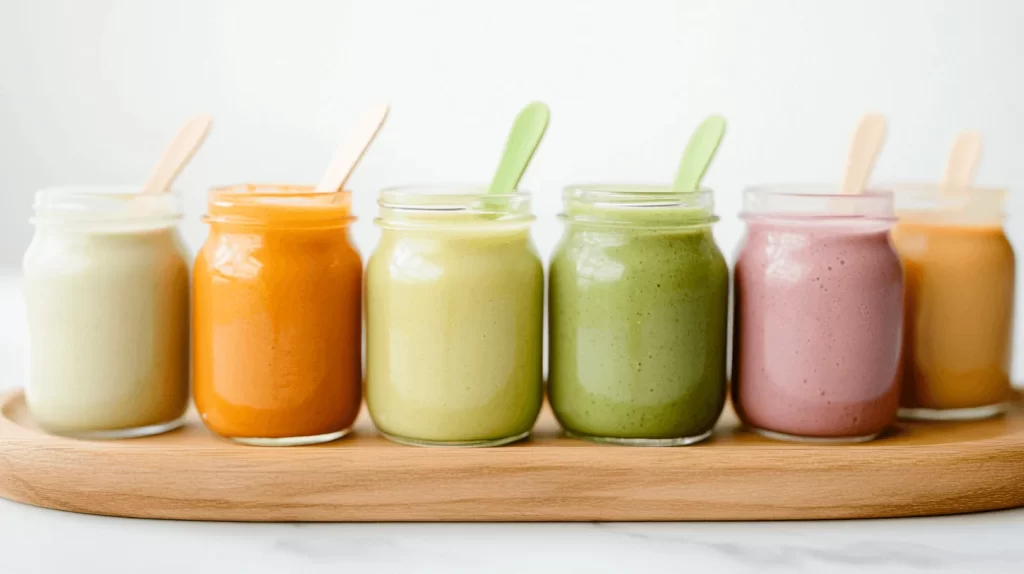
Stage 1 Baby Food Recipes (4-6 Months)
Right now, babies are beginning their food adventure, so smooth, single-ingredient purees are perfect. These recipes are gentle on tiny tummies and easy to prepare.
Banana Puree
Mash one ripe banana with a fork until smooth. If needed, add a little breast milk or formula for a thinner consistency. Bananas are naturally sweet, making them a favorite first food.
Sweet Potato Puree
Peel and cube a medium sweet potato. Steam or boil the pieces until soft, then blend with water to create a smooth texture. Sweet potatoes are packed with vitamins and also freeze beautifully for later use.
Carrot Puree
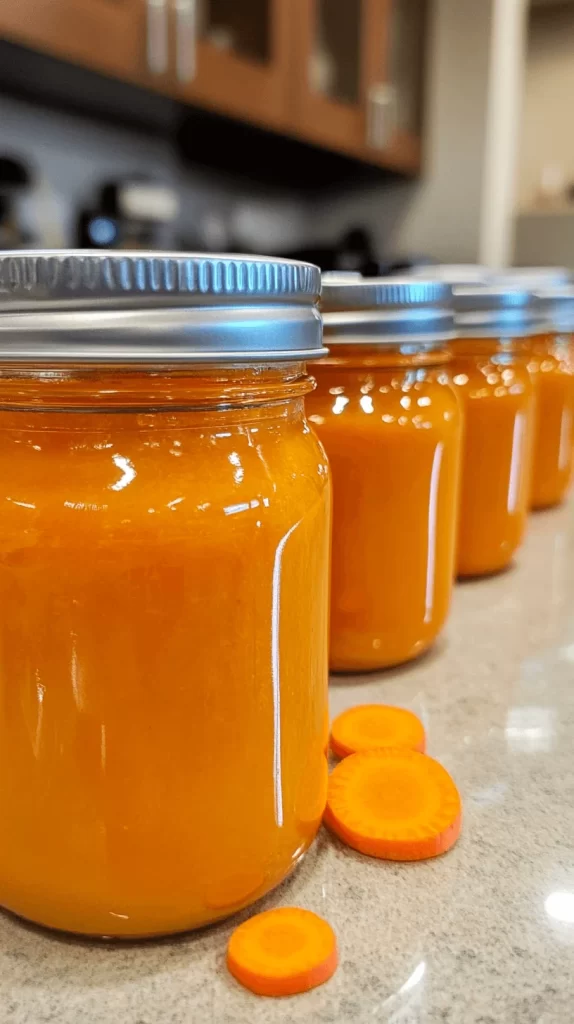
Peel and slice one or two carrots into small pieces. Steam or boil them until tender, then blend with a bit of water. This vibrant puree is a great way to introduce veggies early on.
Apple Puree
Peel, core, and chop a medium apple. Cook it in a little water until soft, then blend until smooth. You can adjust the thickness by adding more water as needed.
Pear Puree
Peel and chop a ripe pear. Steam it for a few minutes to soften, then blend it into a smooth puree. Pears are naturally juicy and perfect for babies just starting solids.
Zucchini Puree
Wash, peel, and slice a small zucchini. Steam the slices until tender, then blend until smooth. Zucchini’s mild flavor makes it an excellent addition to early meals.
These single-ingredient purees are easy to prepare and help your baby explore different flavors. Plus, they’re freezer-friendly, so you can save time by making them in batches. As your baby grows, you can mix and match these purees to create new combinations!
Transitioning to Stage 2 (6-9 Months)
At 6 months, your baby is ready for more exciting textures and flavors. This stage is perfect for introducing slightly thicker purees and simple ingredient combinations. These recipes are nutritious, easy to make, and encourage adventurous eating.
Apple and Oatmeal Puree
Peel and chop a medium apple, then combine it with ¼ cup of oats and a little water in a saucepan. Cook over low heat until the apple is soft and the oats are fully cooked. Blend the mixture into a smooth puree, adding more water if needed. This hearty breakfast option is packed with fiber and also natural sweetness.
Pea and Mint Puree
Steam one cup of peas for 5–7 minutes until tender. Add a few fresh mint leaves and blend with a splash of water until smooth. The mint adds a refreshing twist, making this a unique and vibrant option for introducing veggies.
Banana and Avocado Mash
Mash half a ripe banana and half an avocado together with a fork until creamy. This combination is full of healthy fats and natural sweetness, perfect for growing babies. It’s best served fresh and doesn’t require cooking.
Carrot and Potato Puree
Peel and chop one medium potato and one large carrot into small pieces. Steam or boil until both are tender, then blend together with water for a creamy texture. This mix is filling and mild, making it great for lunch or dinner.
Mango and Yogurt Blend
Peel and chop a ripe mango, then blend it with a few spoonfuls of plain, unsweetened yogurt until smooth. This tropical treat is a great way to add variety to your baby’s meals.
These simple recipes help your baby explore new tastes and textures, laying the foundation for healthy eating habits. Stage 2 is all about expanding their palate while keeping meals fun and nutritious!
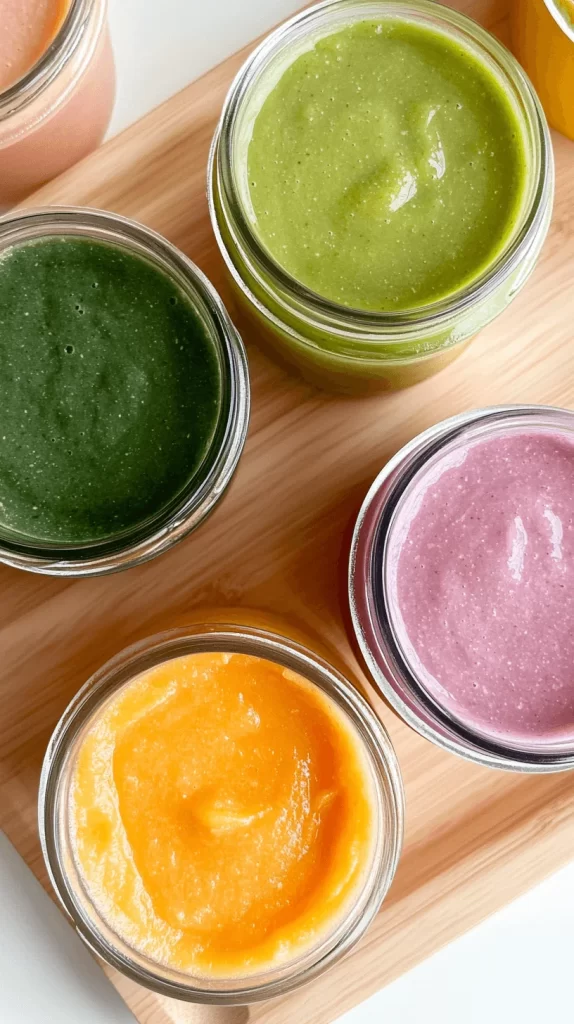
Fruit Baby Food Recipes
As your baby transitions to Stage 2 and Stage 3 foods, combining fruits creates exciting new flavors and textures. These recipes introduce your little one to a wider variety of tastes while providing essential nutrients.
Apple and Mango Puree
- Ingredients: 1 medium apple (peeled, cored, and chopped), ½ ripe mango (peeled and diced)
- Instructions: Steam the apple pieces until soft, about 8-10 minutes. Blend the steamed apple with the diced mango until smooth. This vibrant puree is naturally sweet and perfect for adventurous little eaters.
Pear, Banana, and Peach Mash
- Ingredients: 1 ripe pear (peeled and diced), ½ ripe banana, 1 small peach (peeled and diced)
- Instructions: Steam the pear and peach for 5-7 minutes until soft. Blend them with the banana until you achieve the desired texture. For a chunkier Stage 3 version, mash with a fork instead of blending.
Blueberry, Strawberry, and Apple Puree
- Ingredients: ½ cup fresh or frozen blueberries, 3 ripe strawberries (hulled), 1 medium apple (peeled and diced)
- Instructions: Steam the apple and blueberries for 8 minutes. Add the strawberries and steam for another 2 minutes. Blend until smooth or mash for a thicker consistency. This colorful blend is packed with antioxidants.
Peach and Plum Puree
- Ingredients: 1 ripe peach (peeled and diced), 1 ripe plum (pitted and diced)
- Instructions: Steam both fruits together until soft, about 5-7 minutes. Blend or mash to your baby’s preferred texture. This tangy-sweet combo is a fun way to mix things up.
Tropical Fruit Medley
- Ingredients: ½ cup ripe pineapple (diced), ½ ripe mango (diced), ½ ripe banana
- Instructions: Steam the pineapple and mango for 5 minutes. Blend with the banana for a creamy, tropical treat. For older babies, serve as small, soft chunks instead of blending.
These recipes are ideal for babies ready to explore more complex flavors and textures. They’re easy to freeze in portions, and you can mix them with yogurt, oatmeal, or even veggies for endless meal options!
Vegetable Baby Food Recipes
As your baby transitions to Stage 2 and Stage 3 foods, combining vegetables creates nutritious and delicious meals with more depth in flavor. These recipes introduce exciting combinations while helping your baby develop a love for veggies.
Sweet Potato and Spinach Puree
- Ingredients: 1 medium sweet potato (peeled and cubed), 1 cup fresh spinach
- Instructions: Steam the sweet potato cubes until soft, about 10 minutes. Add the spinach and steam for 2 more minutes until wilted. Blend together with a little water or breast milk until smooth or slightly chunky, depending on your baby’s stage. This blend is rich in vitamins A and C.
Carrot, Zucchini, and Pea Puree
- Ingredients: 1 medium carrot (peeled and chopped), ½ small zucchini (sliced), ½ cup peas (fresh or frozen)
- Instructions: Steam the carrot for 8 minutes, then add the zucchini and peas. Steam for an additional 5 minutes. Blend or mash to your baby’s preferred texture. This recipe offers a mild, sweet flavor and is packed with fiber.
Broccoli and Cauliflower Mash
- Ingredients: 1 cup broccoli florets, 1 cup cauliflower florets
- Instructions: Steam the broccoli and cauliflower together until tender, about 8-10 minutes. Mash with a fork for a chunkier Stage 3 consistency, or blend with water for a smoother puree. This combo introduces slightly stronger vegetable flavors in a baby-friendly way.
Pumpkin and Green Bean Puree
- Ingredients: 1 cup fresh pumpkin (peeled and diced), ½ cup green beans (trimmed)
- Instructions: Steam the pumpkin and green beans for 10-12 minutes until soft. Blend with water or breast milk until smooth or chunky. This savory blend is great for introducing new textures.
Sweet Corn, Potato, and Kale Mash
- Ingredients: ½ cup sweet corn (fresh or frozen), 1 small potato (peeled and diced), ½ cup chopped kale
- Instructions: Steam the potato and corn for 10 minutes. Add the kale and steam for an additional 2 minutes. Blend or mash until you reach the desired consistency. This combination is packed with nutrients like iron and potassium.
These veggie recipes are perfect for growing babies who are ready to explore new tastes and textures. They’re easy to freeze and can be combined with grains, proteins, or other veggies for endless meal options!
Baby-Led Weaning (6-9 Months)
Baby-led weaning is a great way to introduce solids by allowing your baby to feed themselves. It skips purees altogether, focusing on soft, manageable finger foods that encourage independence and build motor skills. The key is offering foods that are easy to hold and soft enough to gum.
First Food Ideas
- Soft fruits: Ripe banana slices, avocado wedges, or steamed pear chunks. These are easy to grasp and naturally soft, making them perfect for little hands and gums.
- Cooked vegetables: Steamed broccoli florets, zucchini sticks, or carrot strips. Make sure they’re soft enough to mash easily between your fingers.
- Protein: Shredded chicken, flaky fish (free of bones), or scrambled eggs. These provide essential nutrients like iron and are easy to pick up.
- Grains: Soft-cooked pasta, rice balls, or toast fingers with a thin layer of unsalted butter or smooth nut butter (if your baby has been introduced to allergens safely).
Safety Tips for Baby-Led Weaning
- Shape and size: Foods should be cut into shapes that are easy for babies to grab, like strips or chunks roughly the size of your finger.
- Texture: Ensure all foods are soft enough to mash between your fingers to reduce choking risks.
- Supervision: Always watch your baby while they’re eating. Never leave them unattended.
- Allergens: Introduce common allergens (like eggs or nuts) one at a time, waiting a few days before adding another to monitor for reactions.
- Avoid high-risk foods: Skip items like whole grapes, hard raw veggies, popcorn, or sticky foods like peanut butter alone.
Baby-led weaning is as much about exploration as eating. Expect some mess—it’s part of the process! This approach not only encourages self-feeding but also helps babies develop a positive relationship with food early on.
Baby Food Recipes for Older Babies (9-12 Months)
At 9–12 months, your baby is ready for chunkier textures and more complex meals. They can handle finger foods and combinations with soft, chewable pieces, perfect for developing their eating skills and exploring new flavors.
Turkey Meatballs
These protein-packed meatballs are soft and easy for babies to chew.
Ingredients:
- ½ lb ground turkey
- ¼ cup breadcrumbs (use unsalted or whole-grain for a healthier option)
- 1 grated carrot
Instructions:
- Preheat the oven to 375°F.
- Mix all the ingredients in a bowl until well combined.
- Form the mixture into small balls, about the size of a grape.
- Place on a baking sheet lined with parchment paper and bake for 15 minutes or until fully cooked through.
These can be served as is or broken into smaller pieces. You can freeze leftovers for quick meals later.
Veggie Muffins
Packed with veggies and a touch of cheese, these muffins are a nutritious snack or side dish.
Ingredients:
- 1 cup grated zucchini (squeeze out excess water)
- 1 cup grated carrot
- ½ cup shredded cheese (mild cheddar or mozzarella works well)
- 1 egg (optional, for binding)
Instructions:
- Preheat the oven to 350°F.
- Mix all ingredients in a bowl until combined.
- Spoon the mixture into a greased or lined mini-muffin tin.
- Bake for 15–20 minutes or until the tops are golden and set.
These muffins are soft, easy to hold, and perfect for tiny hands.
Age-Appropriate Recommendations
- By 9–12 months, most babies can chew soft pieces of food, but always ensure meals are cut into manageable sizes to prevent choking.
- Avoid adding salt, sugar, or strong seasonings. Babies need simple, natural flavors at this stage.
- Always monitor your baby while they eat, especially with finger foods.
These recipes are nutritious, easy to prepare, and perfect for growing appetites. As always, introduce new ingredients gradually to check for allergies or sensitivities.
Meat Baby Food Recipes (9-12 Months and Beyond)
Around 9–12 months, babies are ready to explore meats as part of their diet. These recipes combine tender, well-cooked meats with fruits, vegetables, and grains to create nutritious and flavorful meals. Meat is an excellent source of protein, iron, and zinc, which are essential for your baby’s growth.
Chicken and Sweet Potato Mash
- Ingredients: ½ cup cooked chicken breast (shredded), ½ medium sweet potato (peeled and cubed), ¼ cup water or broth (unsalted)
- Instructions: Steam or boil the sweet potato until tender, about 10 minutes. Blend or mash the sweet potato with the shredded chicken and water until smooth or slightly chunky. This recipe offers a sweet and savory combination babies love.
Beef and Vegetable Puree
- Ingredients: ¼ cup cooked ground beef, ½ cup steamed carrots (sliced), ½ cup steamed peas, ¼ cup water or broth (unsalted)
- Instructions: Blend the cooked ground beef with the carrots, peas, and water until smooth. For Stage 3 eaters, leave it a bit chunkier to encourage chewing. This puree is rich in protein and packed with vitamins.
Turkey and Apple Blend
- Ingredients: ½ cup cooked ground turkey, ½ medium apple (peeled and diced), ¼ cup water or broth (unsalted)
- Instructions: Steam the apple pieces for 5-7 minutes until soft. Blend the apple with the cooked turkey and water for a smooth or slightly textured puree. The apple adds natural sweetness to the protein.
Salmon and Potato Mash
- Ingredients: ¼ cup cooked salmon (boneless and skinless), ½ medium potato (peeled and diced), 1 tsp olive oil
- Instructions: Steam the potato until soft. Mash it with the cooked salmon and olive oil. Add a bit of water for a smoother consistency. This recipe provides omega-3 fatty acids for brain development.
Chicken, Rice, and Spinach Puree
- Ingredients: ½ cup cooked chicken (shredded), ¼ cup cooked rice, ½ cup steamed spinach, ¼ cup water or broth (unsalted)
- Instructions: Blend the chicken, rice, spinach, and water until smooth or slightly chunky. This meal is hearty and packed with iron and protein.
Recommendations for Introducing Meats
- Start with well-cooked, tender meats: Puree or finely shred meats for easier digestion.
- Introduce around 9–12 months: Your baby’s digestive system is ready for proteins like chicken, turkey, and beef at this stage.
- Pair with familiar foods: Combining meat with sweet potatoes, apples, or carrots makes it more appealing.
- Avoid added salt or seasonings: Stick to plain, unsalted meats to keep it baby-friendly.
These recipes help your baby explore new flavors and textures while meeting their nutritional needs. As they grow, you can transition to serving soft, bite-sized pieces instead of purees.
Solid Food Ideas for Toddlers (12-18 Months)
By the time your little one turns one, they’re ready for even more variety at mealtimes. This stage is all about introducing new flavors and textures while encouraging self-feeding. Solid food ideas that are soft, easy to handle, and nutrient-rich are perfect for growing toddlers.
Here are some toddler-friendly meal ideas:
- Mini quesadillas: Spread mashed avocado and shredded cheese on a tortilla, fold it in half, and warm until the cheese melts. Cut into small, manageable triangles.
- Fruit skewers: Use soft chunks of fruits like banana, melon, or strawberries. If you’re worried about sharp sticks, thread the fruit onto plastic toddler-safe picks instead.
- Veggie sticks with hummus: Steam carrot sticks until tender, or use cucumber slices for a fresh crunch. Pair them with a mild hummus for dipping.
These meals are not just nutritious; they also help build fine motor skills and foster independence. Toddlers love the opportunity to explore textures and feed themselves!
Tips for introducing solid foods to toddlers:
- Cut foods into small pieces or shapes that are easy for little hands to hold.
- Offer a mix of familiar and new flavors to keep things exciting.
- Keep mealtimes relaxed and let your toddler take the lead—expect a little mess!
These solid food ideas and recipes for toddlers make mealtime fun, nutritious, and easy. They’ll love trying new tastes, and you’ll love watching them grow into confident eaters!
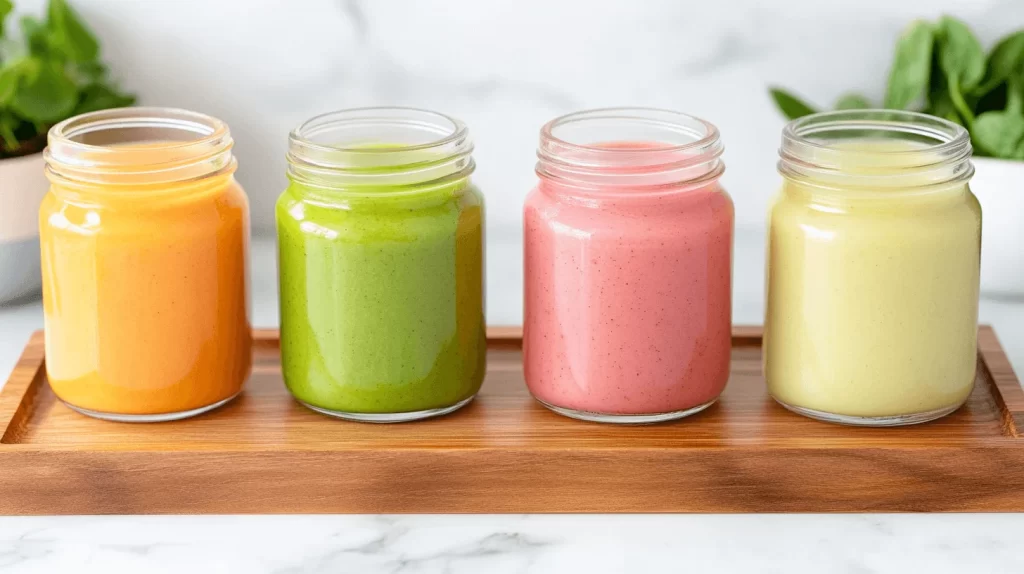
Making Baby Food Recipes with a Vitamix
Using a Vitamix makes baby food preparation incredibly easy. Its powerful motor creates smooth purees or chunkier textures depending on your baby’s stage. Plus, it’s quick and simple to clean—perfect for busy parents.
Quick Recipes with Ingredient Amounts
Spinach and Pear Puree
- 1 cup fresh spinach, steamed
- 1 ripe pear, peeled, cored, and chopped
Blend steamed spinach with the ripe pear until smooth. Add a splash of water if needed for a thinner consistency. This puree is full of iron and natural sweetness.
Berry Yogurt Mix
- ½ cup fresh or frozen mixed berries (blueberries, strawberries, or raspberries)
- ¼ cup plain, unsweetened yogurt
Blend the berries and yogurt until smooth. This recipe works best for older babies or toddlers who are ready for slightly thicker textures.
Carrot and Sweet Potato Puree
- 1 medium carrot, peeled and chopped
- ½ medium sweet potato, peeled and chopped
- ¼ cup water
Steam the carrot and sweet potato until soft, about 10–12 minutes. Blend with water until creamy. This combination is rich in vitamins and has a naturally sweet flavor babies love.
Why Use a Vitamix for Baby Food?
- Quick blending: The Vitamix can handle everything from soft fruits to tougher vegetables like carrots or kale in seconds.
- Custom textures: Create smooth purees for younger babies or chunky blends for older ones.
- Easy cleanup: Its self-cleaning feature saves time and effort.
With these recipes and your Vitamix, you can prepare fresh, nutrient-rich meals in minutes. Batch-cook and freeze portions for a stress-free week of baby food!
Tips for Freezing and Storing Baby Food
Freezing homemade baby food is a lifesaver for busy parents. Batch-cooking meals and storing them properly means you’ll always have a quick, healthy option ready for your little one.
Here’s how to do it:
- Portion with ice cube trays: Spoon your freshly made baby food into clean ice cube trays. Each cube is typically about 1 ounce, making portioning simple.
- Freeze solid: Place the trays in the freezer until the food is completely frozen, usually within 4–6 hours.
- Transfer to freezer bags: Pop the frozen cubes out of the trays and store them in labeled, airtight freezer bags. Write the date and type of food on each bag to keep things organized.
When you’re ready to serve:
- Thaw the number of cubes you need in the refrigerator overnight.
- For a quicker option, use the microwave to defrost. Heat in short intervals, stirring in between, to ensure even warming. Always check the temperature before serving.
Storage tips:
- Homemade baby food stays fresh in the freezer for up to three months.
- Rotate your stock so you use the oldest portions first.
- Avoid refreezing thawed food—serve or discard anything that’s been thawed for more than 24 hours.
By freezing and storing baby food properly, you can make mealtime easier without sacrificing quality. Plus, having a variety of frozen options means your baby gets to enjoy different flavors every day!
Budget-Friendly Tips
Making baby food at home is not only healthier but also budget-friendly. With a little planning, you can create nutritious meals for your baby without overspending.
Here’s how to keep it affordable:
- Shop seasonal produce: Seasonal fruits and vegetables are fresher, tastier, and often cheaper. For example, sweet potatoes in the fall or zucchini in the summer are fantastic deals. Plus, buying seasonal items supports local farmers!
- Take advantage of frozen options: Frozen fruits and veggies are just as nutritious as fresh ones. They’re often more affordable and always ready to use. Stock up on frozen peas, spinach, or mango chunks to have healthy options on hand year-round.
- Cook in bulk: Batch cooking is your best friend when it comes to saving money and time. Steam or roast large portions of carrots, sweet potatoes, or apples, then blend and freeze them in small portions. This ensures you always have food ready without constantly cooking.
- Use leftovers creatively: Don’t let extra cooked veggies or fruits from family meals go to waste. That half a roasted sweet potato or steamed broccoli can easily be turned into baby food with a quick blend.
- Grow your own: If you enjoy gardening, growing items like zucchini, carrots, or herbs can save you money and give your baby the freshest produce possible.
A few bonus tips:
- Buy in bulk from farmers’ markets or sales at your grocery store.
- Avoid pre-packaged “baby” produce—it’s often more expensive for the same item in a smaller size.
By being resourceful and planning ahead, you can provide your baby with high-quality, homemade meals while keeping your grocery budget in check. Saving money while knowing exactly what’s in your baby’s food? That’s a win-win!
Final Thoughts on Baby Food Recipes
Homemade baby food is a rewarding journey that evolves as your child grows. Starting with simple purees and transitioning to finger foods, you can tailor each stage to meet your baby’s needs. It’s healthier, more budget-friendly, and lets you introduce a variety of flavors at your own pace.
With the right tools, budget-saving strategies, and easy recipes, making baby food at home becomes manageable and fun. You’ll feel confident knowing exactly what your little one is eating, and there’s nothing better than seeing them enjoy a meal you lovingly prepared.
Homemade baby food isn’t just about feeding your baby—it’s about setting the foundation for a lifetime of healthy eating.


